Agenda
- Supply Fluentd software on Sensor
- Learn configuration parameters for Fluentd
- Request Fluentd instance for Sensor
This tutorial teaches how to setup Fluentd on the Olimex board with the sensor.
Before doing this tutorial make sure you read and completed the following tutorials
There are two ways how you can setup Fluentd. The first way uses the SlapOS web panel / dashboard. The second way makes use of the SlapOS Client. For the second way you will need to configure the SlapOS client. For that read SlapOS HowTo Use SlapOS Client tutorial from Get SlapOS Master Token chapter.
Supply via SlapOS Panel
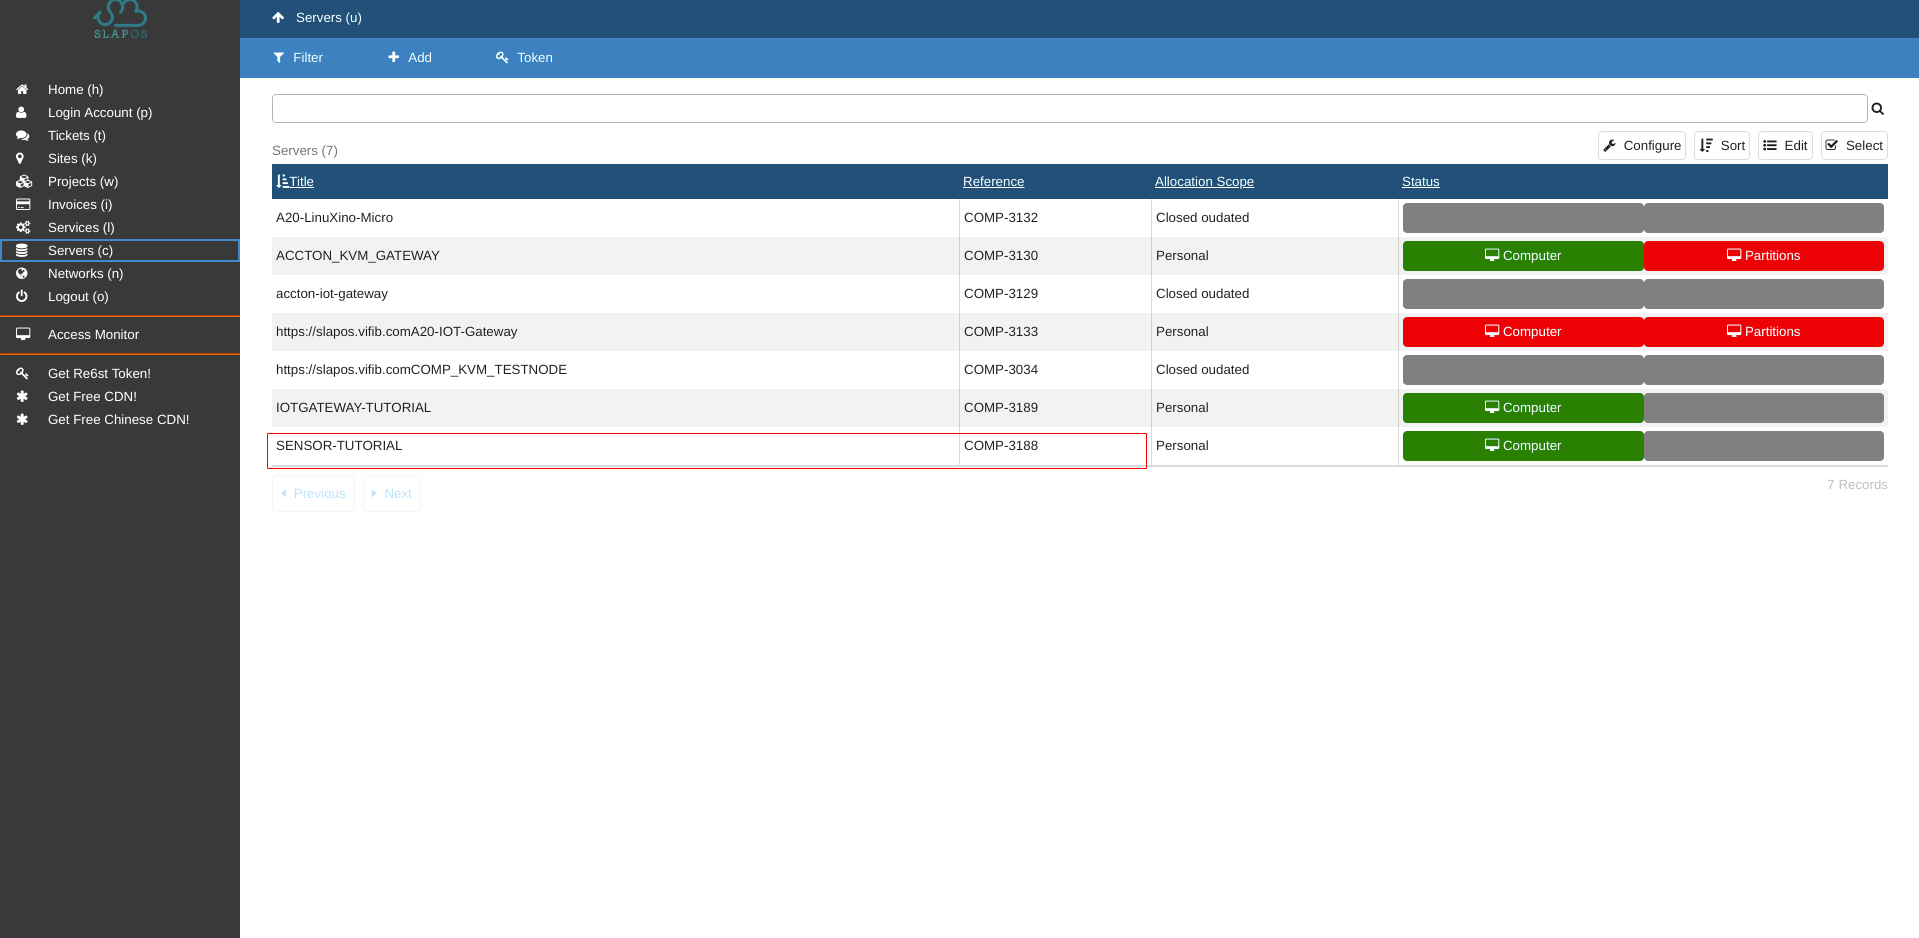
Login to the panel and click on Servers (c).
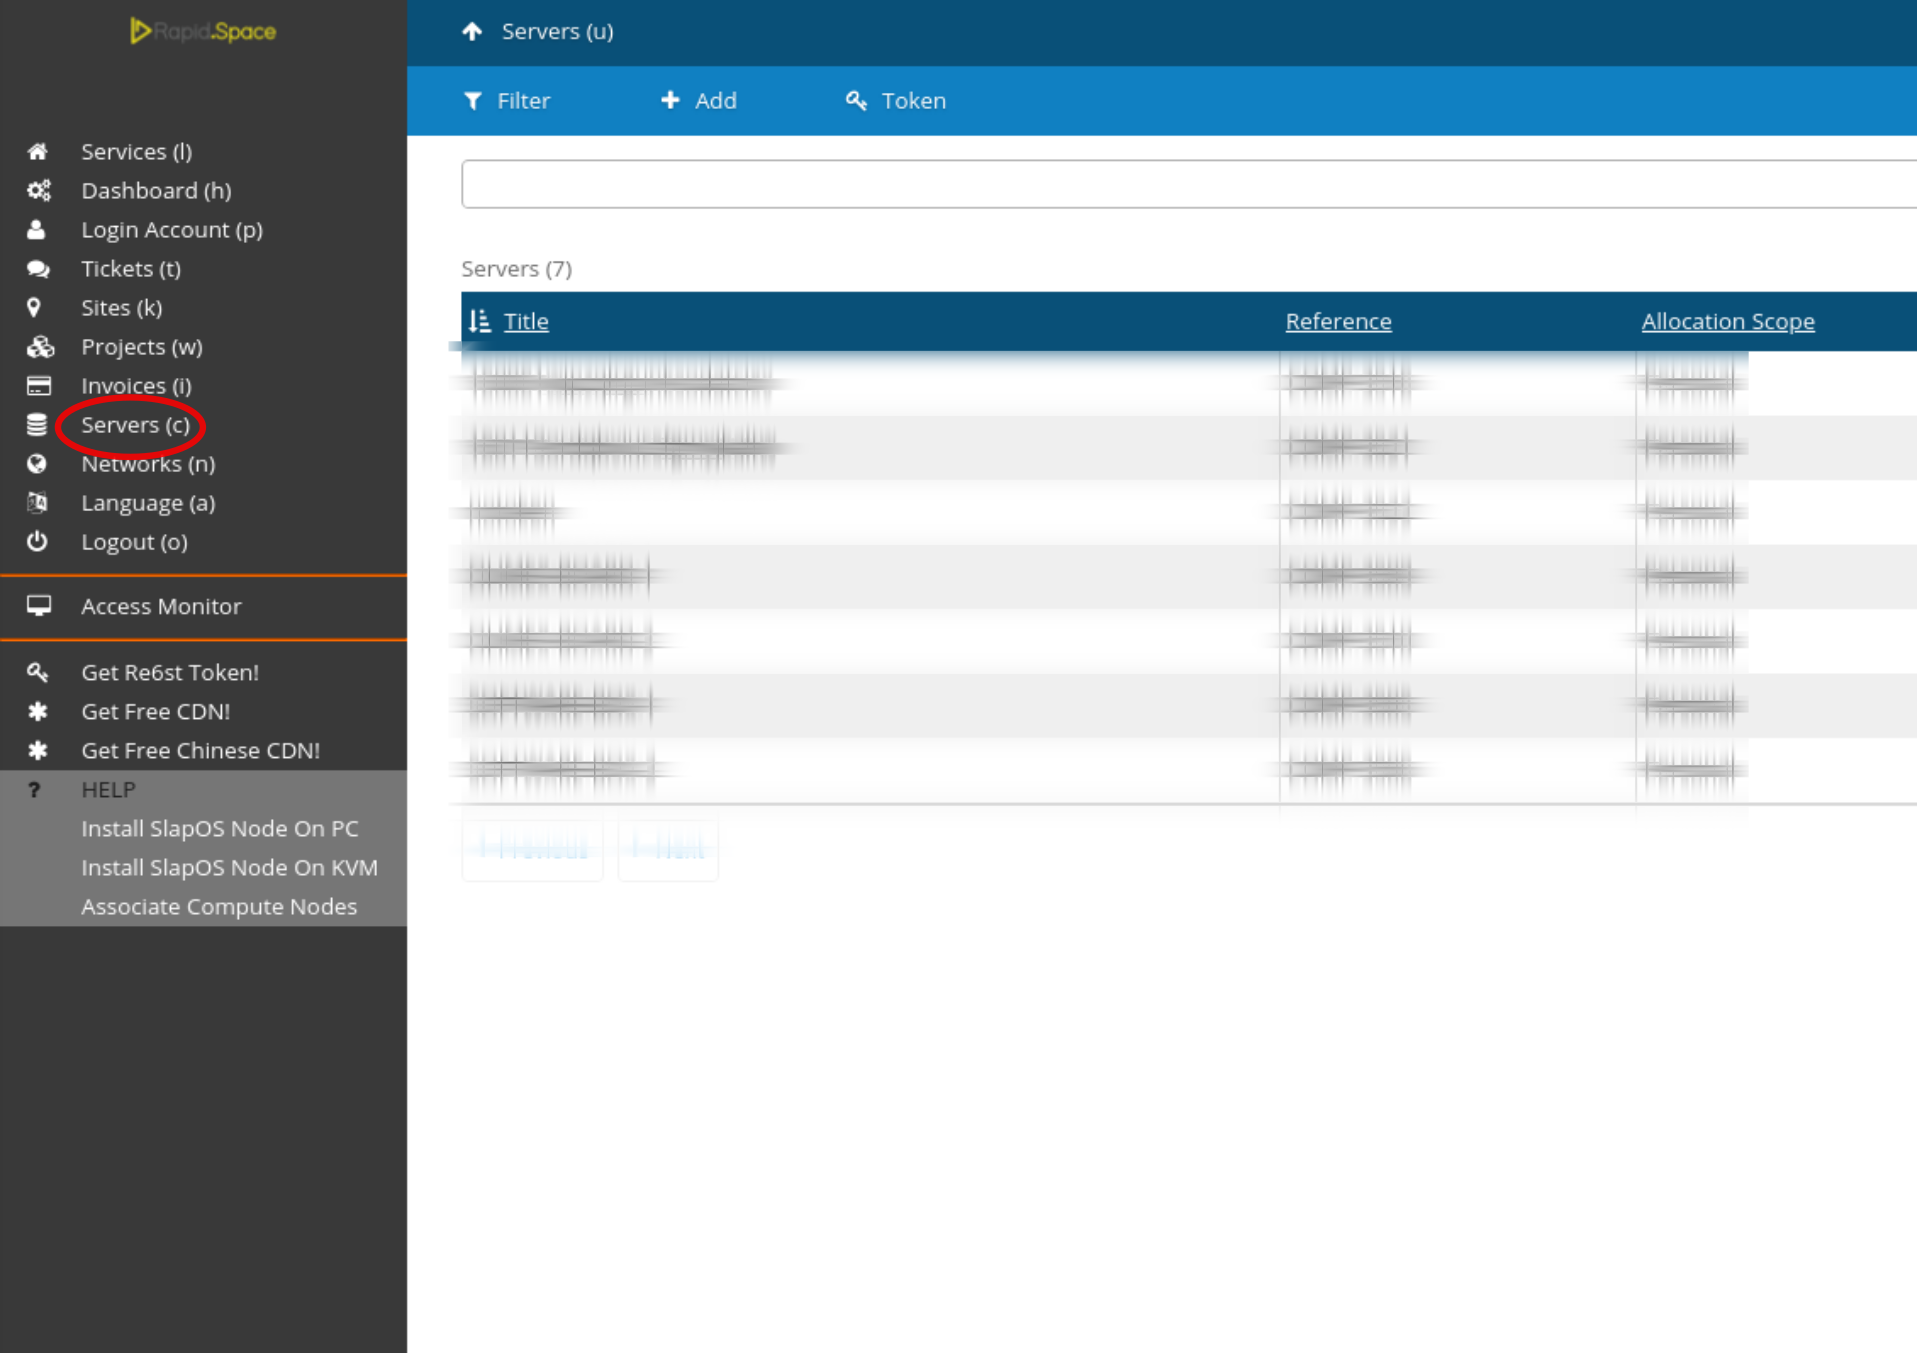
Select the machine on which you want to supply Fluentd.
Supply via SlapOS Panel Cont.
Click on the Supply button.

Supply via SlapOS Panel Cont.
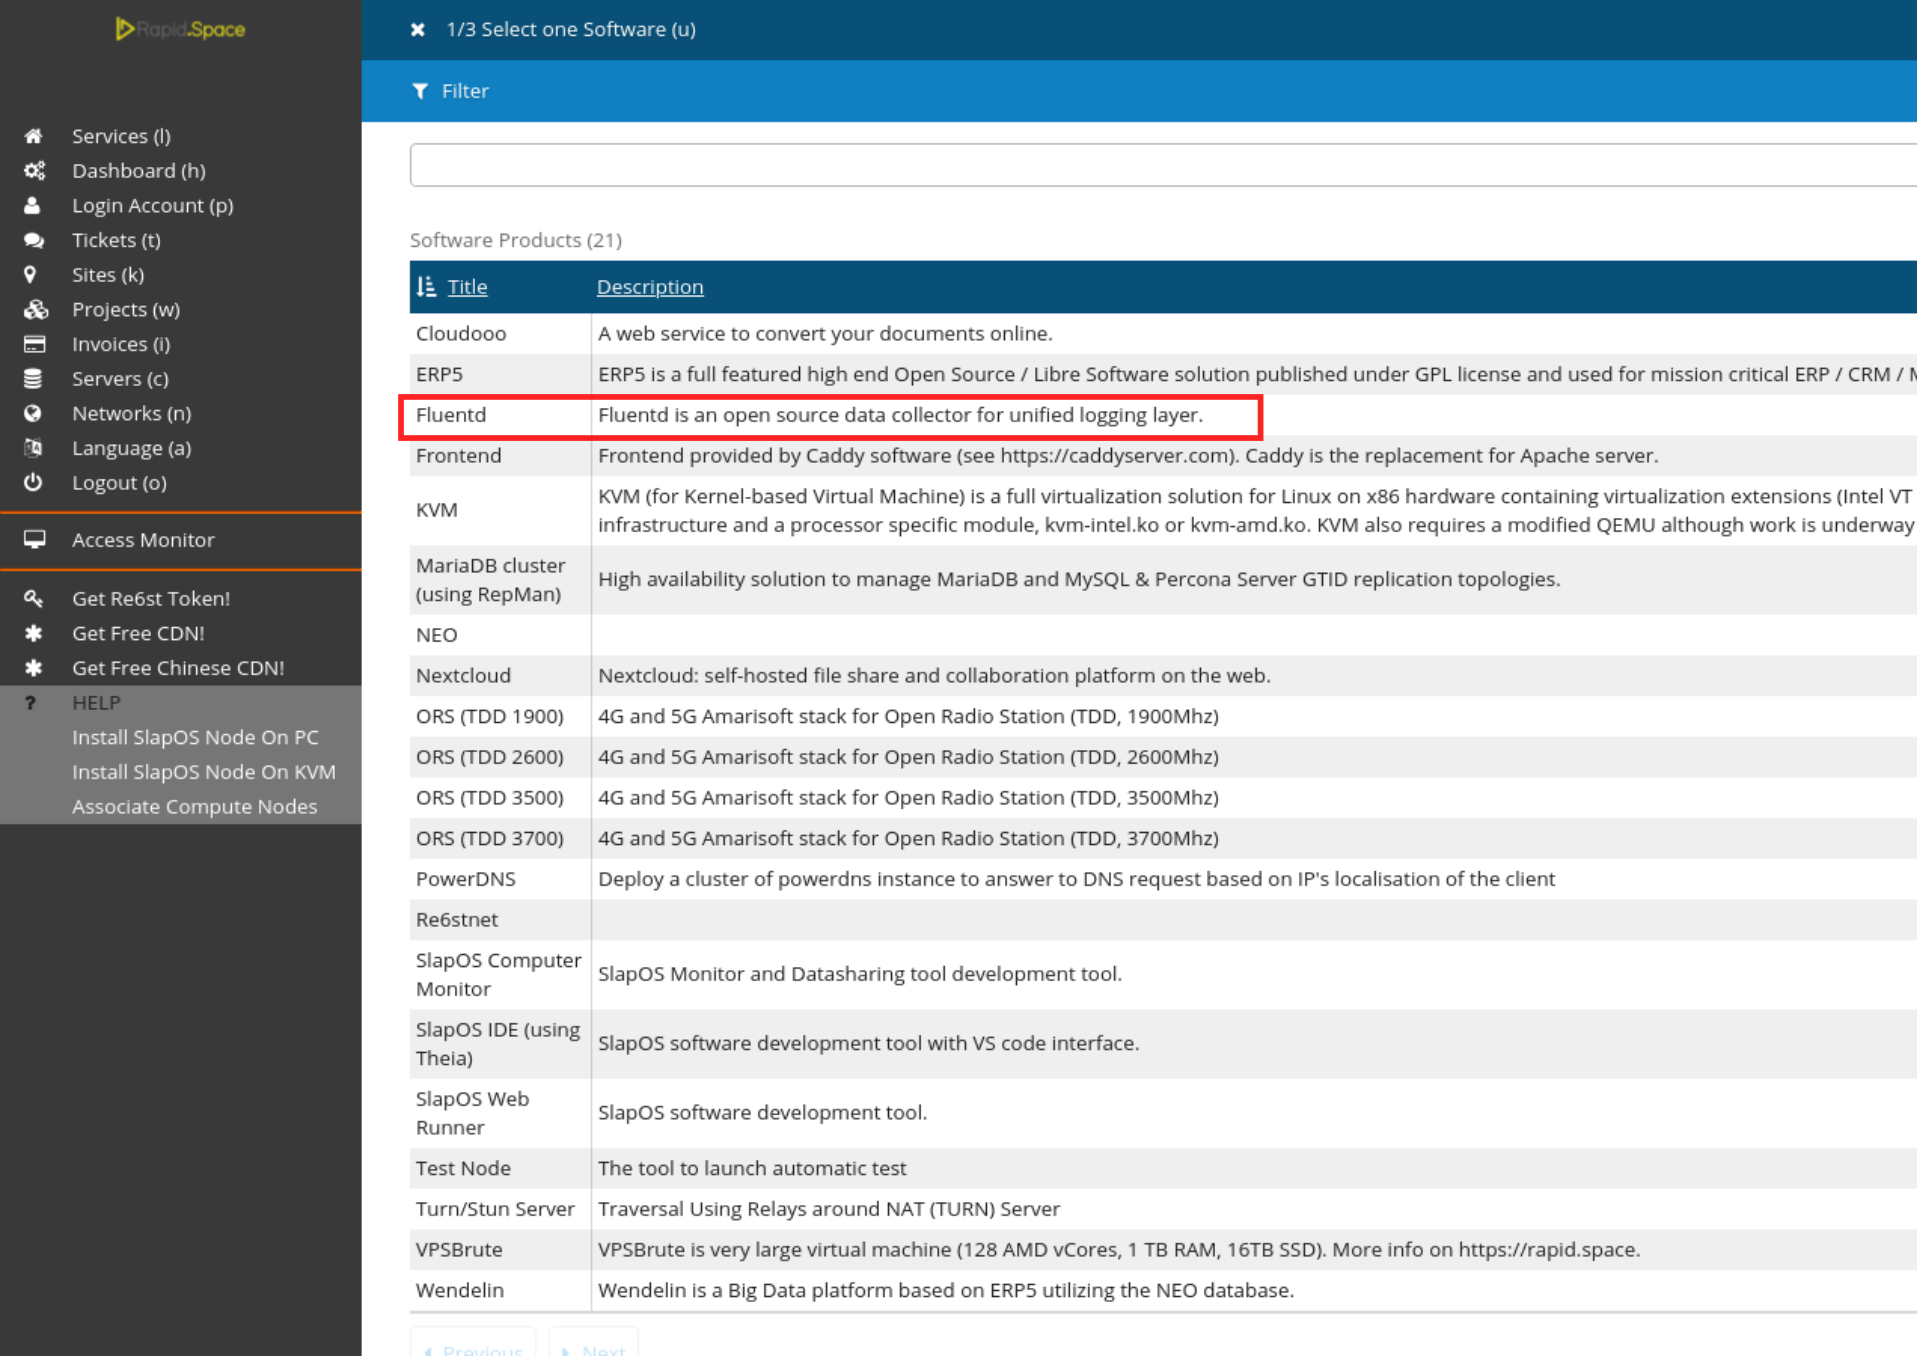
Select Fluentd.
Supply via SlapOS Panel Cont.
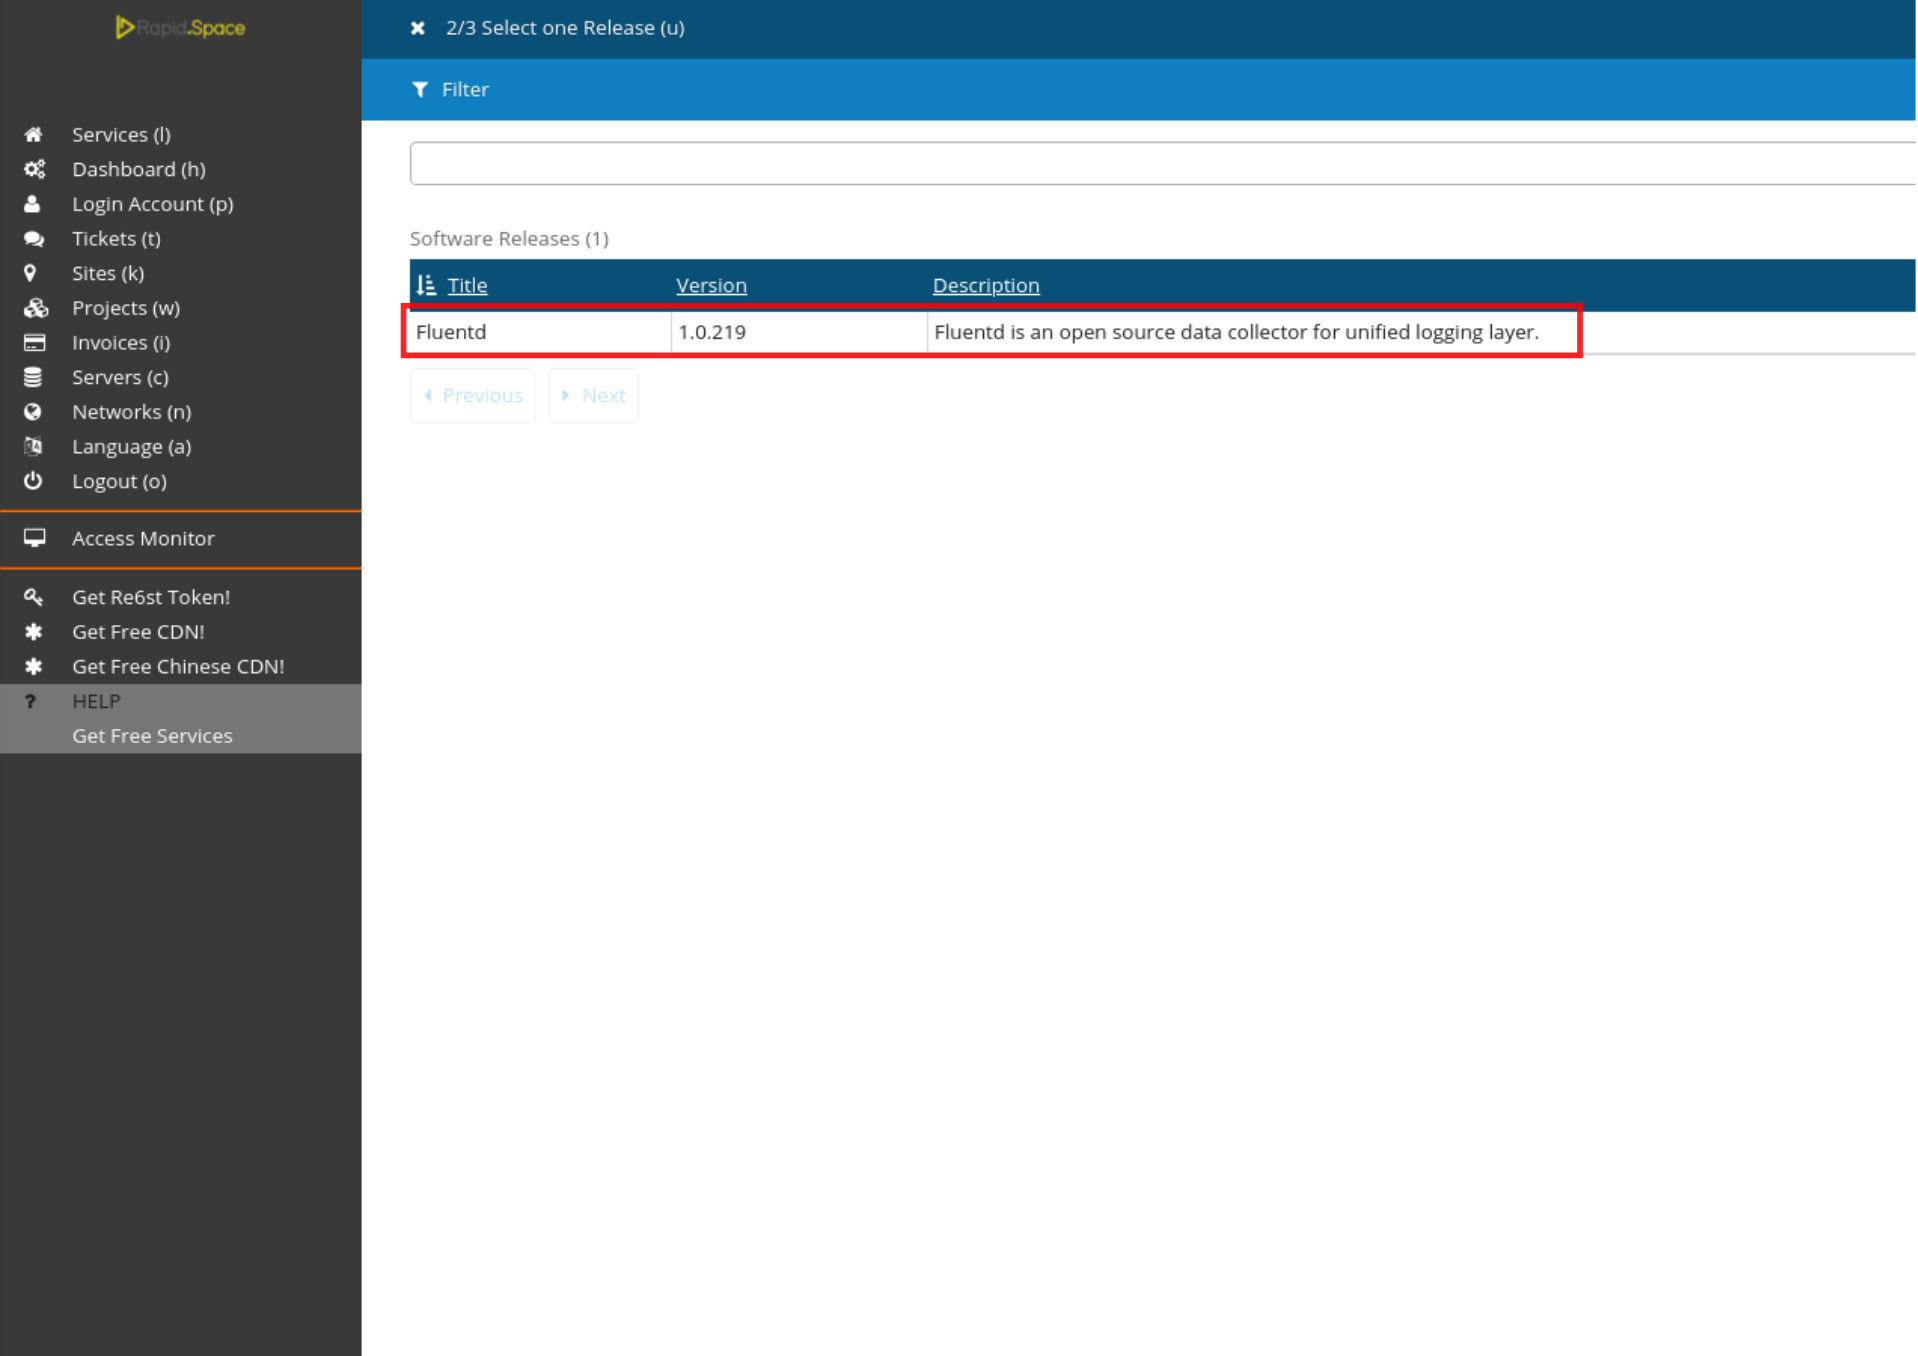
Choose the newest version.
Supply via SlapOS Panel Cont.
Click on Proceed.
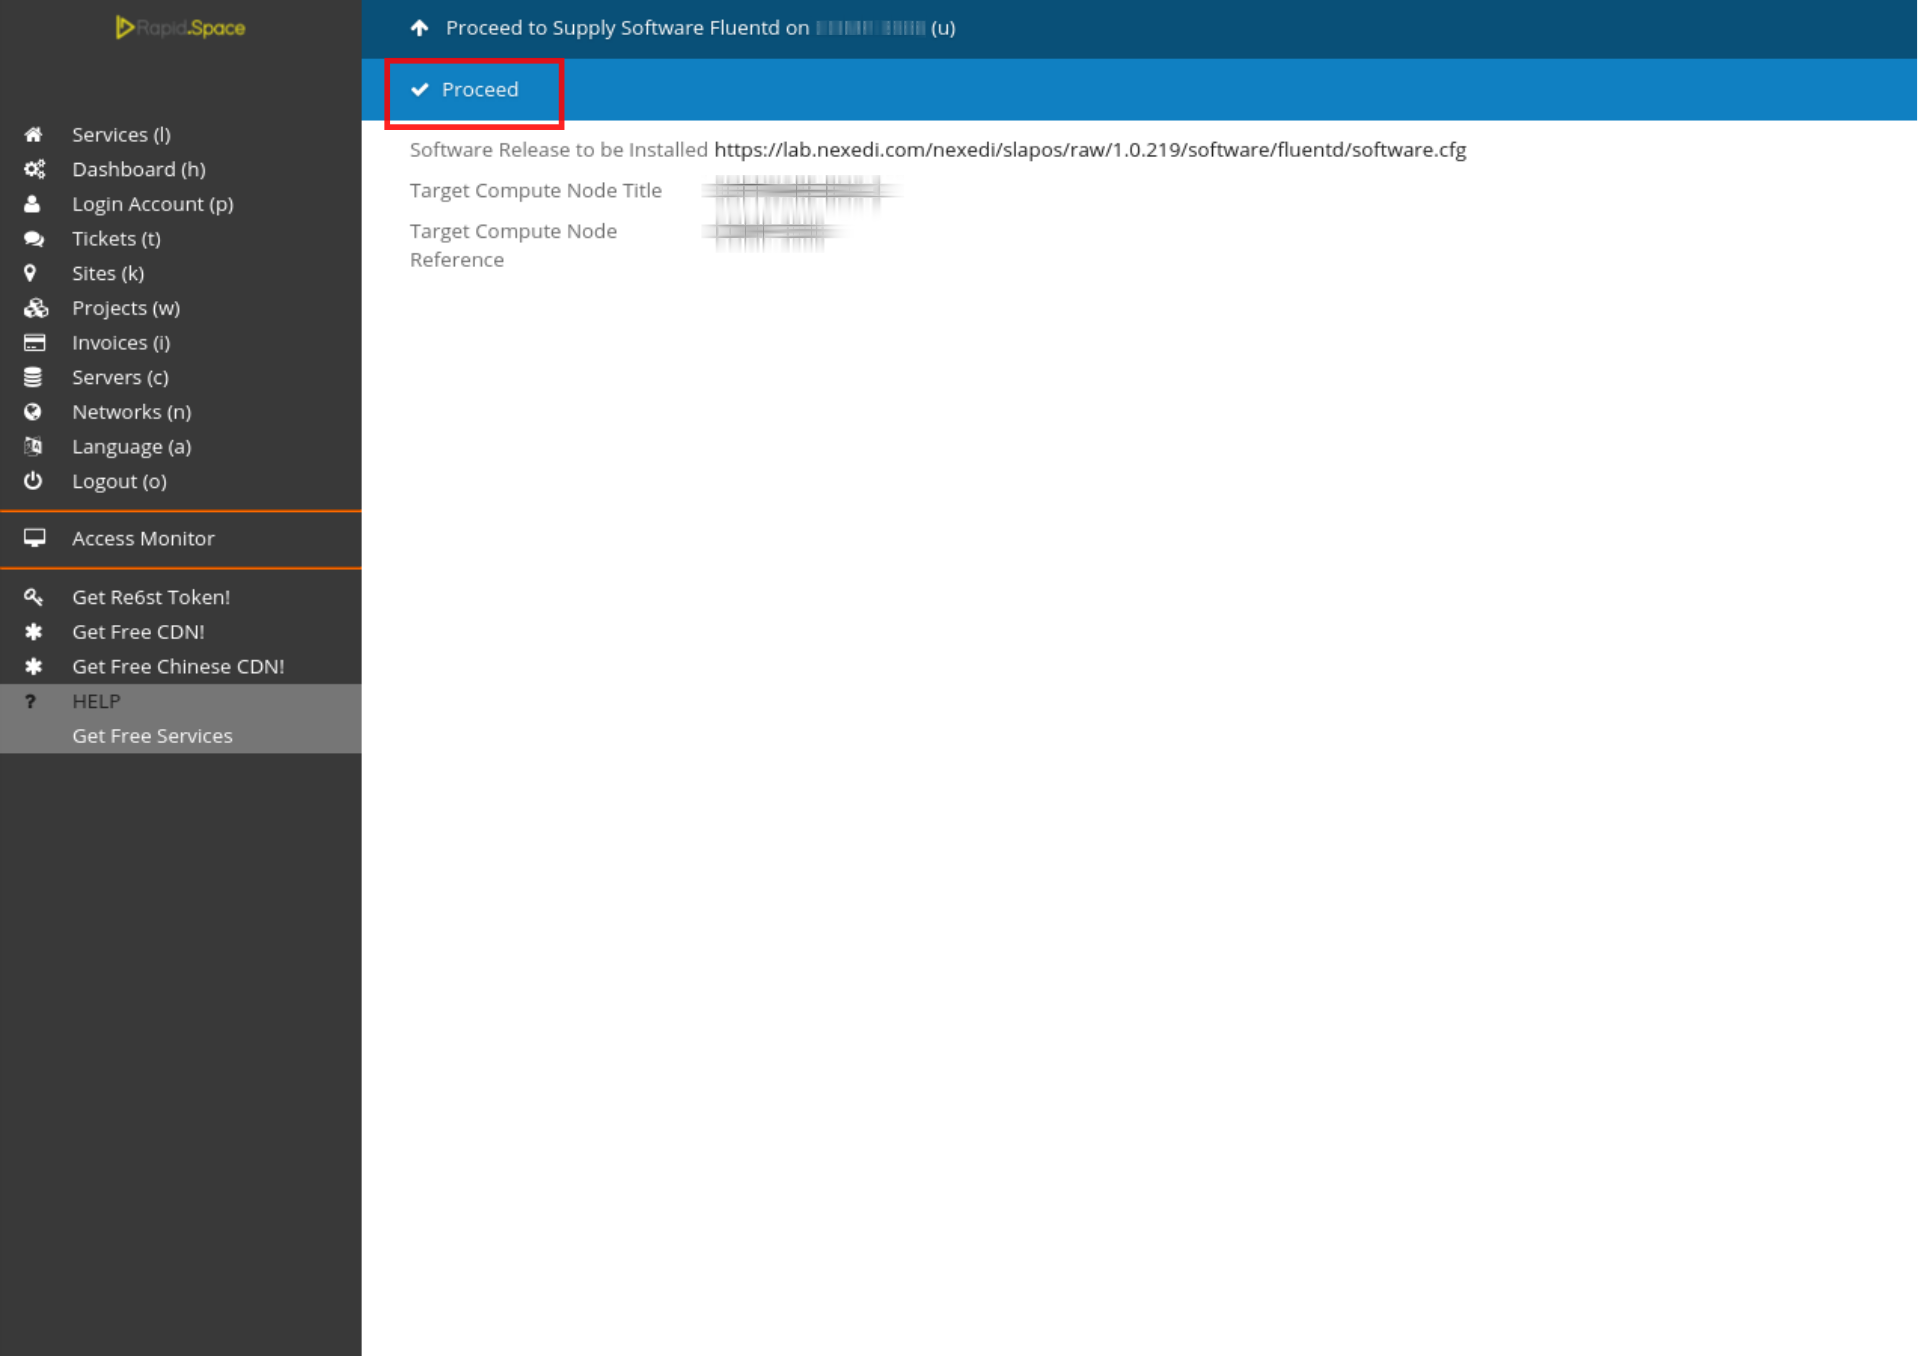
Wait until the compilation process has been finished.
Supply via SlapOS Client
First find the reference of your Streaming Device.
It is located in your Slapos Dashboard in Servers tab.
Then using supply command of Slapos Client install Fluentd software release on that computer.
supply("https://lab.nexedi.com/nexedi/slapos/raw/master/software/fluentd/software.cfg", "YOUR_COMPUTER_ID")
Monitor compilation
You can monitor the process by running
tail -f /opt/slapos/log/slapos-node-software.log
on the respective machine.
Configuration Parameters
<source>
  @type exec
  tag YOUR_TAG_NAME
  command python3 /usr/local/bin/custom_read_bme280.py
  run_interval 1m
  <parse>
    keys pressure, humidity, temperature
  </parse>
</source>
<match YOUR_TAG_NAME>
  @type forward
  <server>
   name myserver1
   host IPV6_ADDRESS_OF_YOUR_IOT_GATEWAY
  </server>
</match>
About Fluentd configuration file you can learn from here.
For input plugin we use Fluentd's standard exec plugin.
The plugin will execute the python script we wrote in HowTo Setup Sensor and IOT Gateway to read sensor data every minute.
For output plugin we use Fluentd's standard forward plugin.
YOUR_TAG_NAME - it must consist of two part separated by .(dot). For example sensor_1.sample-environment-raw-data. First part (sensor_1) is the name of the sensor and must be the same as the reference of the Data Supply we created in HowTo Create Data Supply tutorial. The second part (sample-environment-raw-data) is the type of data (Data Product - HowTo Create Data Product).
host - IPV6 address of your server where data will be sent. In our case it will be the address of IOT Gateway.
Request via SlapOS Panel
Go to the SlapOS dashboard and click on the Services (l) button.
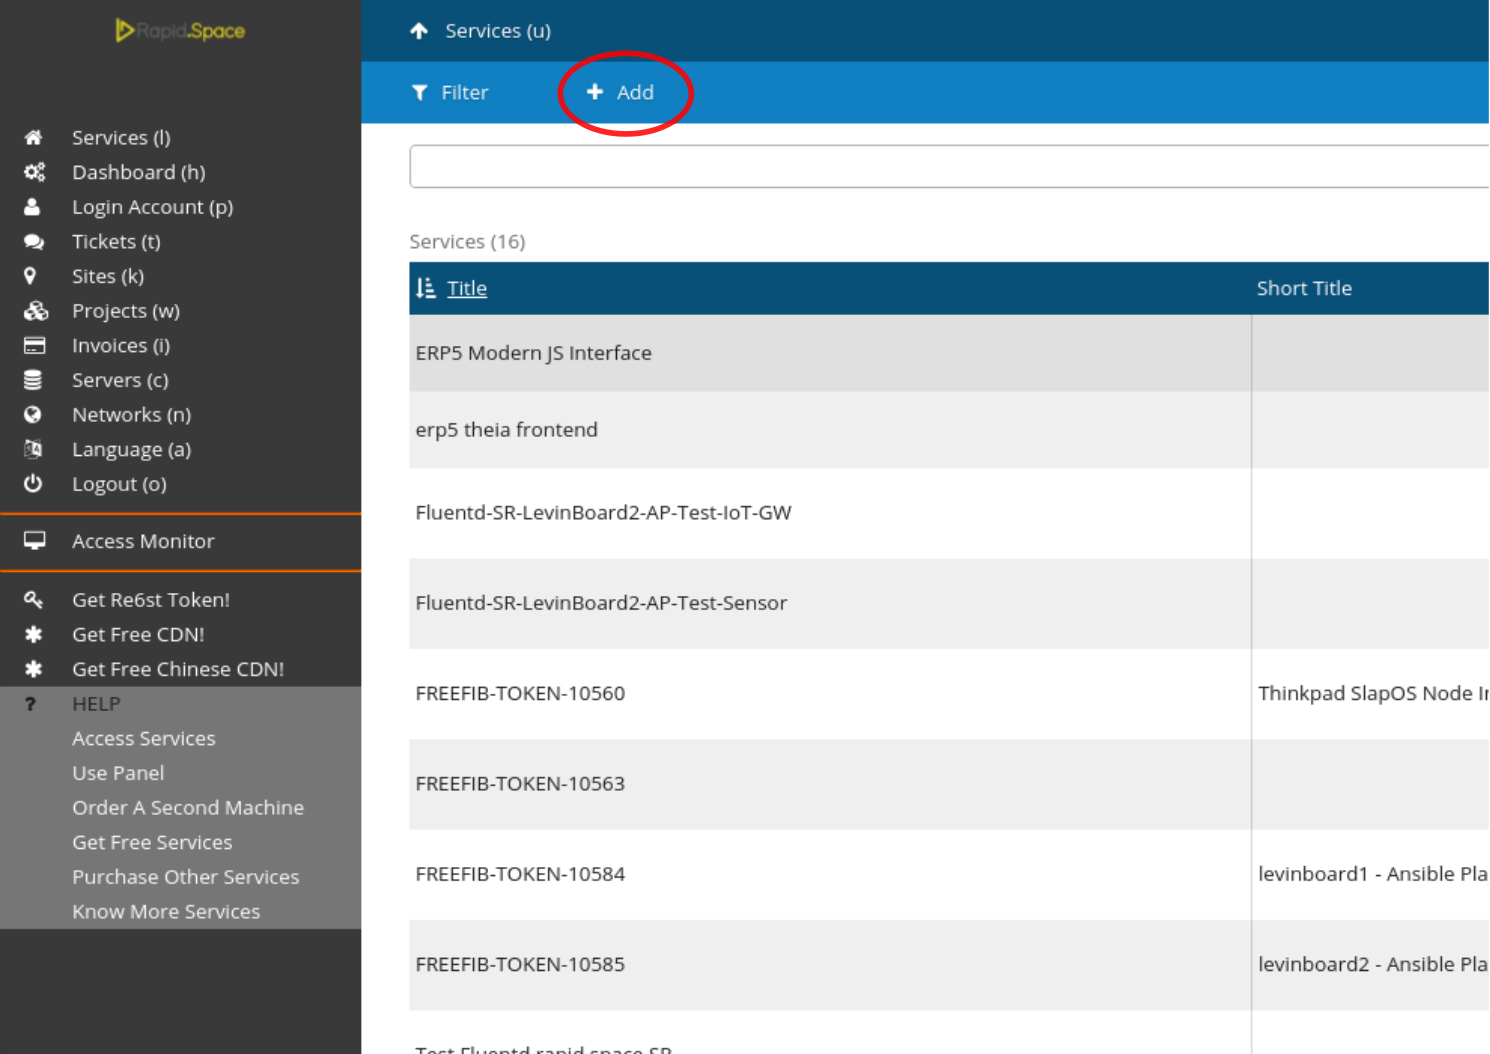
Click on the add button.
Request via SlapOS Panel Cont.
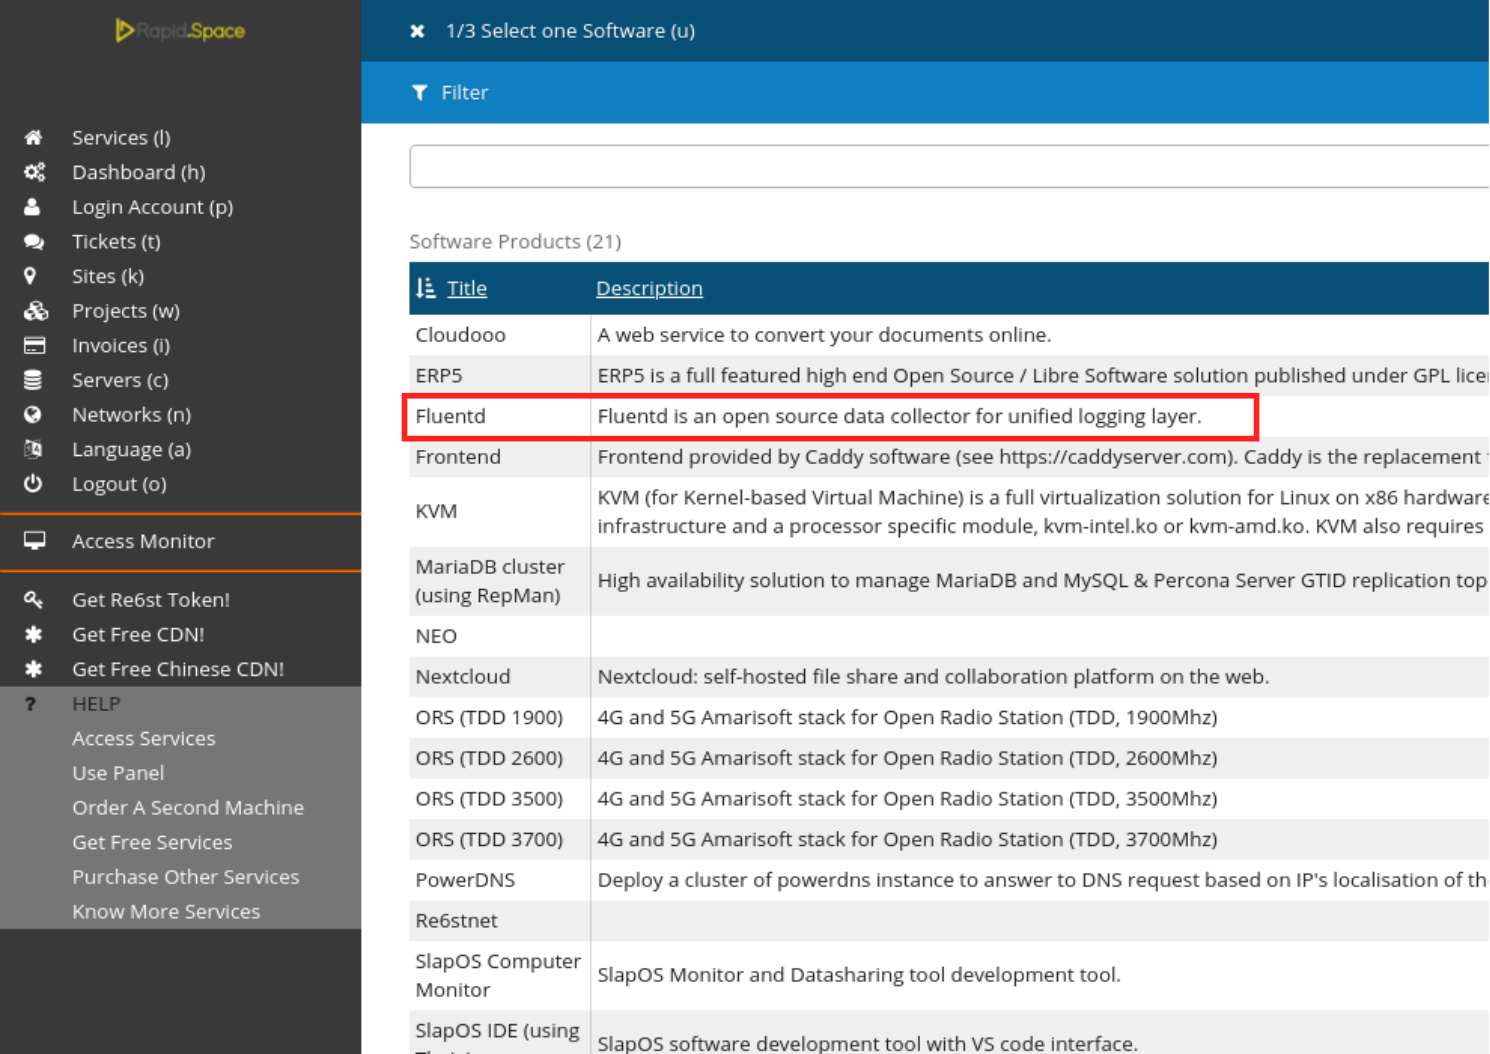
Select Fluentd.
Request via SlapOS Panel Cont.
Pick the newest version.
Request via SlapOS Panel Cont.
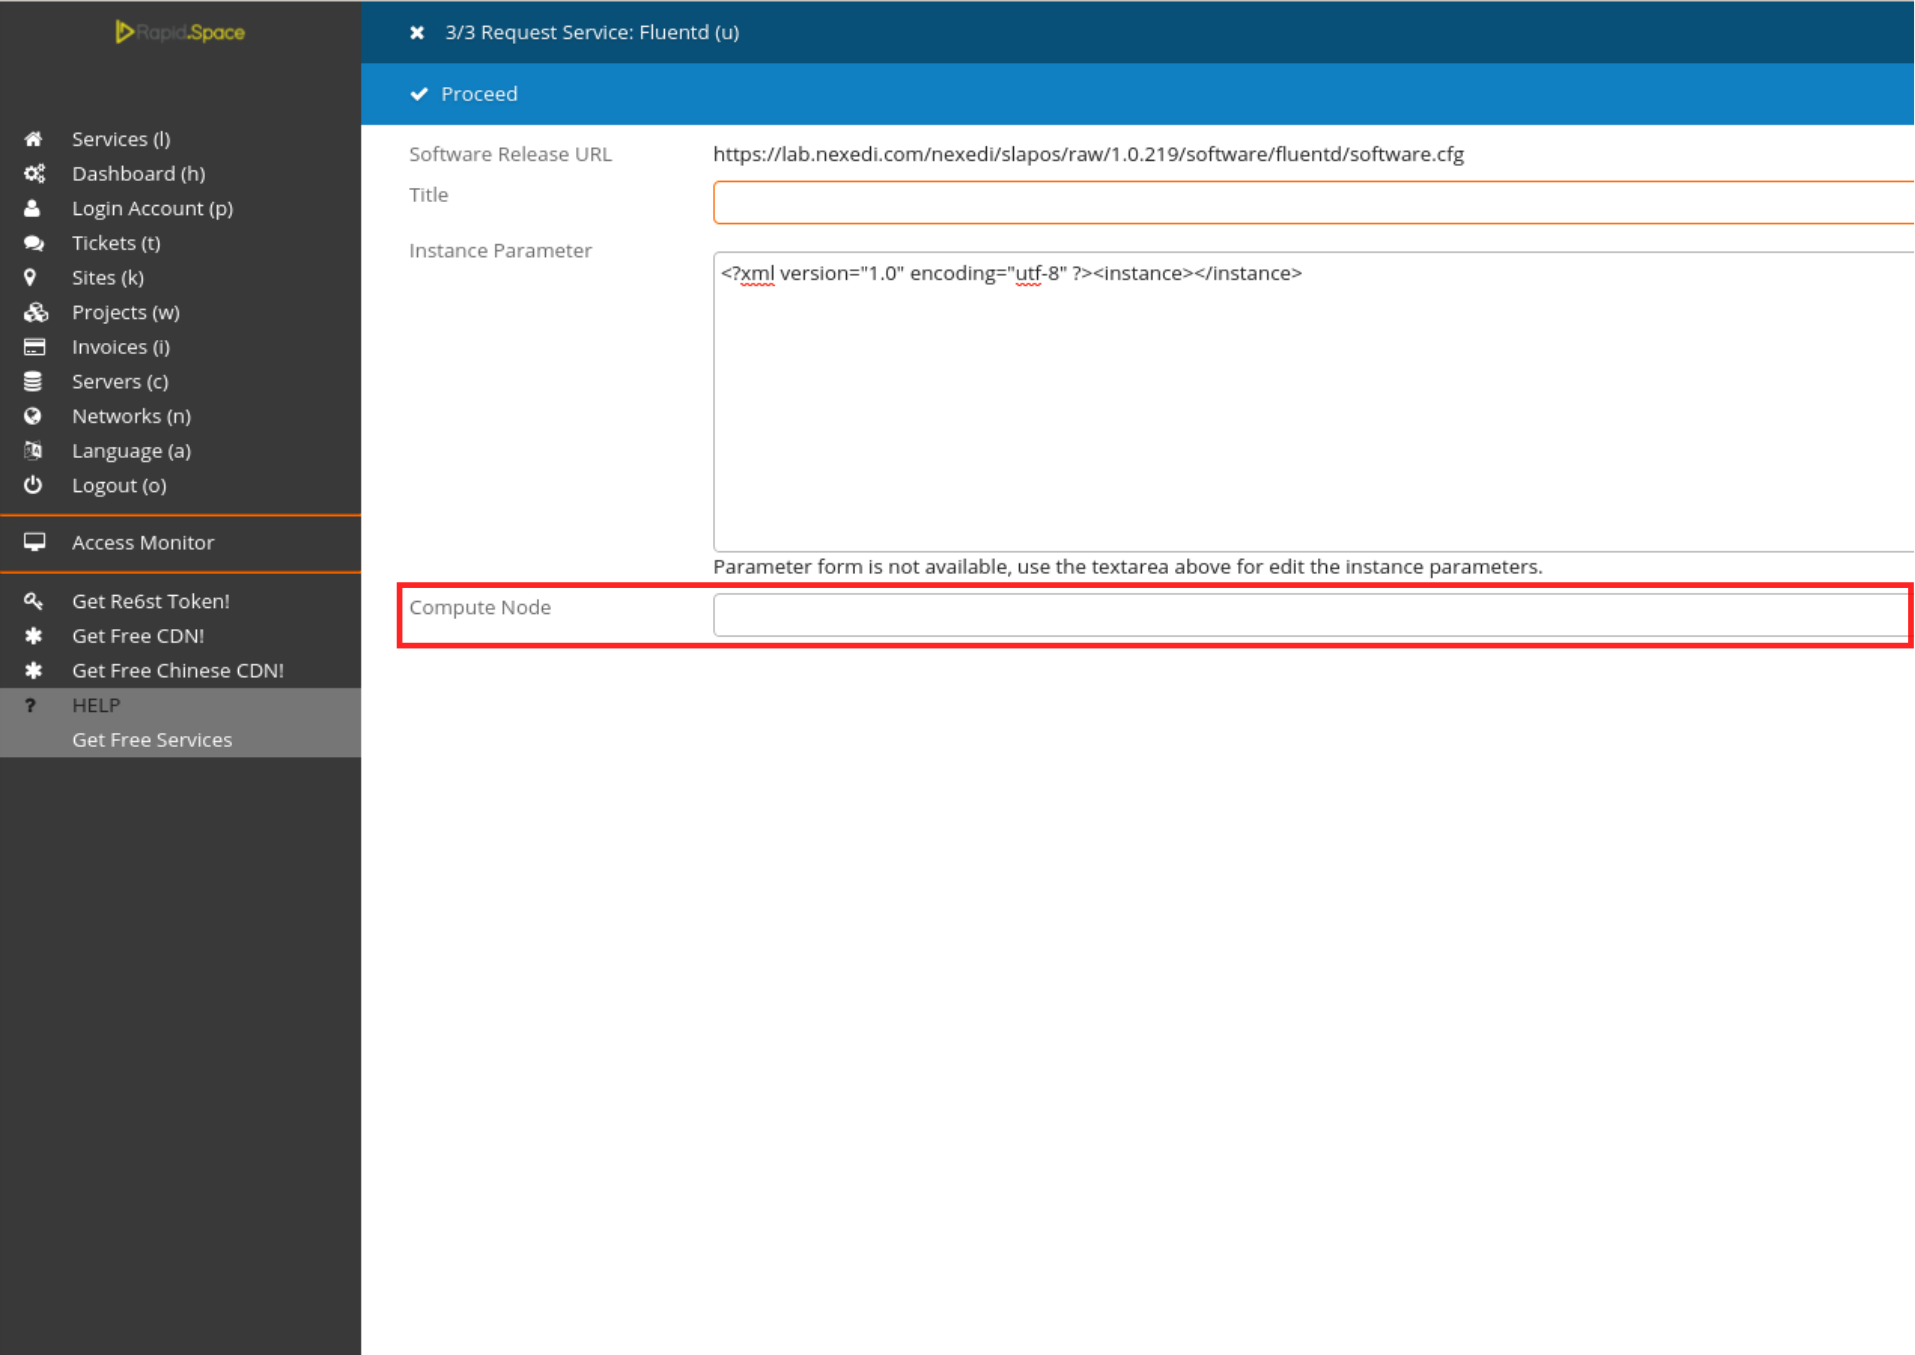
Select the machine on which you previously supplied Fluentd by clicking on the Computer Node drop-down list. This is the machine on which the instance will be requested.
Request via SlapOS Panel Cont.
Enter a title for your Fluentd instance
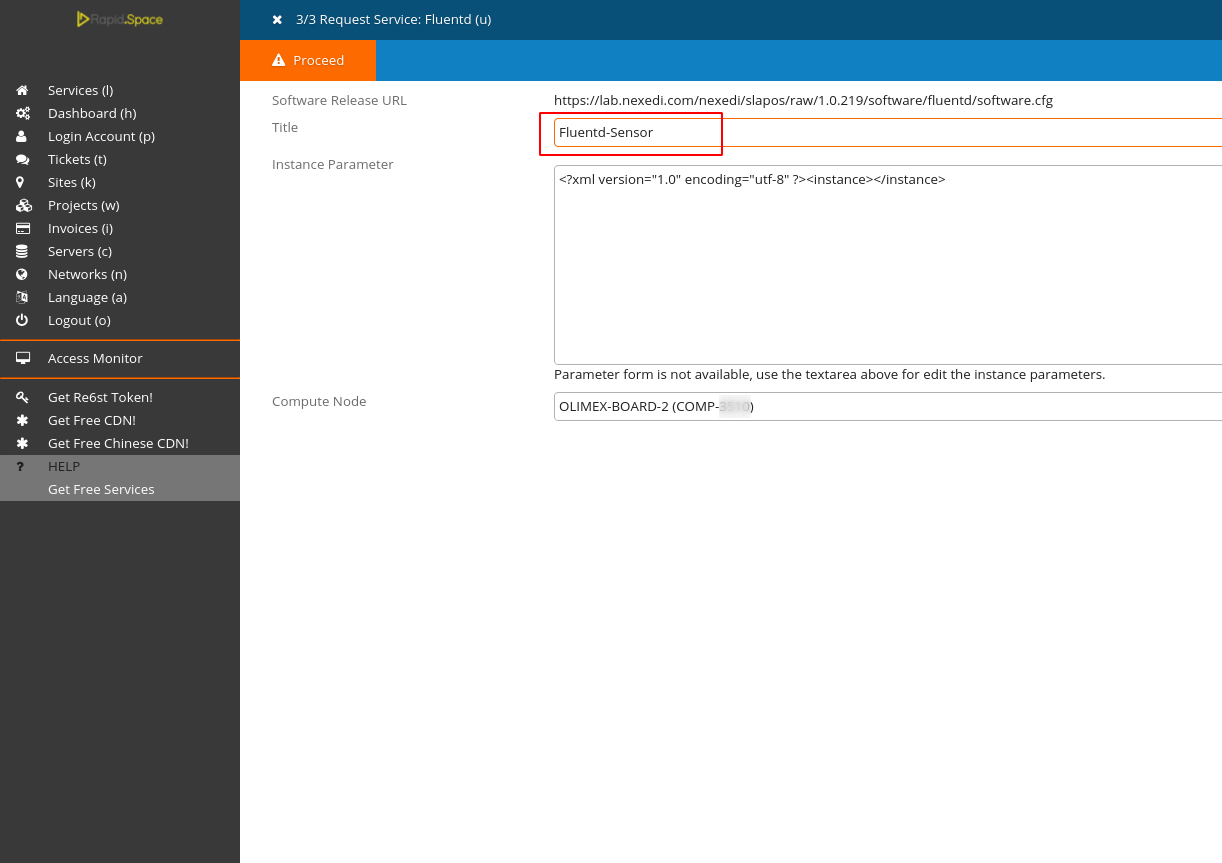
Request via SlapOS Panel Cont.
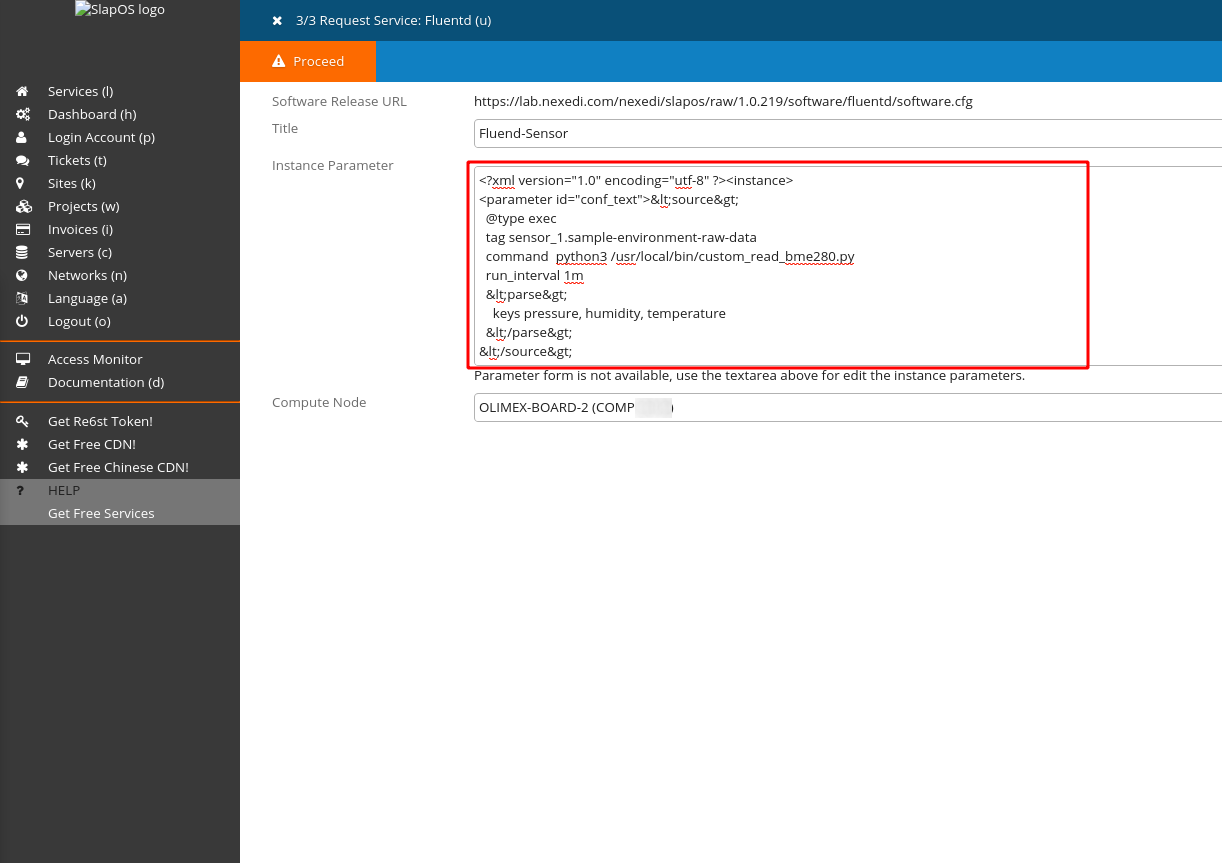
Fill in the Fluentd configuration parameters in the Instance Parameter field. You can use the <parameter> tag to specify certain parameters of your instance. The name for the Fluentd configuration parameter is conf_text. Because the Instance Parameter itself is written in XML we have to escape our Fluentd Configuration File. You can use an Online XML escape tool (for instance appdevtools).
The escaped form of the configuration would be something similar to:
<?xml version="1.0" encoding="utf-8" ?><instance>
<parameter id="conf_text"><source>
@type exec
tag YOUR_TAG_NAME
command python3 /usr/local/bin/custom_read_bme280.py
run_interval 1m
<parse>
keys pressure, humidity, temperature
</parse>
</source>
<match YOUR_TAG_NAME>
@type forward
<server>
name myserver1
host IPV6_ADDRESS_OF_YOUR_IOT_GATEWAY
</server>
</match>
</parameter>
</instance>
Don't forget to correctly fill in your computer reference, Instance name, url etc.
Finally click Proceed to request the instance.
Request via SlapOS Client
config_params = """<source>
@type exec
tag YOUR_TAG_NAME
command python3 /usr/local/bin/custom_read_bme280.py
run_interval 1m
<parse>
keys pressure, humidity, temperature
</parse>
</source>
<match YOUR_TAG_NAME>
@type forward
<server>
name myserver1
host IPV6_ADDRESS_OF_YOUR_IOT_GATEWAY
</server>
</match>"""

request("https://lab.nexedi.com/nexedi/slapos/raw/master/software/fluentd/software.cfg", "Sensor-Tutorial-Fluentd",filter_kw={"computer_guid": "YOUR_COMPUTER_ID"}, partition_parameter_kw={"conf_text":config_params})
As the Fluentd configuration has many parameters for convenience we will write a short python script which will request the instance, instead of calling request function from Slapos Client.
Create a python script and name it request_fluentd.py and copy/paste the presented code.
** Don't forget to correctly fill in your computer reference, Instance name, url etc.
As we are requesting instance of fluentd for the same computer the reference is the same as when we were supplying the software.
"YOUR_INSTANCE_NAME" - give your instance a distinguishing name so you can later easily find it. For example Sensor-Tutorial-Fluentd.
Once it's ready run it by calling following command :
slapos console request_fluentd.py
Monitor instantiation
You can monitor the process by running
tail -f /opt/slapos/log/slapos-node-instance.log
on the respective machine.
Fluentd Instance
This step can take some time.
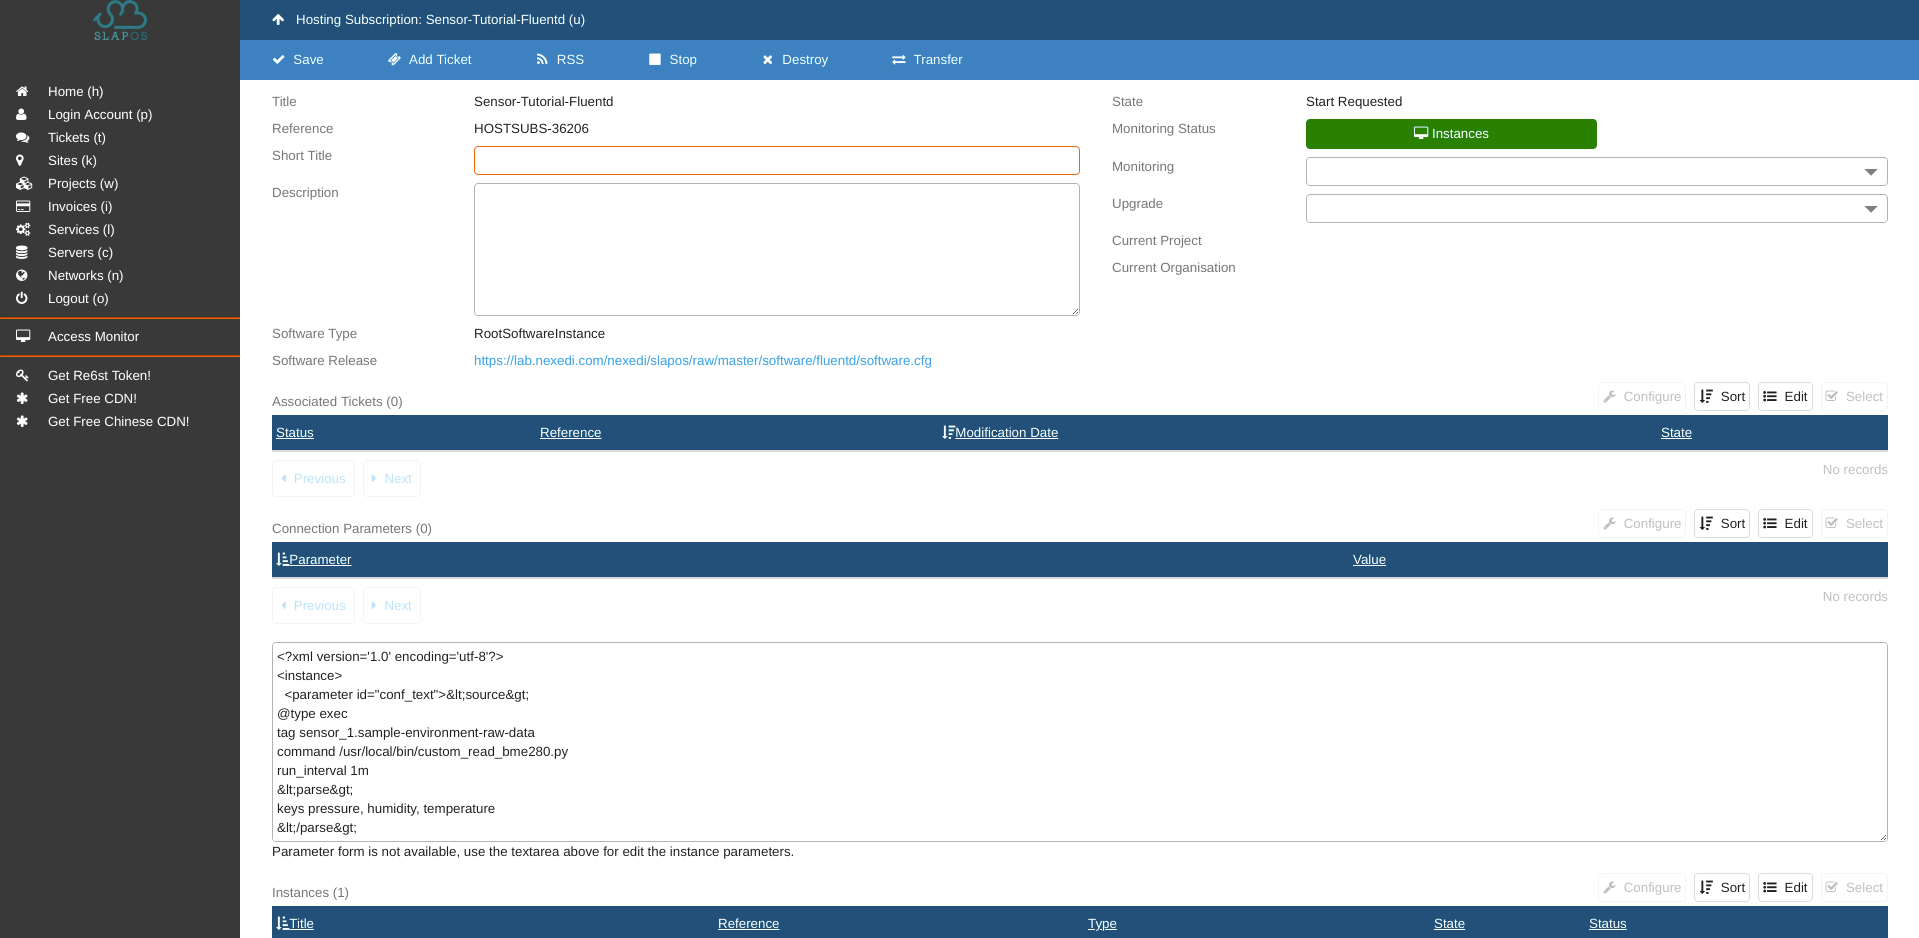
In your Slapos dashboard you can see you newly requested instance.
Instance is ready when the the Monitoring Status is green.
Note the Parameters section - there are the flunetd configuration parameters we defined earlier.
Sensor
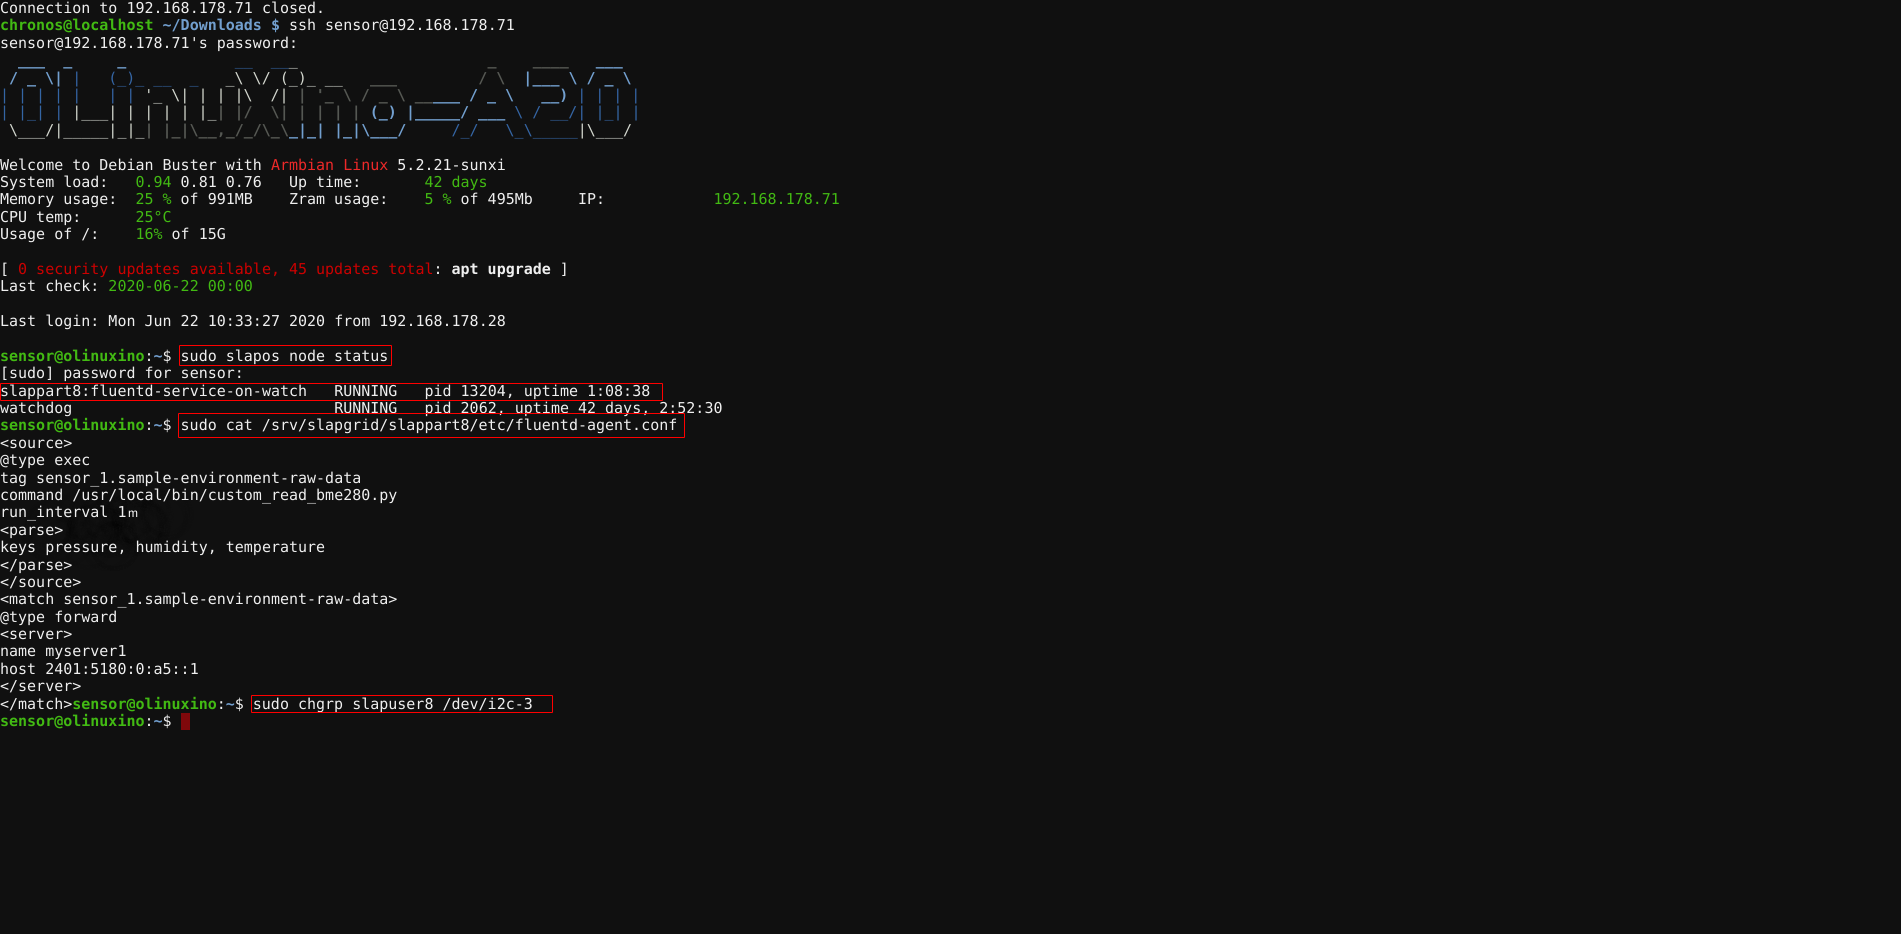
Login to your Sensor and run the following command :
sudo slapos node status
You see that a new service for Fluentd is added.
And the generated flunted configuration file is located here :
/srv/slapgrid/slappartX/etc/fluentd-agent.conf
Now your sensor is ready to retrieve data and to send it to, in our case, the IOT Gateway.
Troubleshoot
Fluentd raises errors when trying to run the python script "custom_read_bme280.py"
If in Fluentd log you see smbus package raising an IOError or OverflowError("Bus number is invalid."), it could be that in newer versions of the Olimex image use a different devicetree than the version which has been used when developing this tutorial. In this case you have to adjust the integer inside the bme280_i2c.set_default_bus call. Please see here for more information.