Agenda
- Create Data Operation
- Configure Variation For Data Product
- Create Data Product
- Create Transformation Script
- Create Data Transformation
- See Data Analysis
- See Data Array
This tutorial teaches how to create more sophisticated Data Transformation - resampling.
Before doing this tutorial make sure you read and completed the following tutorial and have data in your wendelin instance:
The general pipeline is exactly the same as in the previous tutorial.
Data Operation
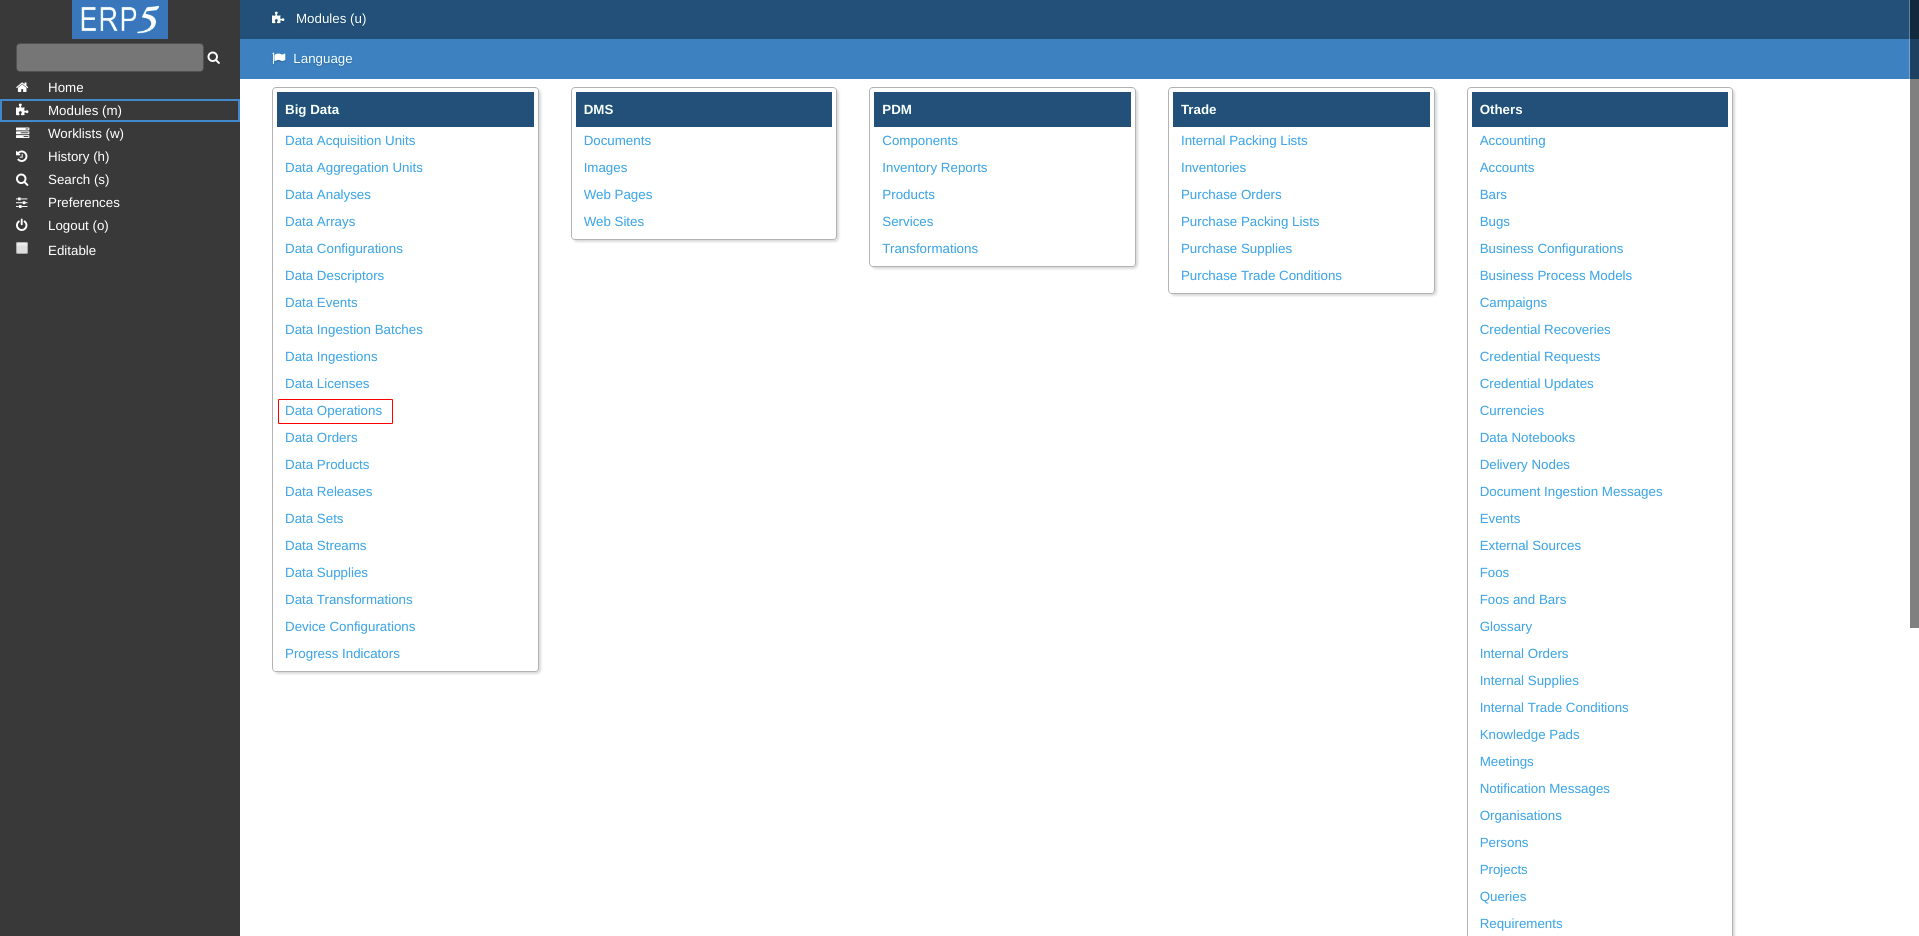
Open your Wendelin dashboard.
In Modules click on Data Operations Module
Add Data Operation
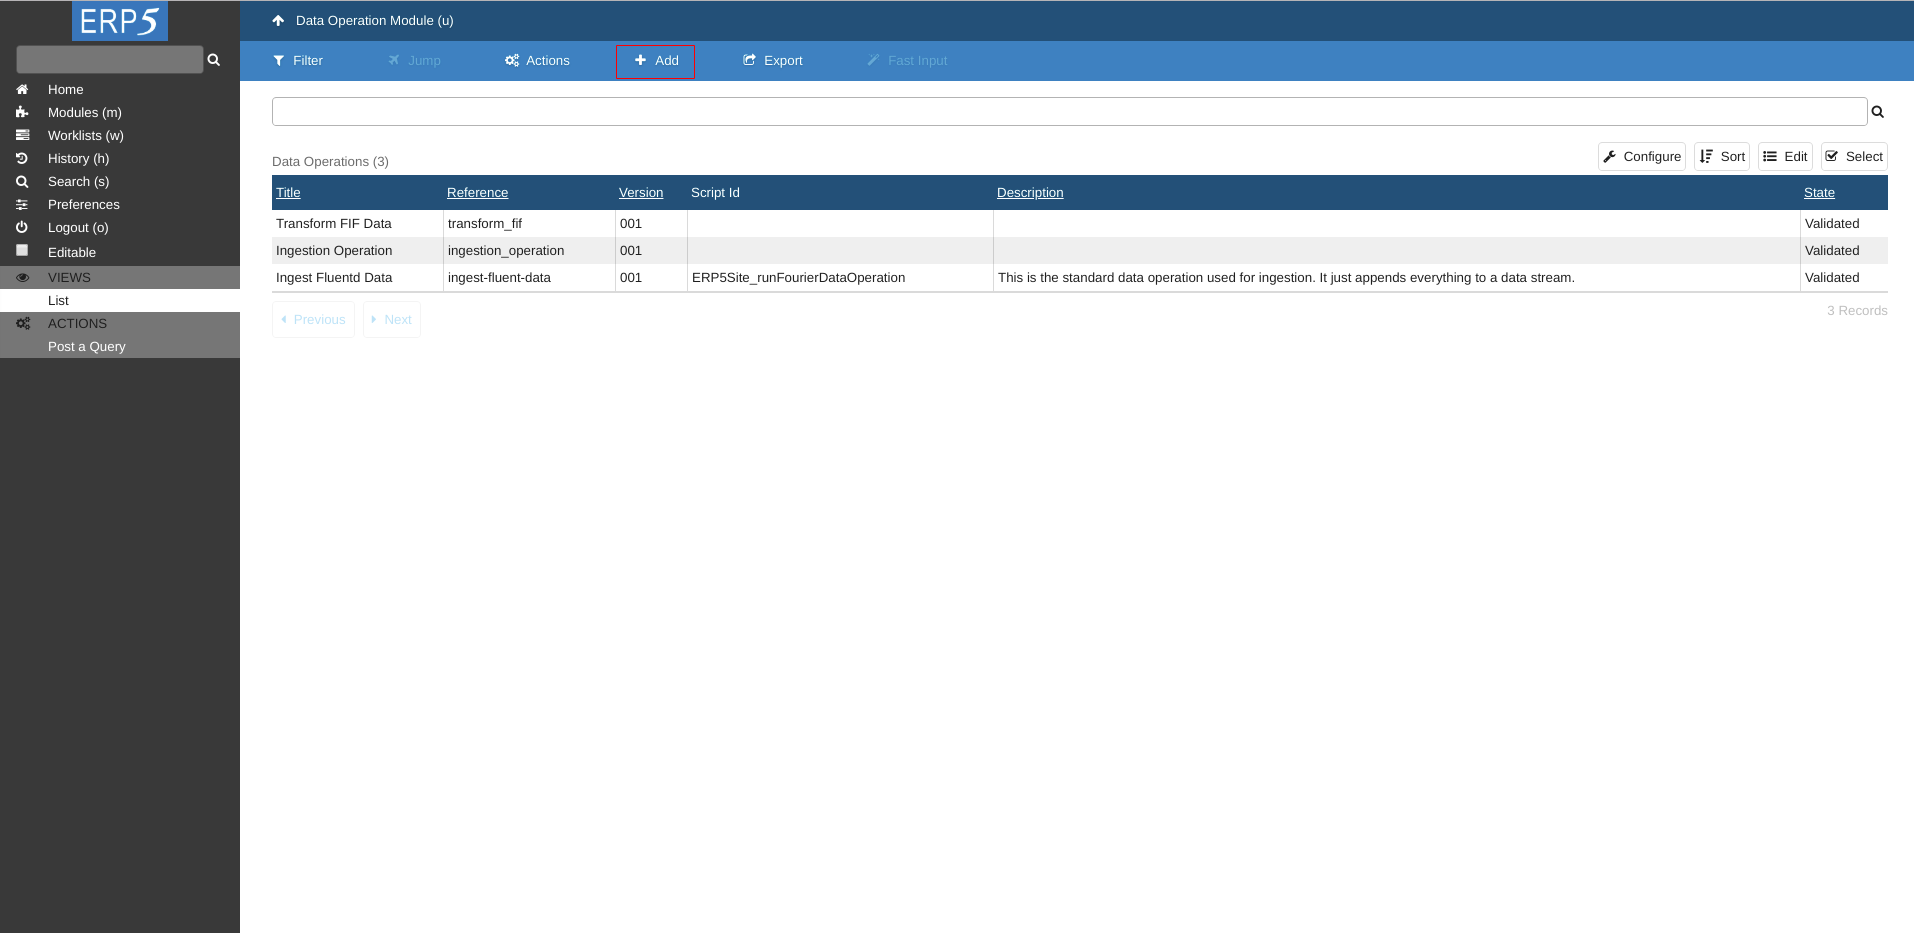
Click on Add to add a new Data Operation.
Add Data Operation
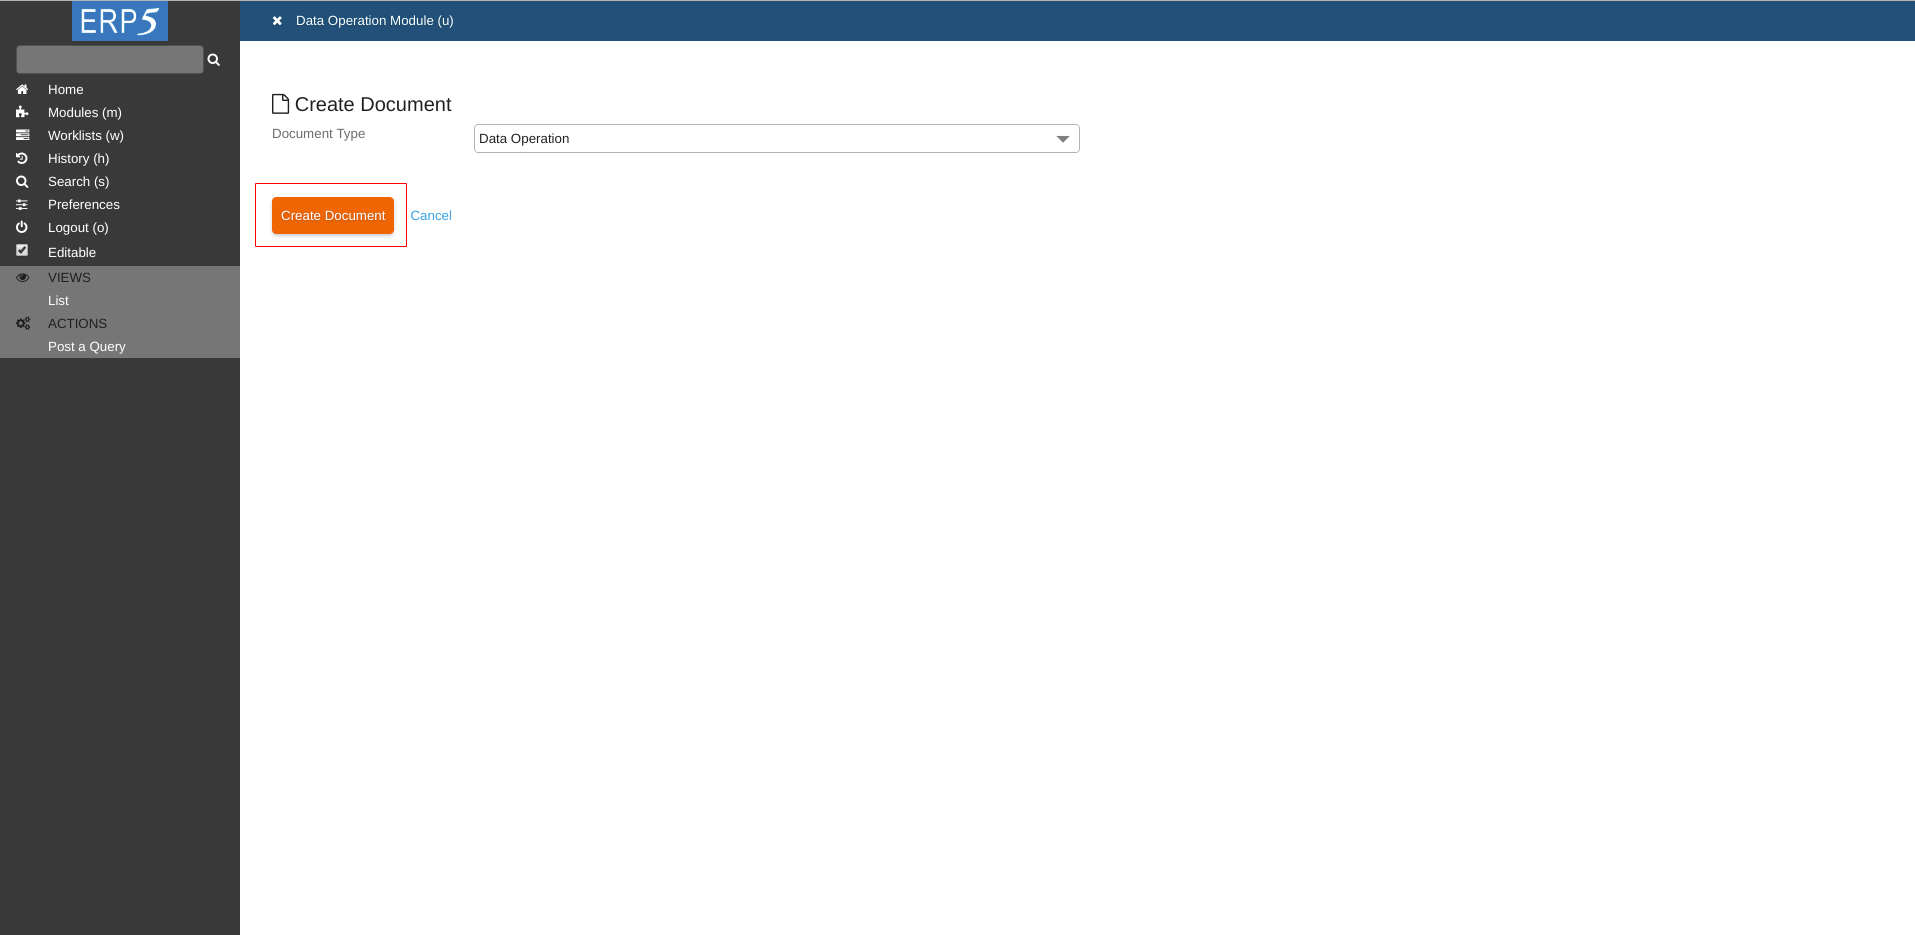
Click Proceed to continue.
Fill the Form
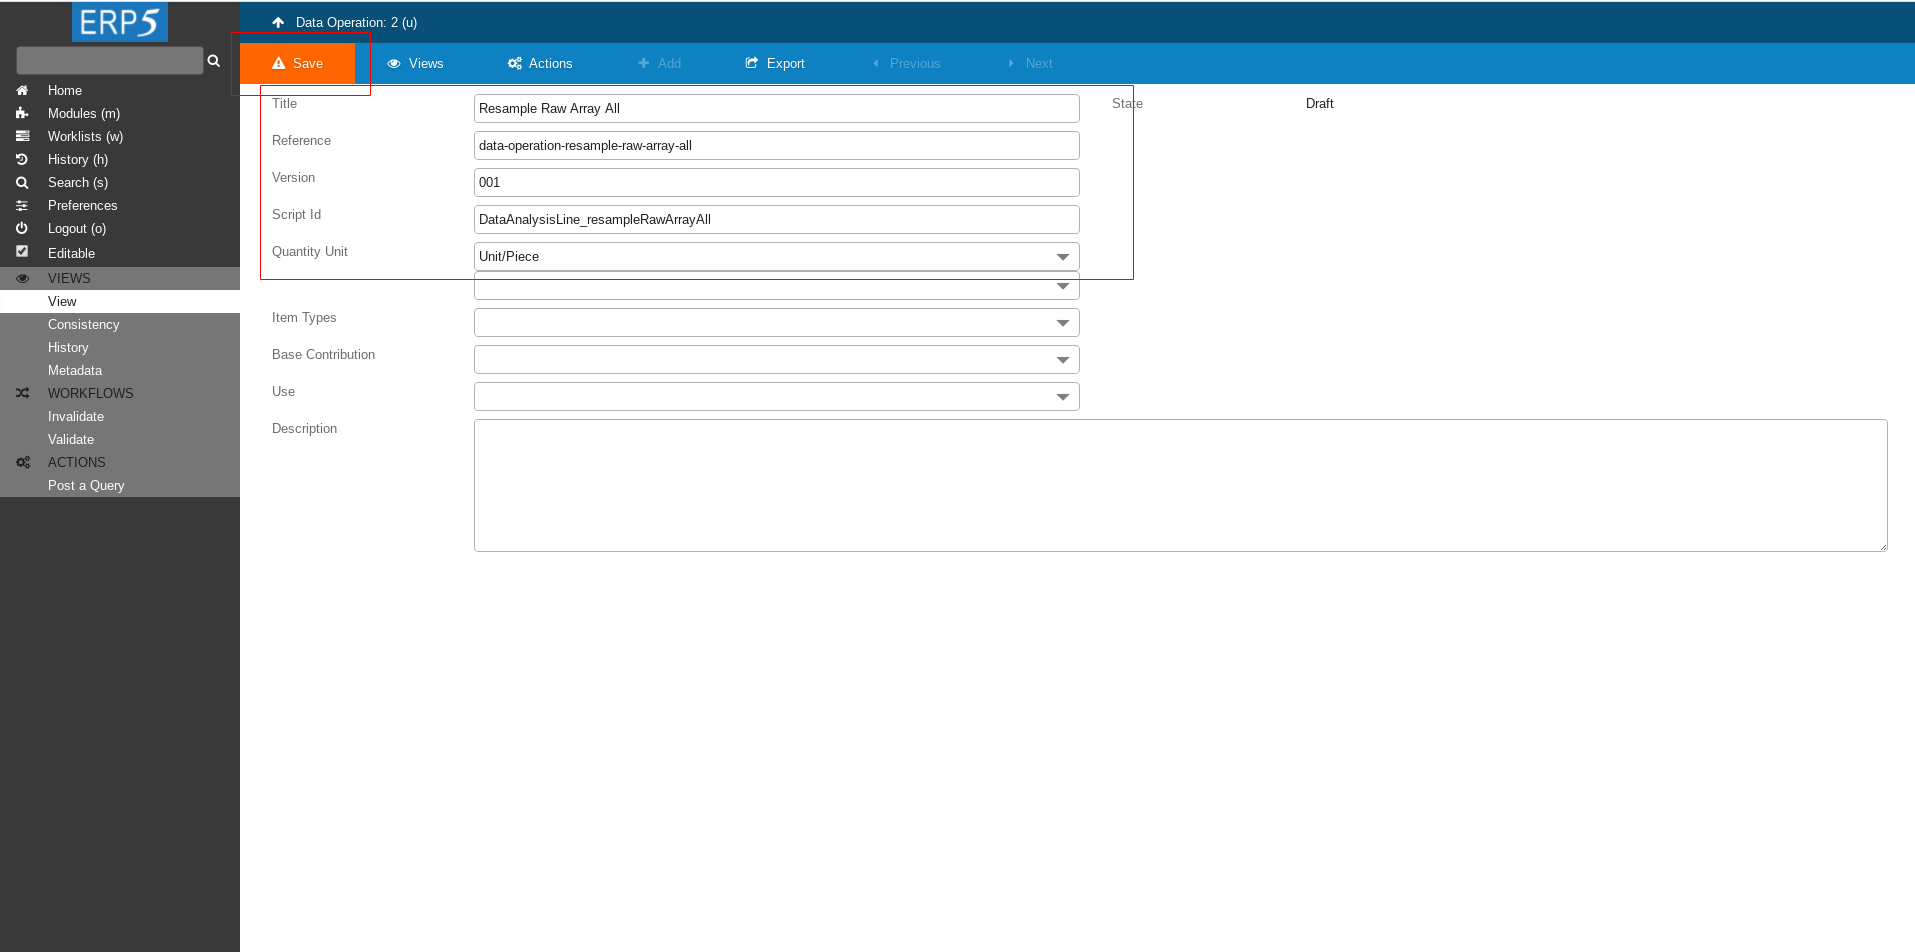
Fill the form to create Data Operation.
Title - we name it Resample Raw Array All
Reference - data-operation-resample-raw-array-all
Script ID - DataAnalysisLine_resampleRawArrayAll: this script will do all the magic. It doesn't exist yet, we will create it later in this tutorial.
At the don't forget to Save the changes.
Validate
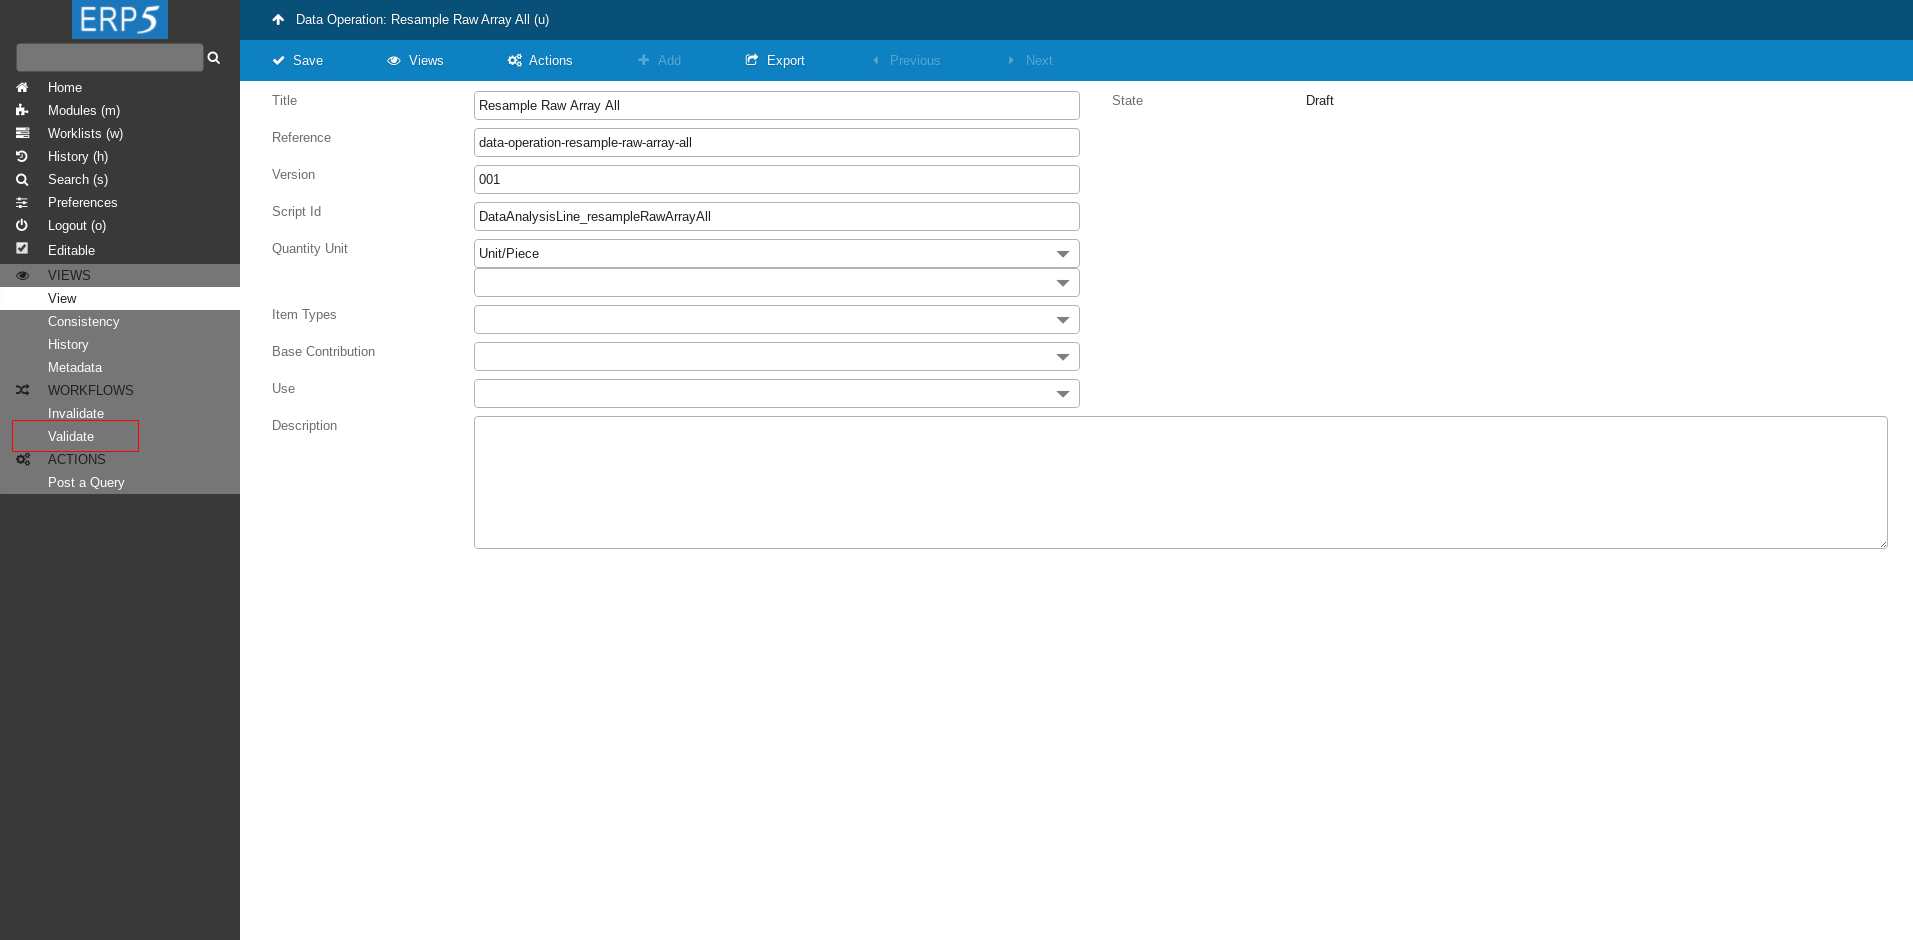
Click on Validate on left side panel to validate Data Operation.
Confirm Validation
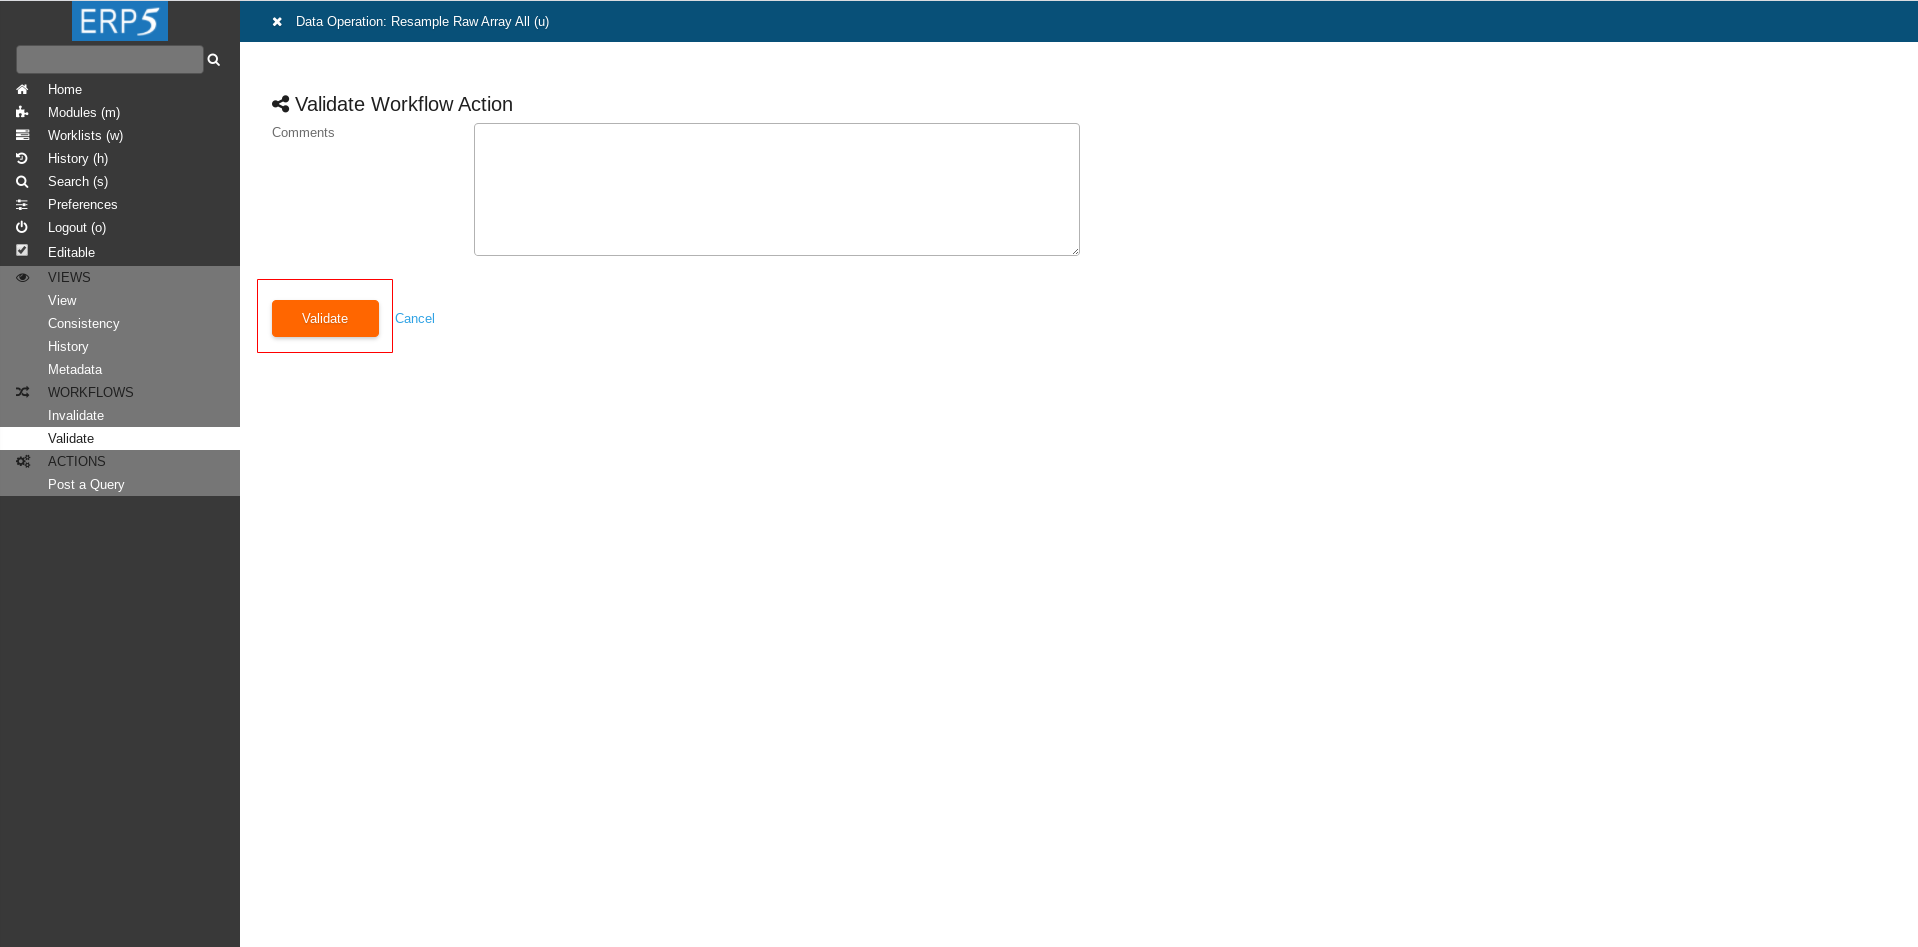
Click Proceed to confirm validation.
Data Product Variation
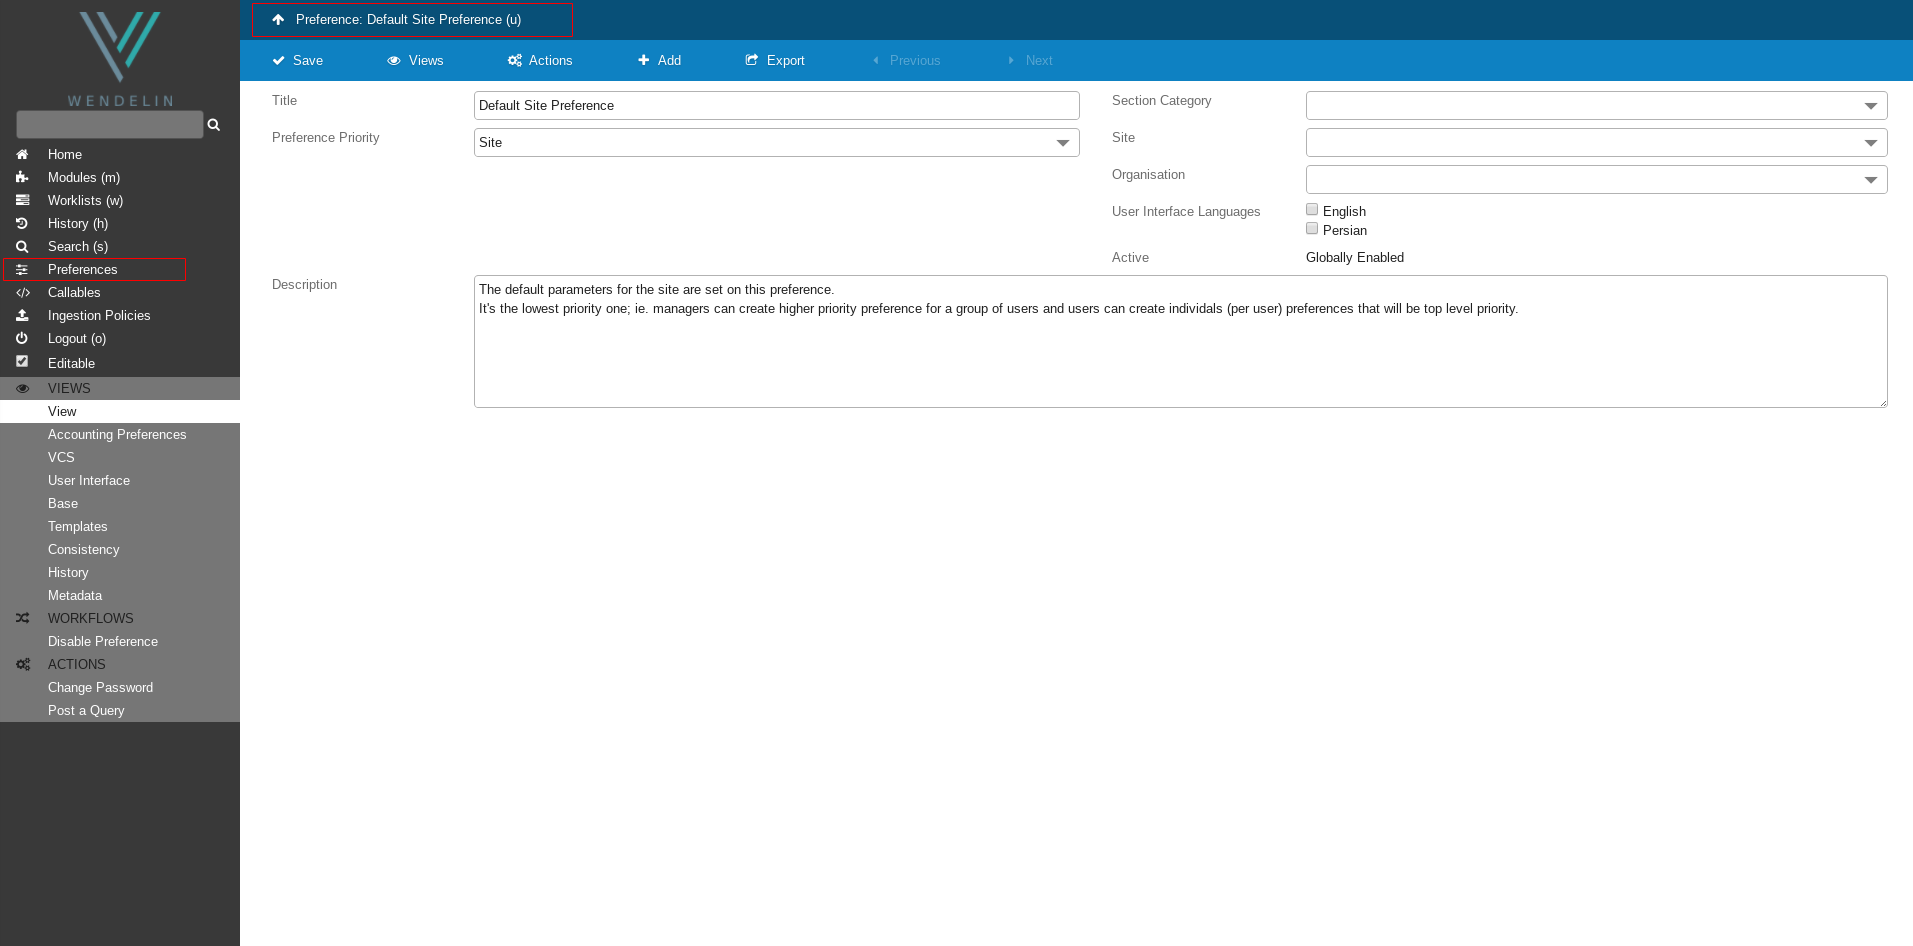
Before creating Data Product we want to add a variation of Data product called Resolution.
Navigate to page called Portal Preferences by clicking on Preferences on the left side panel.
It will redirect you to a page called Default Site Preferences.
Click on the Preference: Default Site Preferences on the top of the page.
Data Product Variation
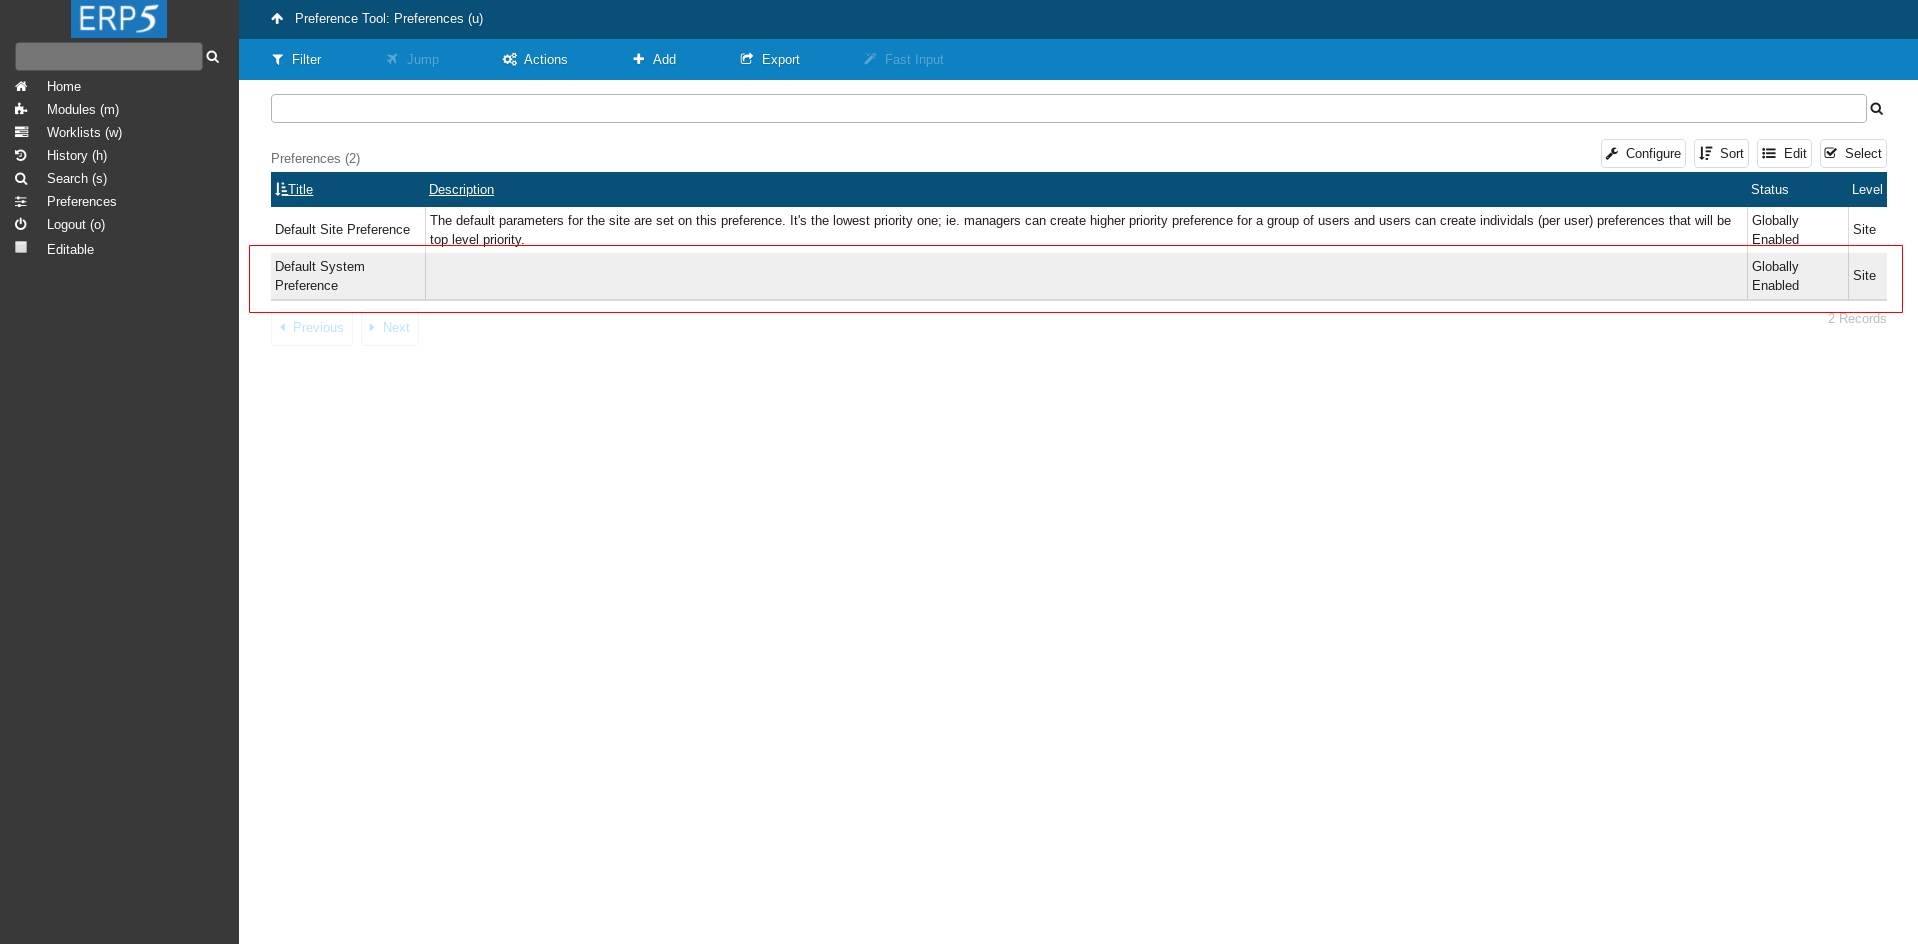
From the list of preferences click on Default System Preferences.
Wendelin Preferences
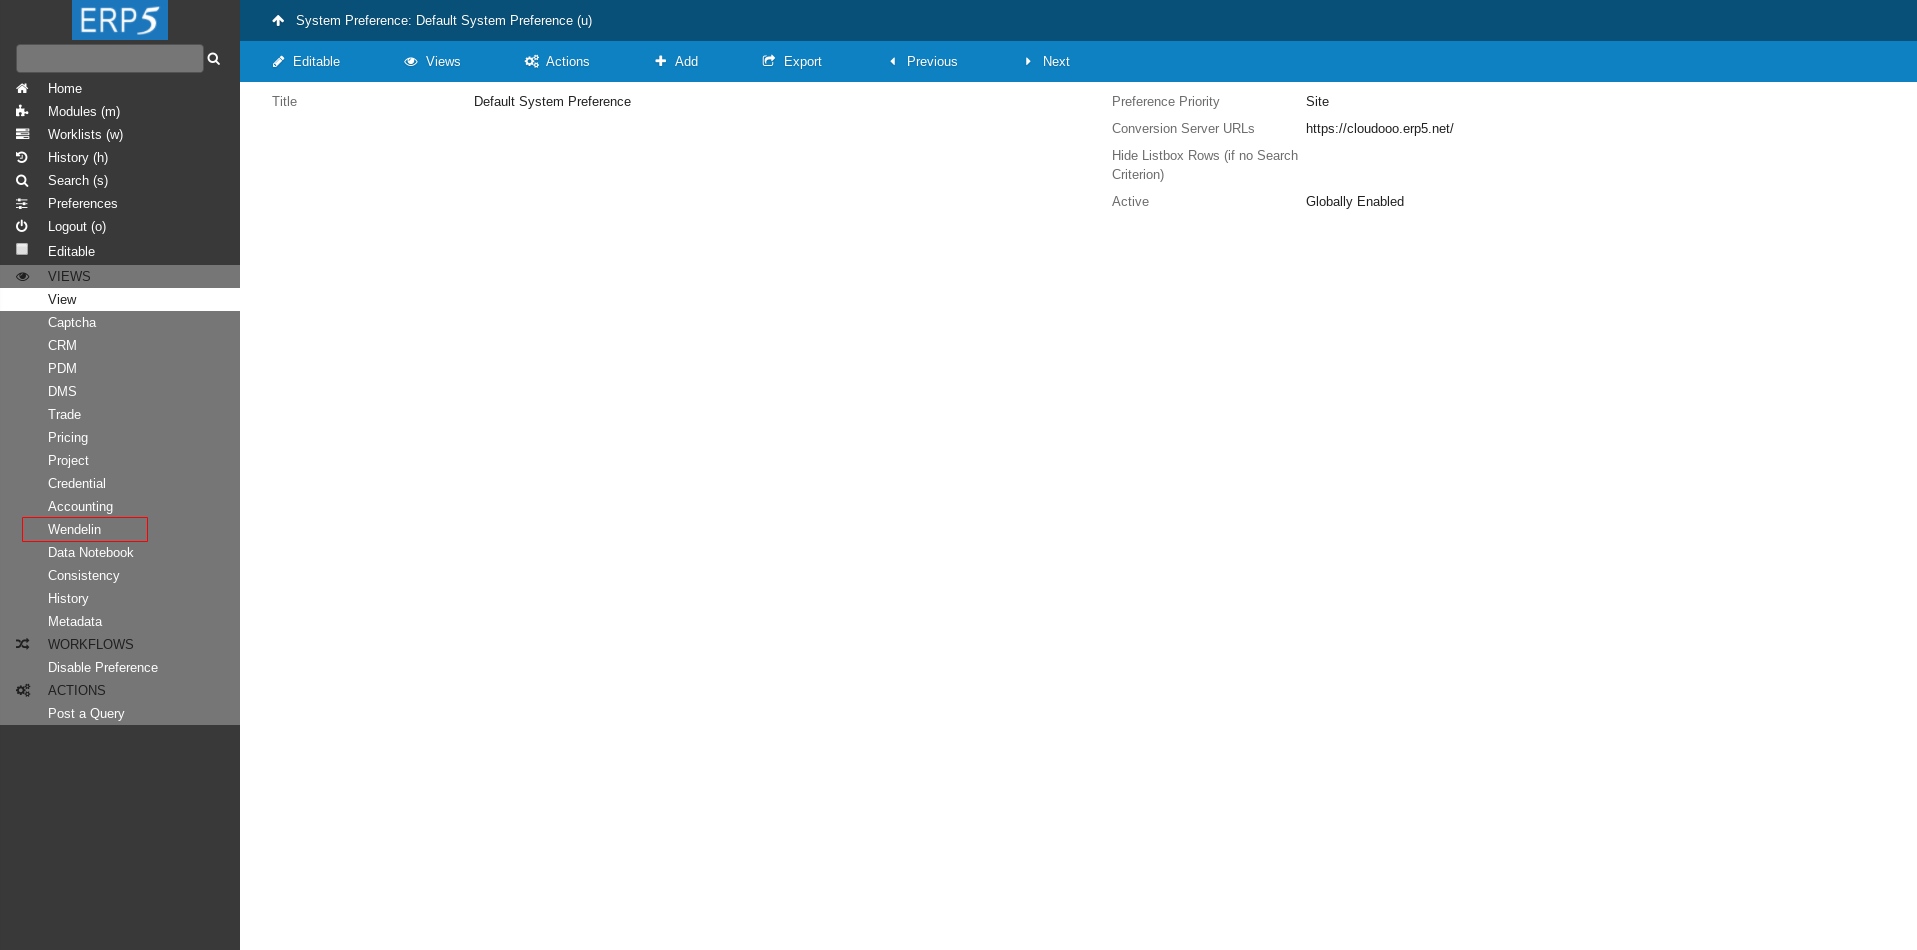
On the left side panel click on Wendelin.
Wendelin Preferences Cont.
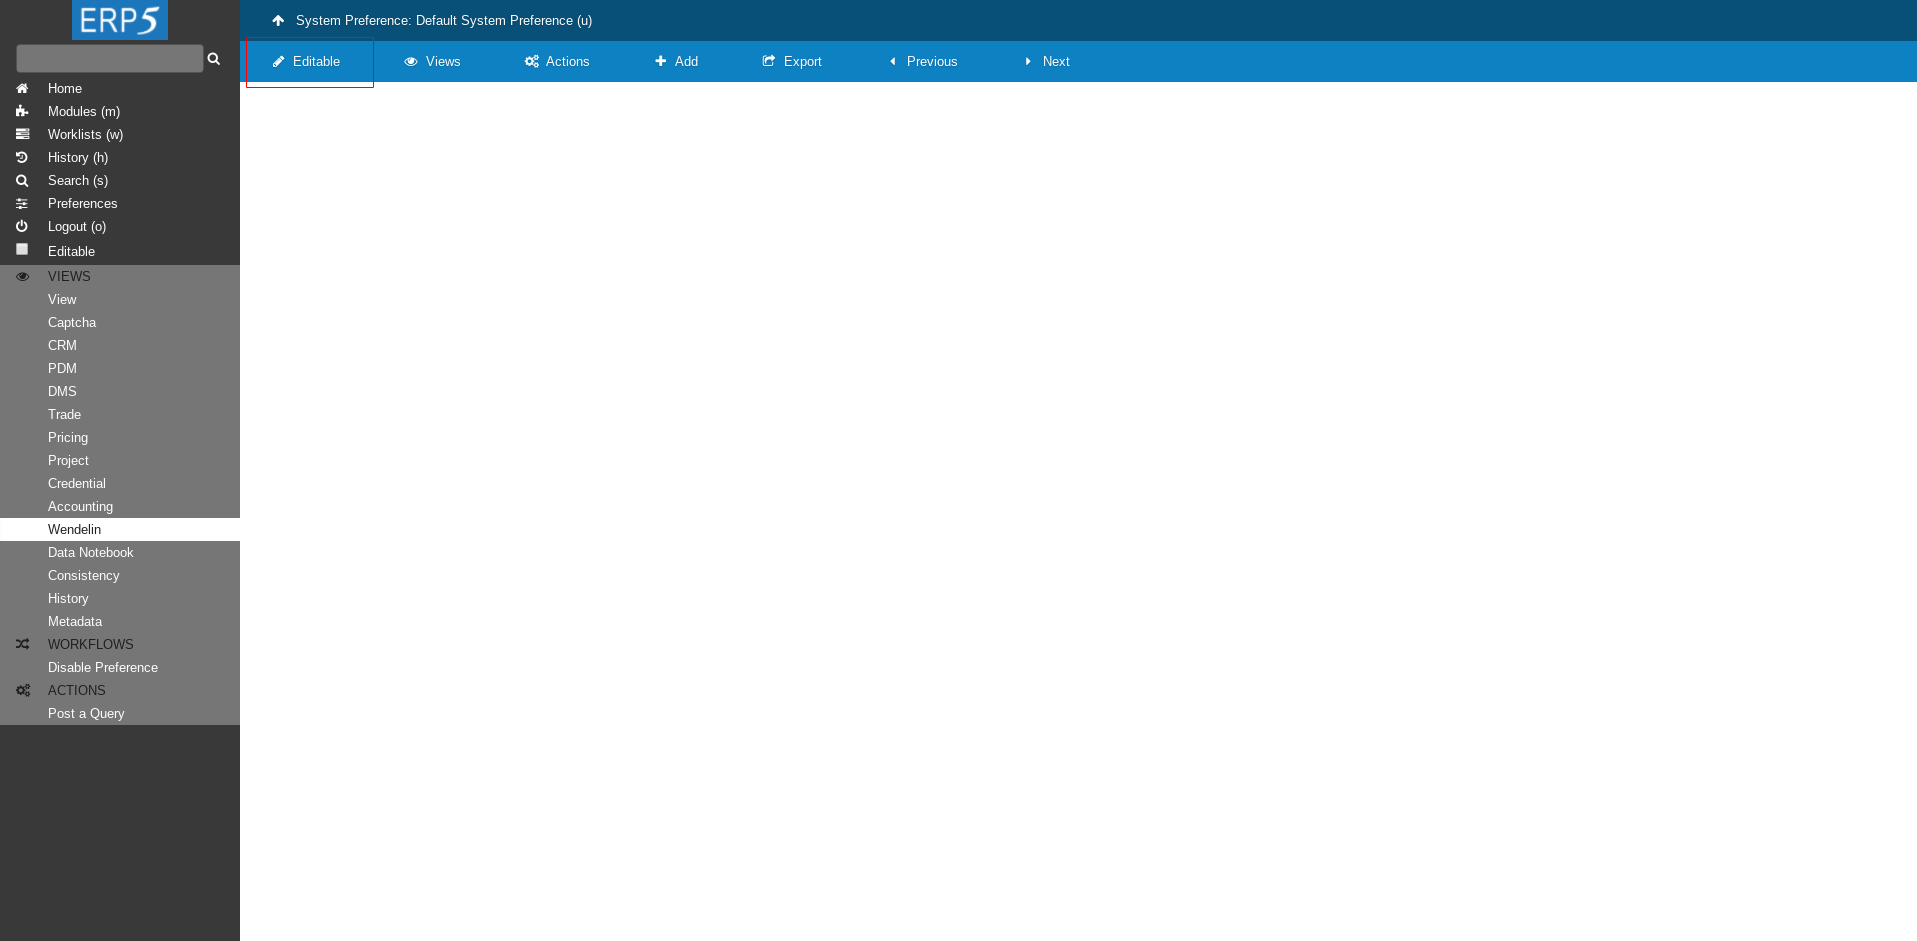
Then click on Editable on top panel to be able to make changes.
Wendelin Preferences Cont.
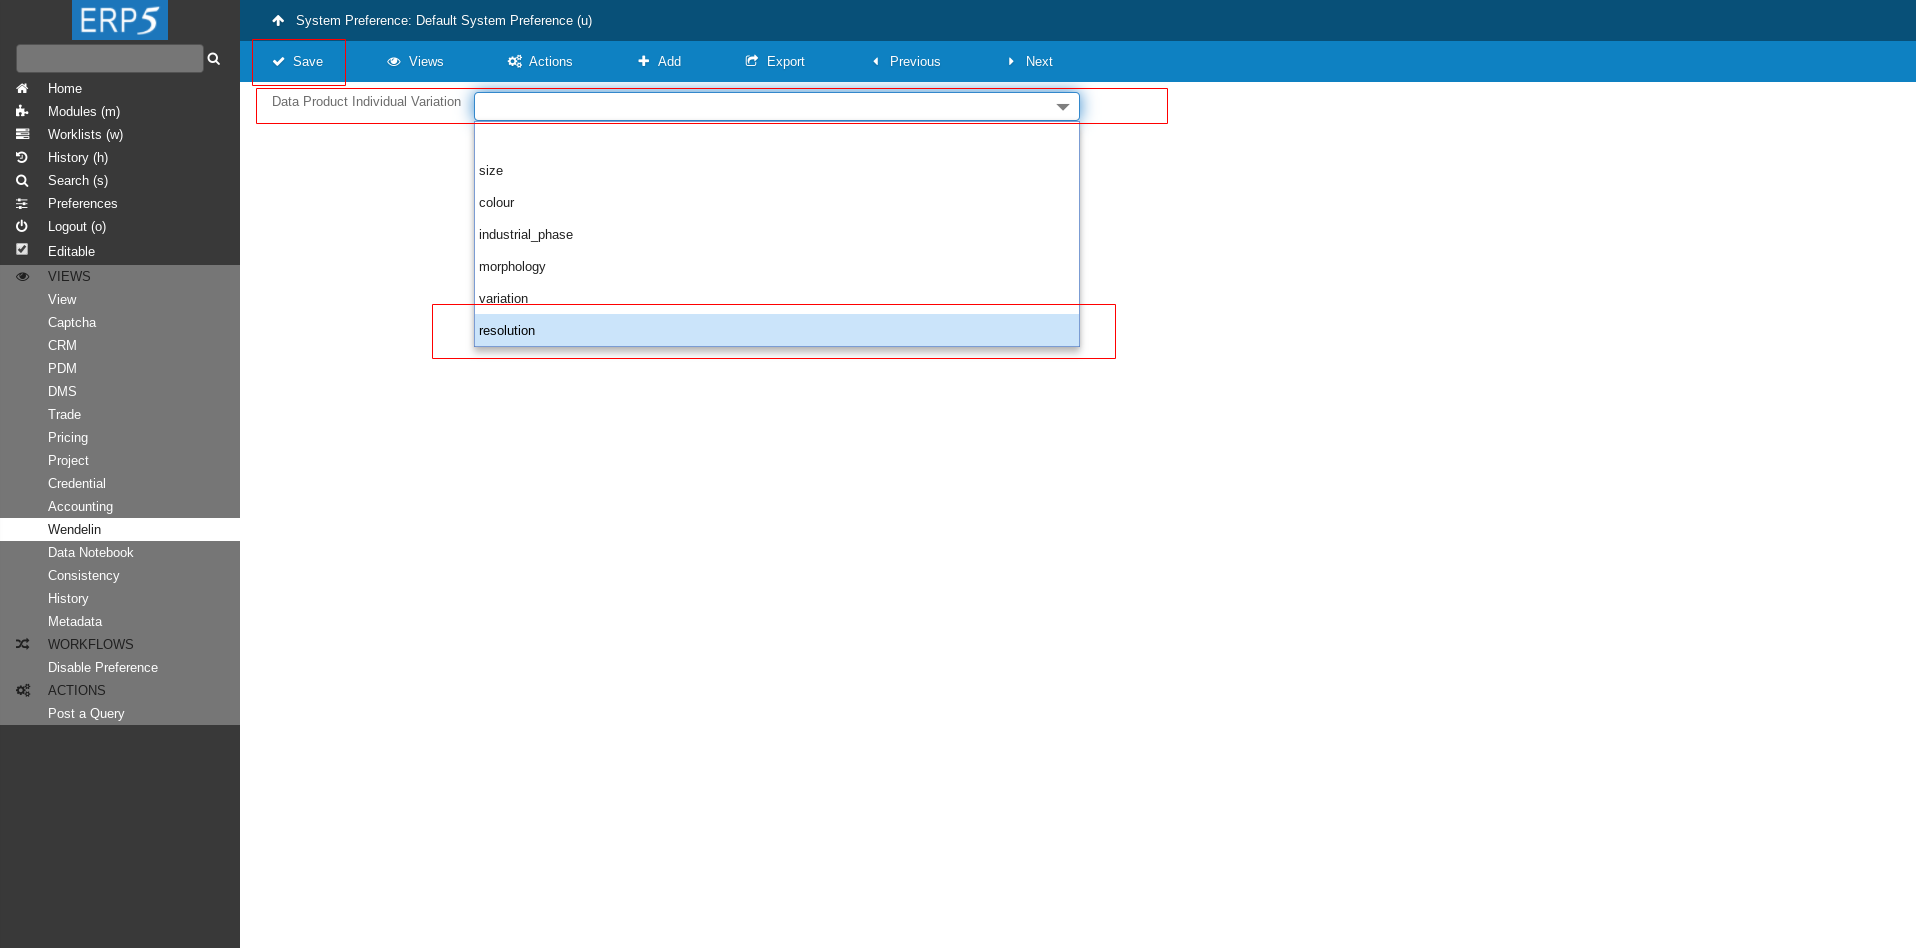
Once the page becomes editable, a field called Data Product Individual Variation will appear.
From drop down list choose resolution and click on Save to save the changes.
Data Product Variation Set
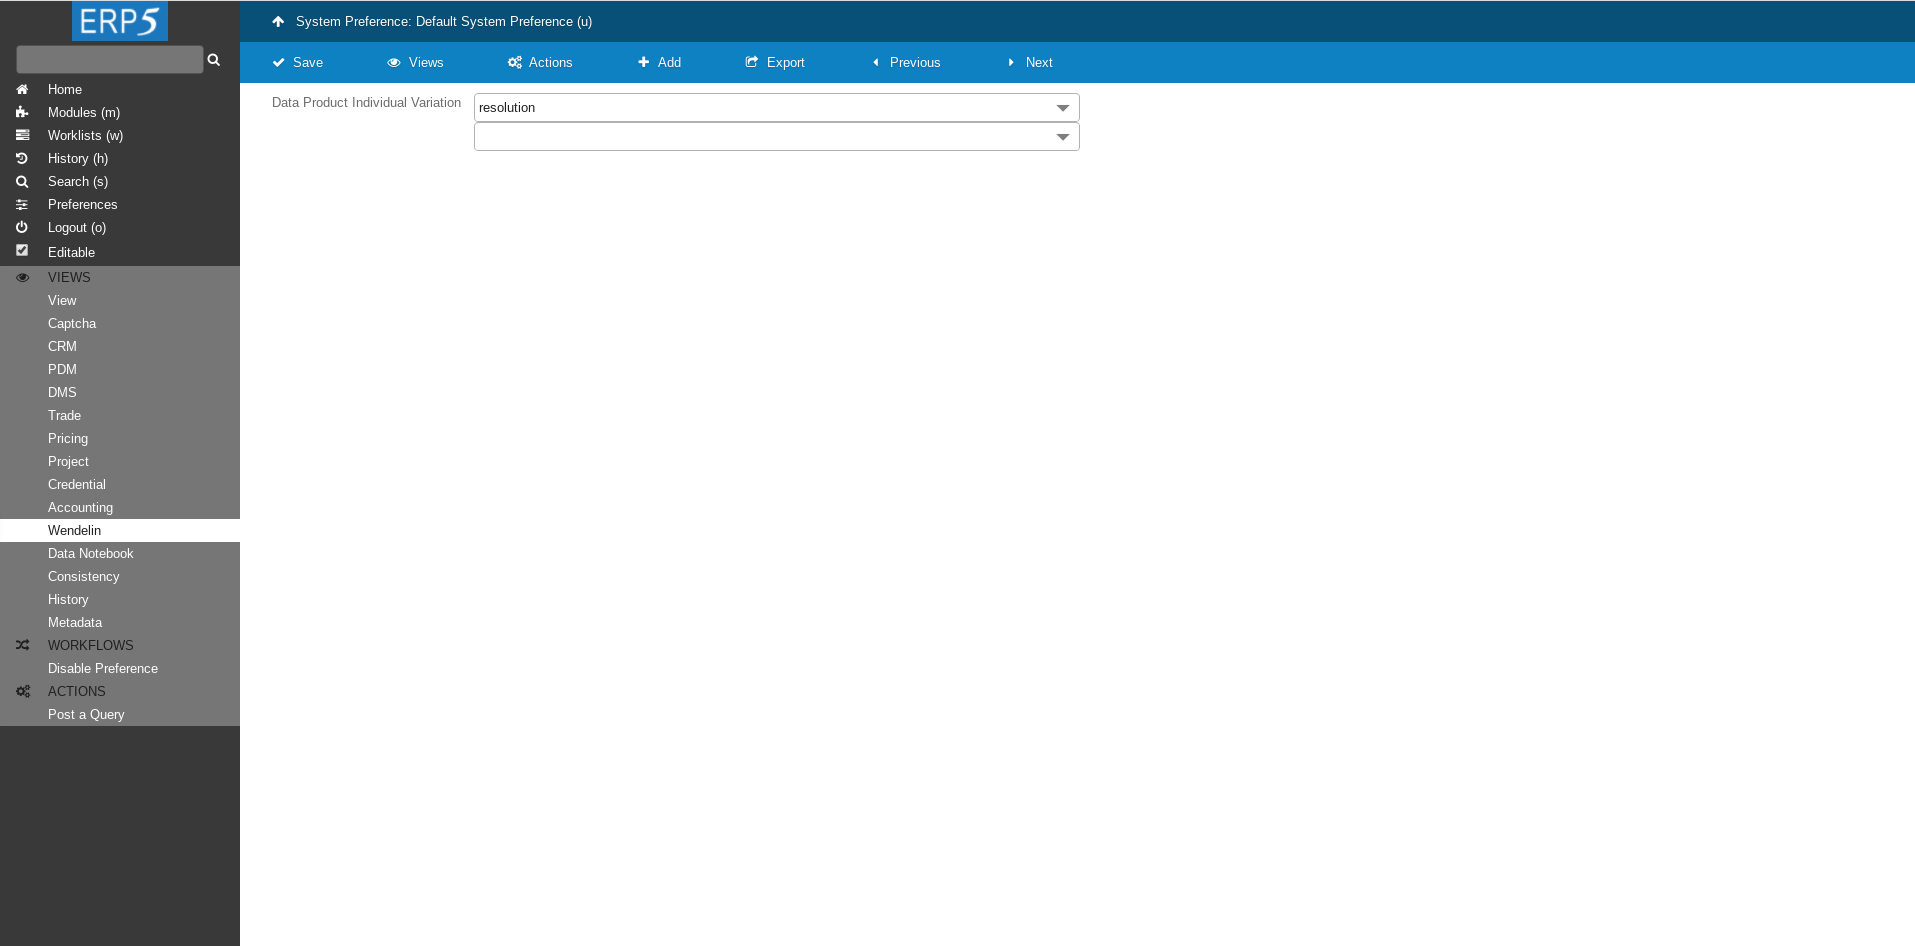
New variation for Data Product called resolution is set.
Nest step is to create Data Product for the resampled data and see how we use this new variation.
Data Product
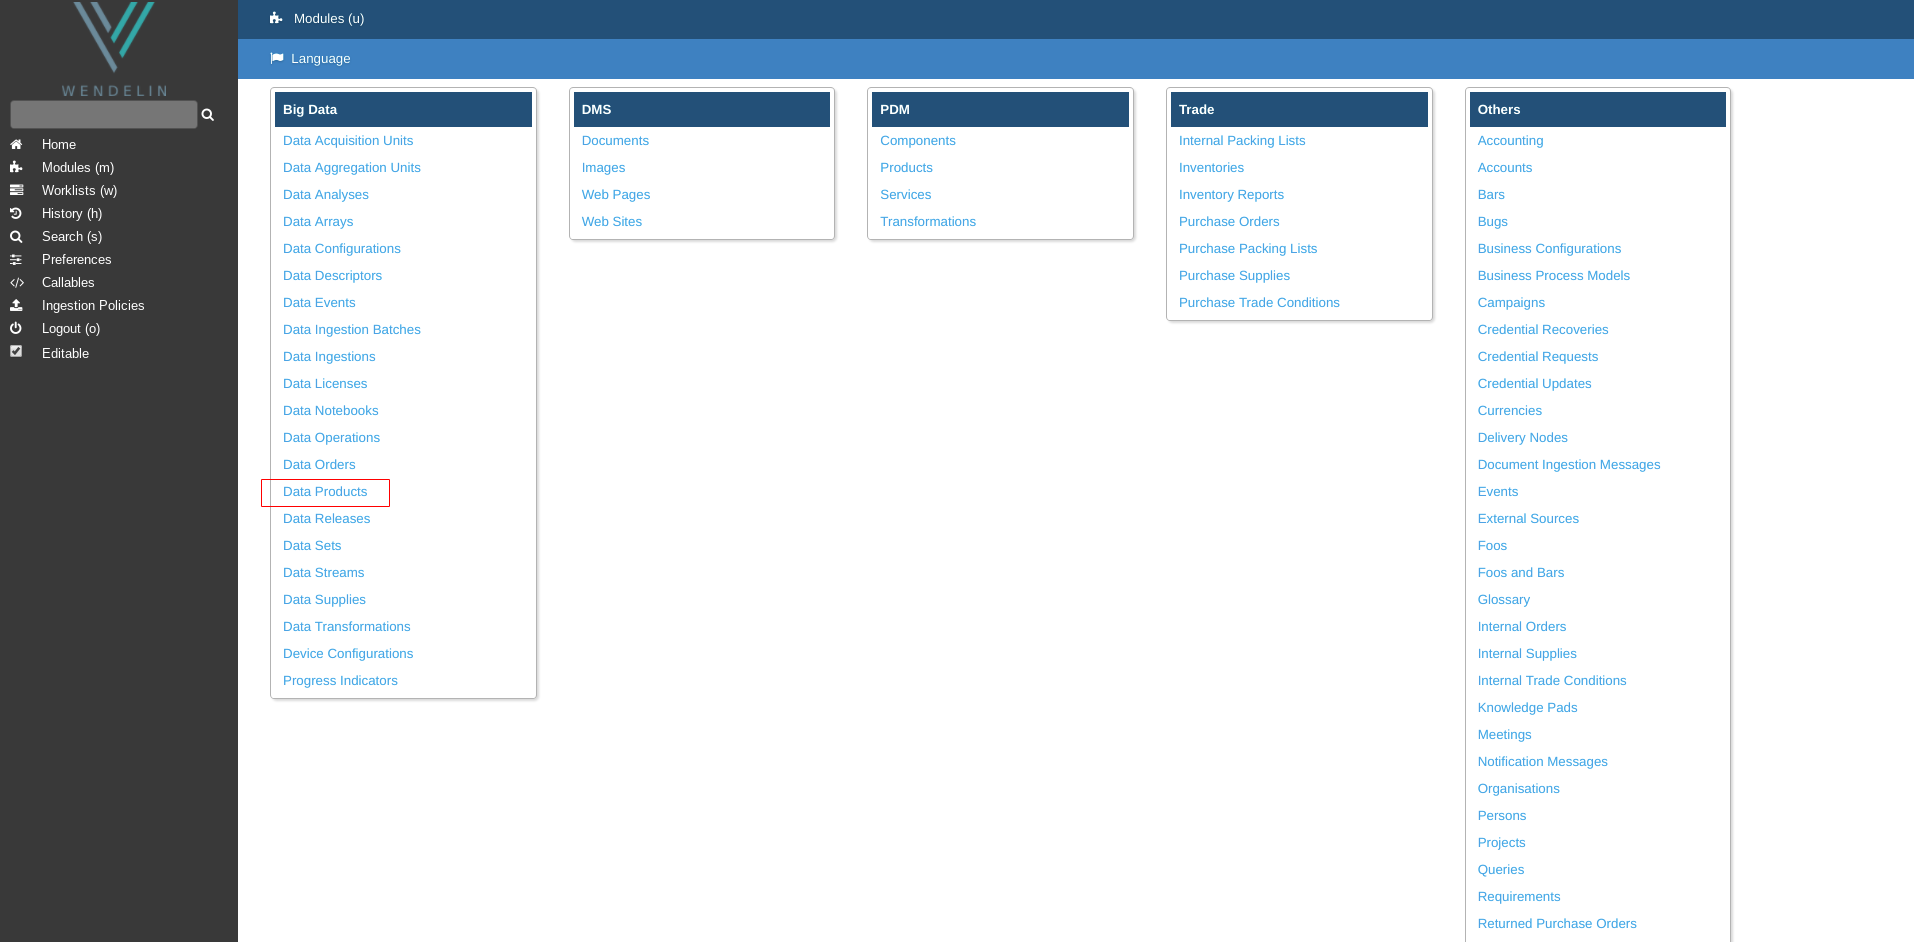
Now we need to create a new Data Product which will the output Data Product of the Transformation.
Create Data Product
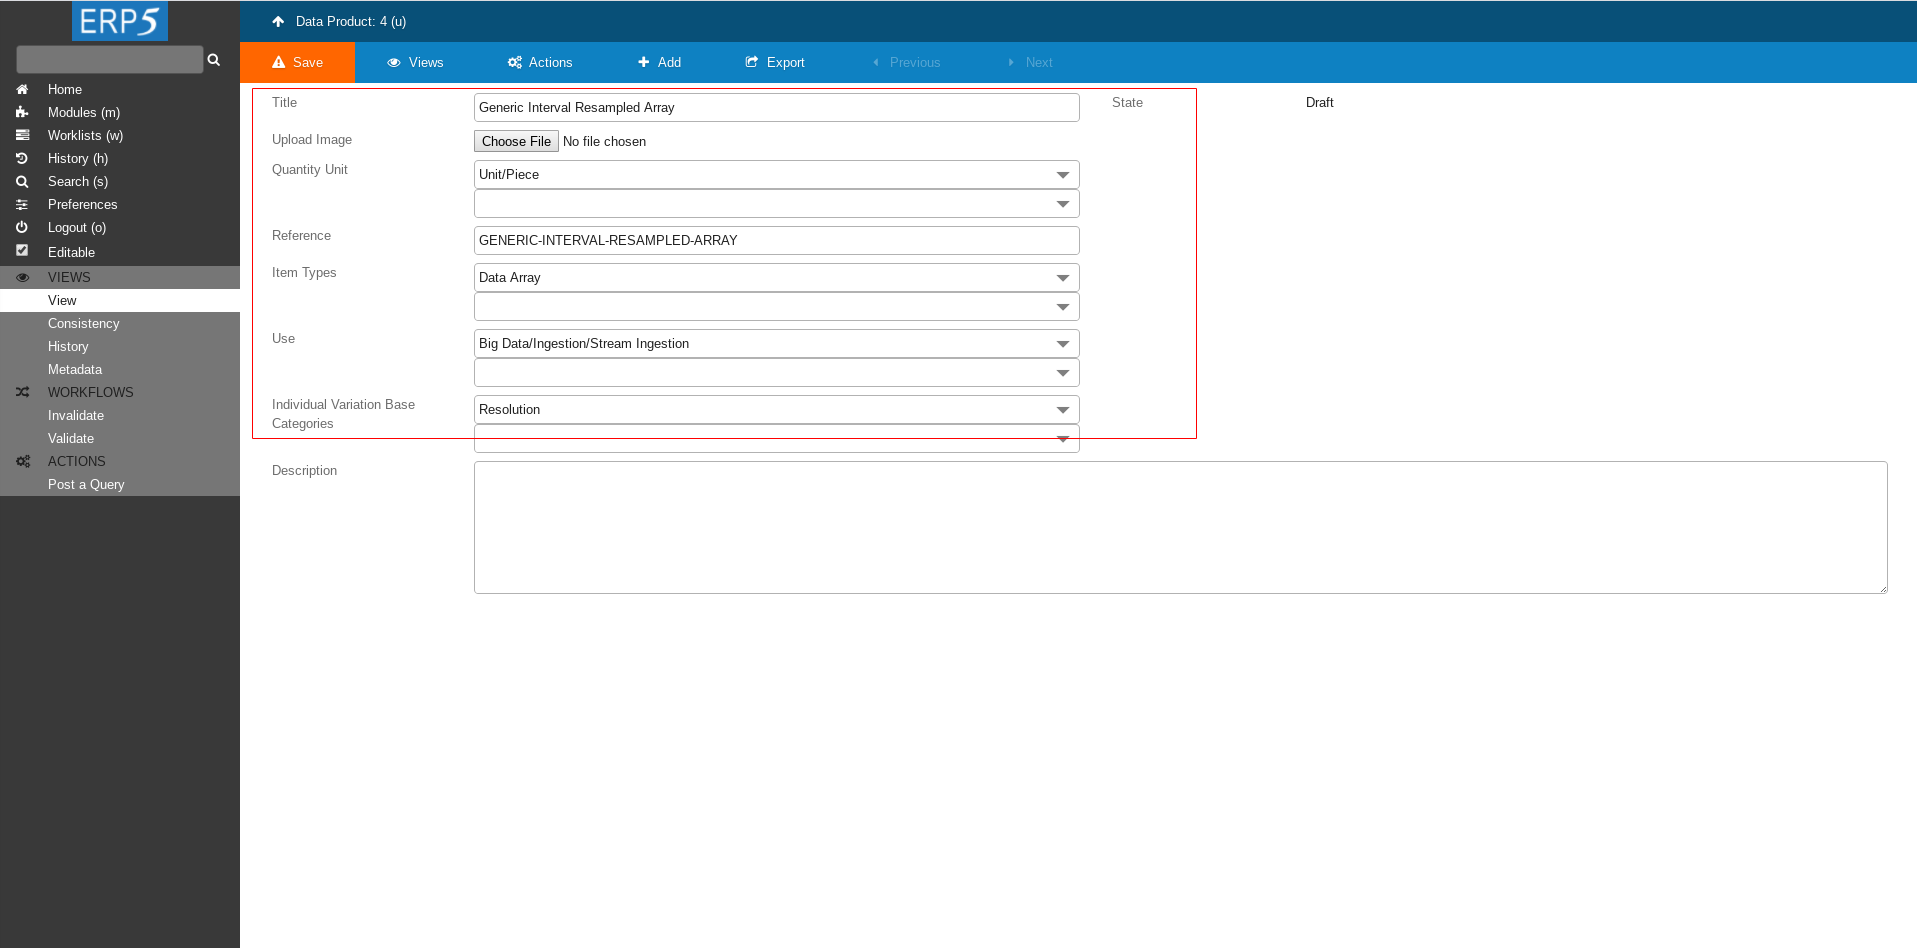
Create a new Data Product as described in HowTo Create Data Product tutorial with following values
Title - Generic Interval Resampled Array
Quantity Unit - Unit/Piece
Reference - GENERIC-INTERVAL-RESAMPLED-ARRAY
Item Types
Use
- Big Data/Ingestion/Stream Ingestion
Individual Variation Base Categories
Note: It can take some time until the change of the system preference take effect. If the Individual Variation Base Categories field doesn't appear yet you may have to wait a bit longer.
Create Data Product Cont.
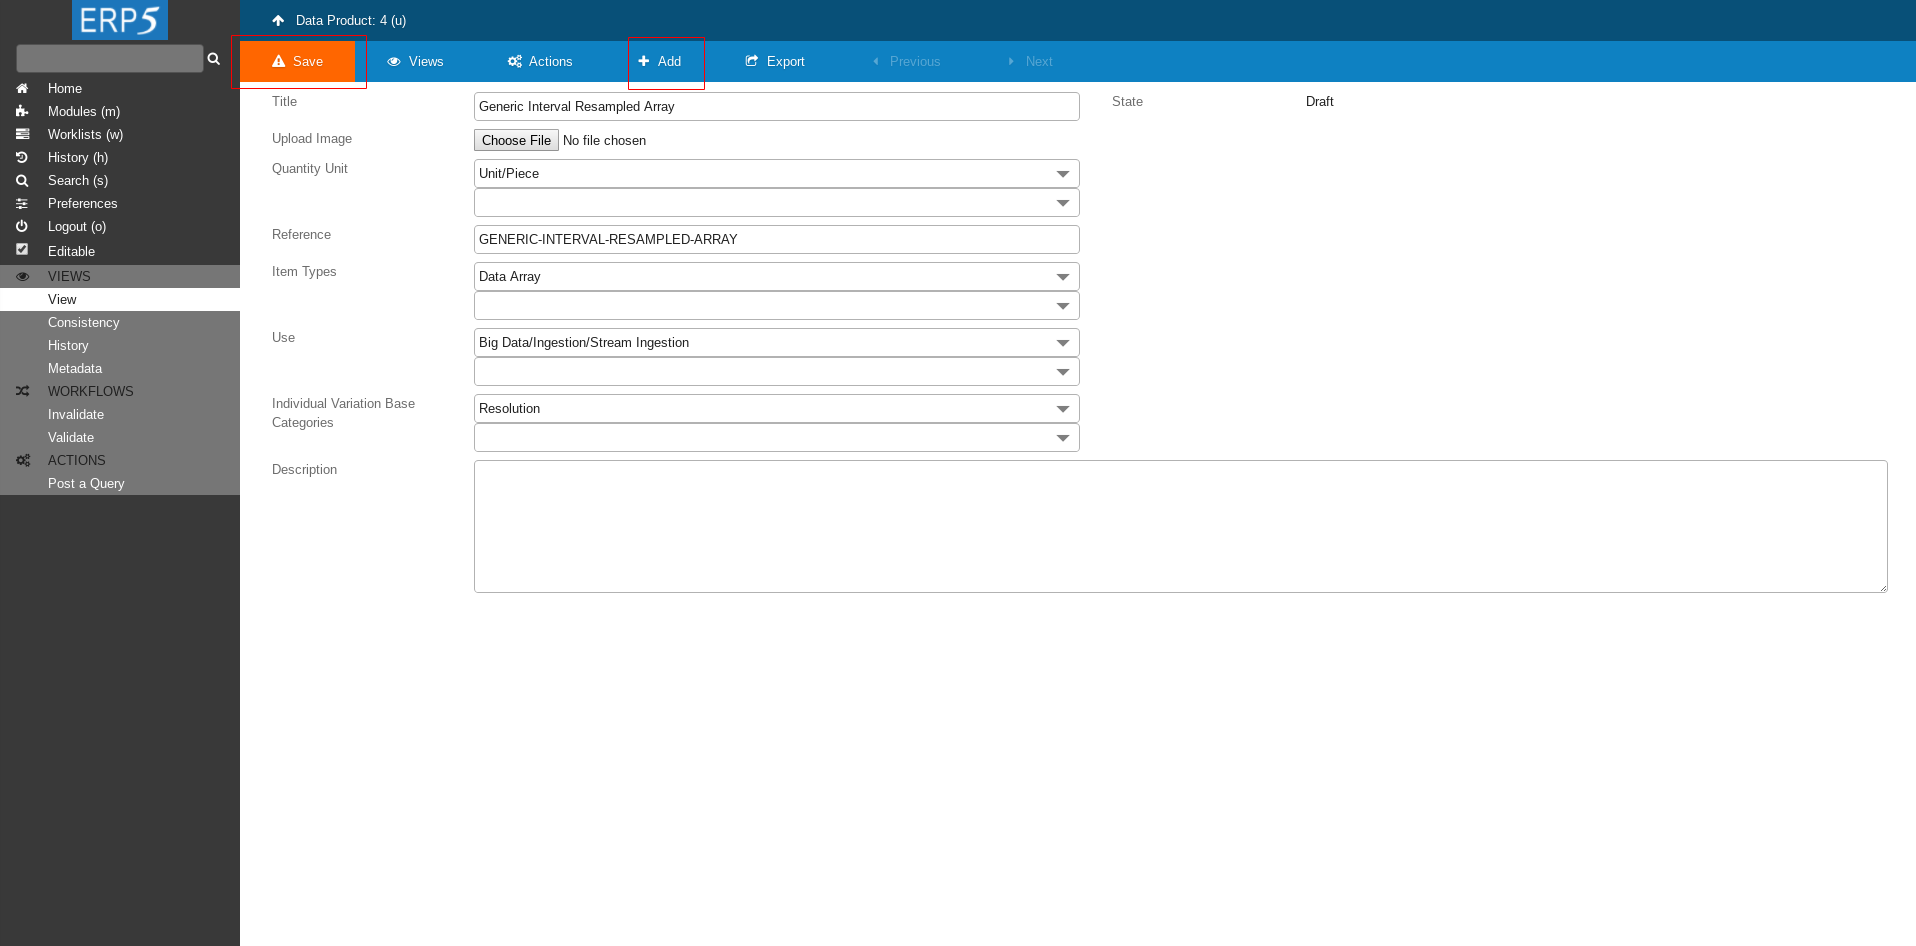
After filling the form save the changes.
As this Data Product will represent our resampled data we will add here Data Product Individual Variations to define the resamplings.
For that, after saving the changes, click on Add button.
Create Data Product Cont.
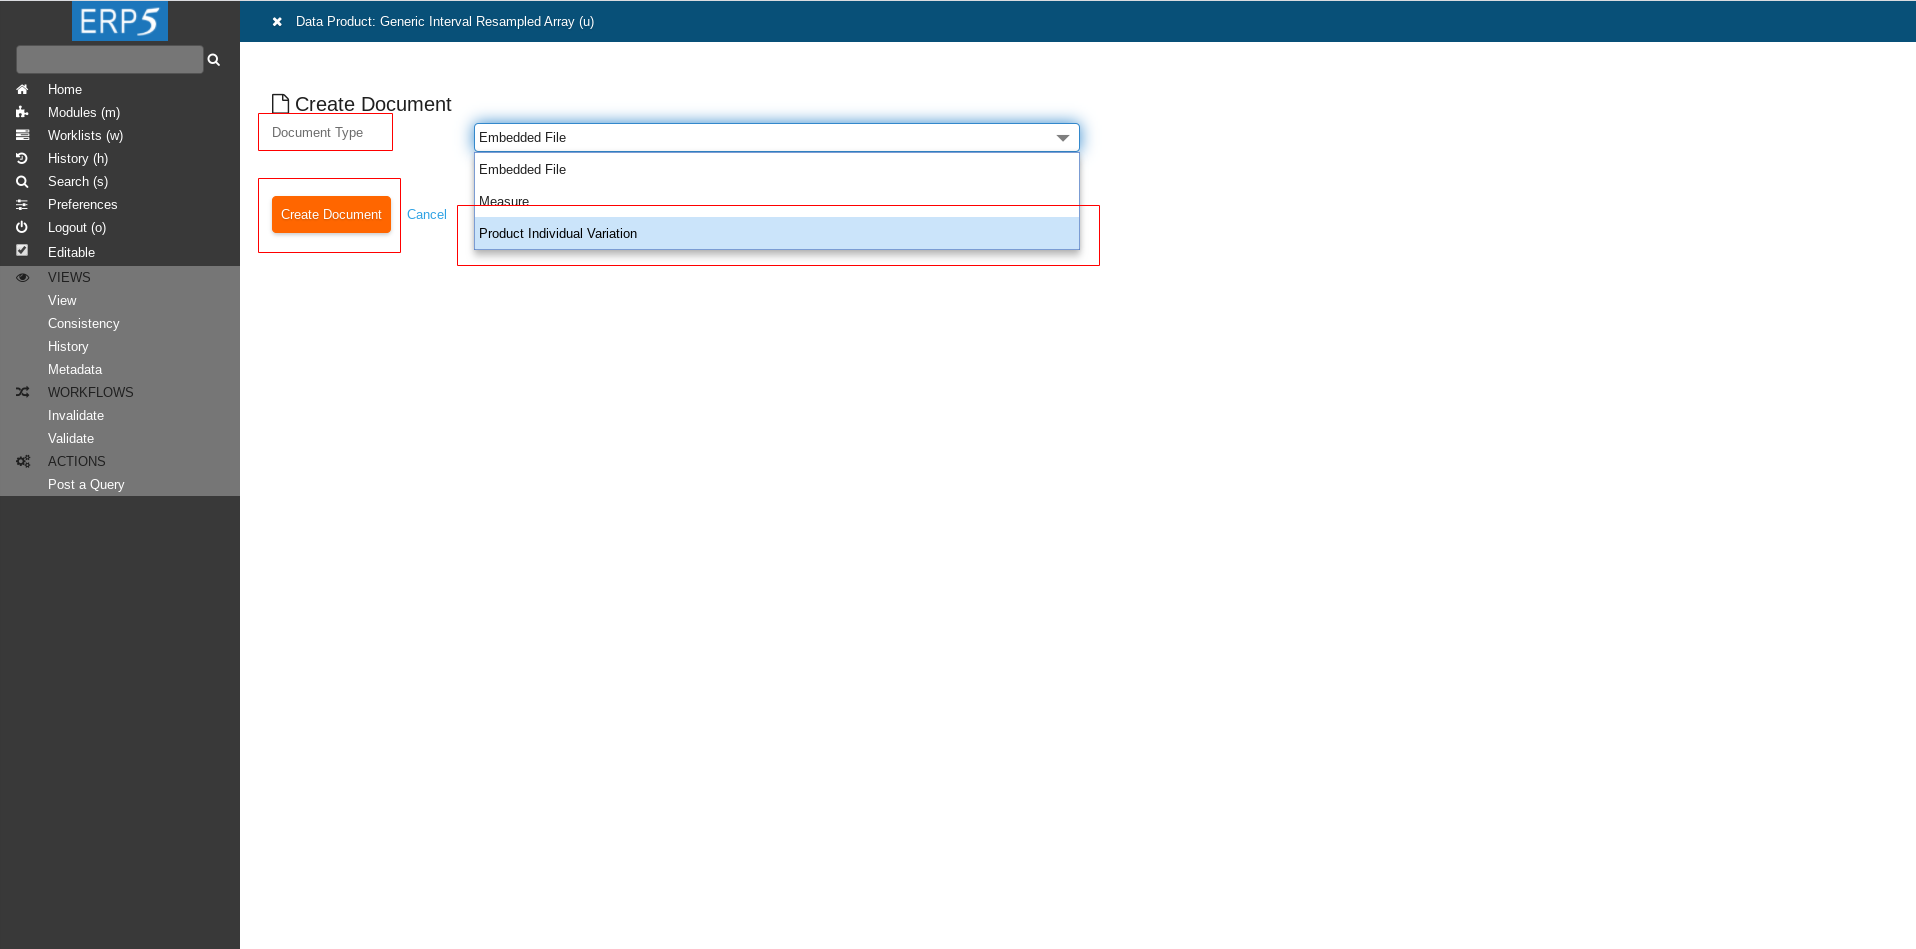
For Document Type choose Product Individual Variation and click on Create Document.
Create Data Product Cont.
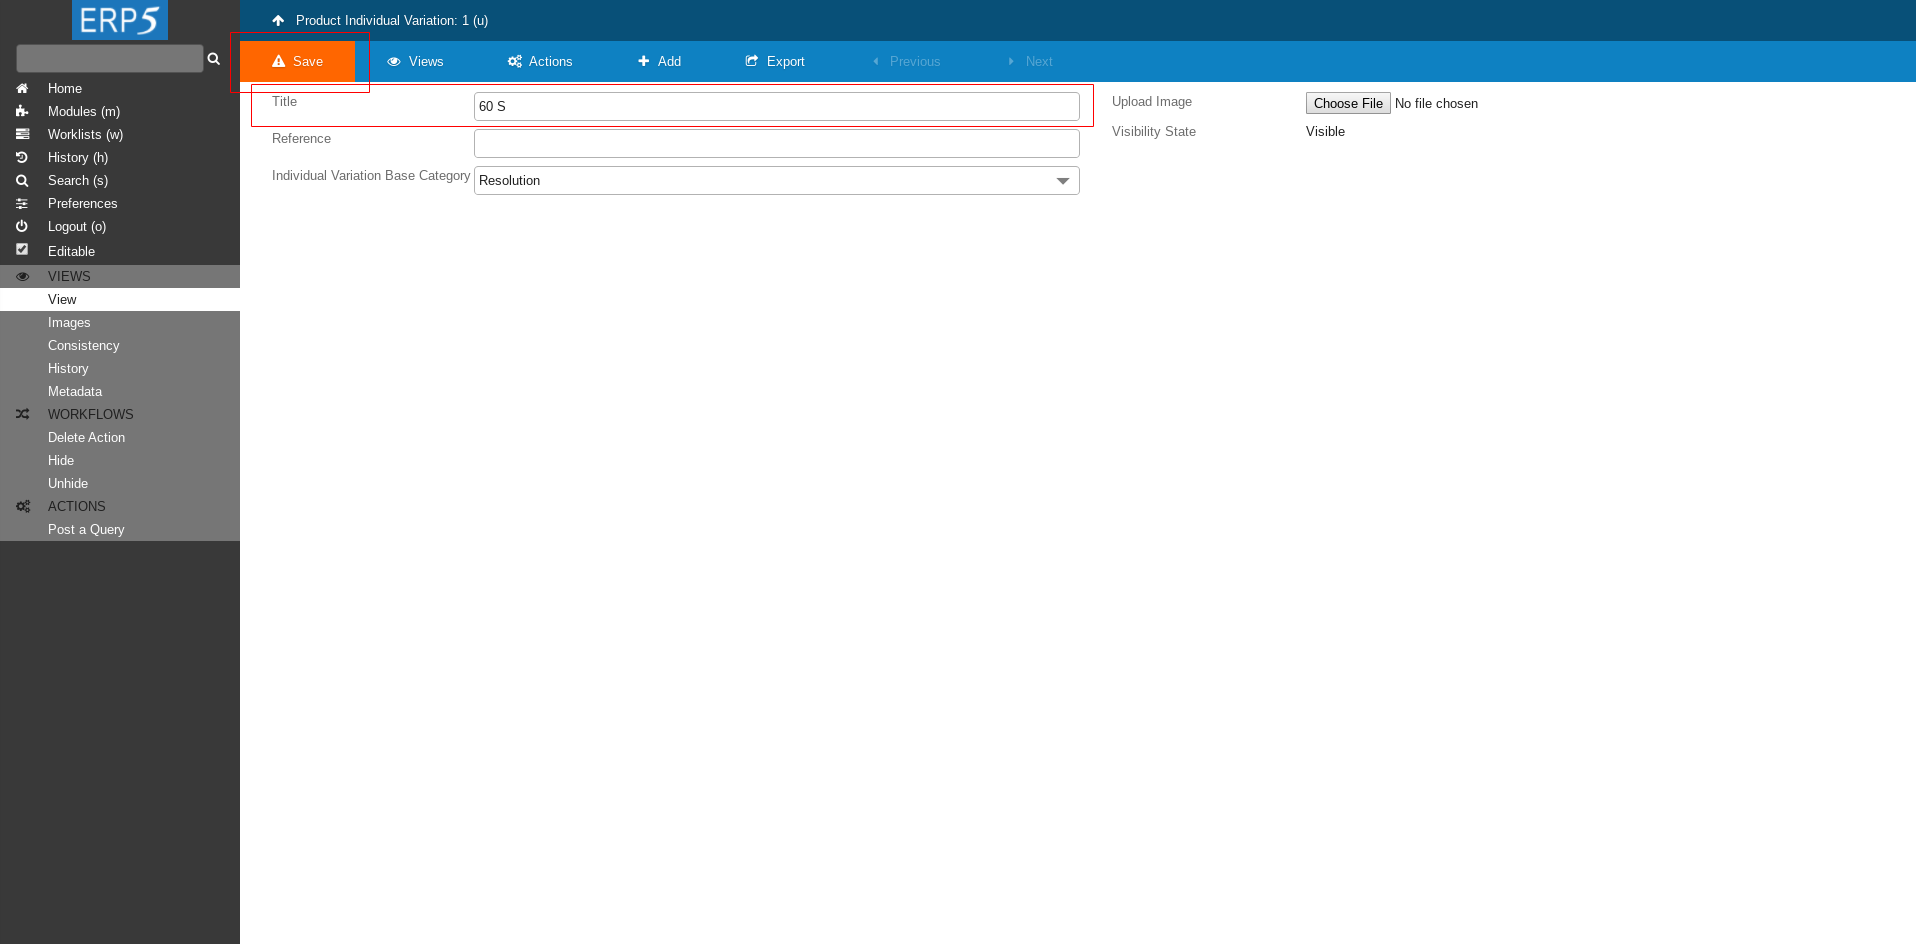
Fill in the title - 60 S - this means resampling data with 60 seconds resolution.
Save the changes
Repeat this process 3 more times for
Create Data Product Cont.
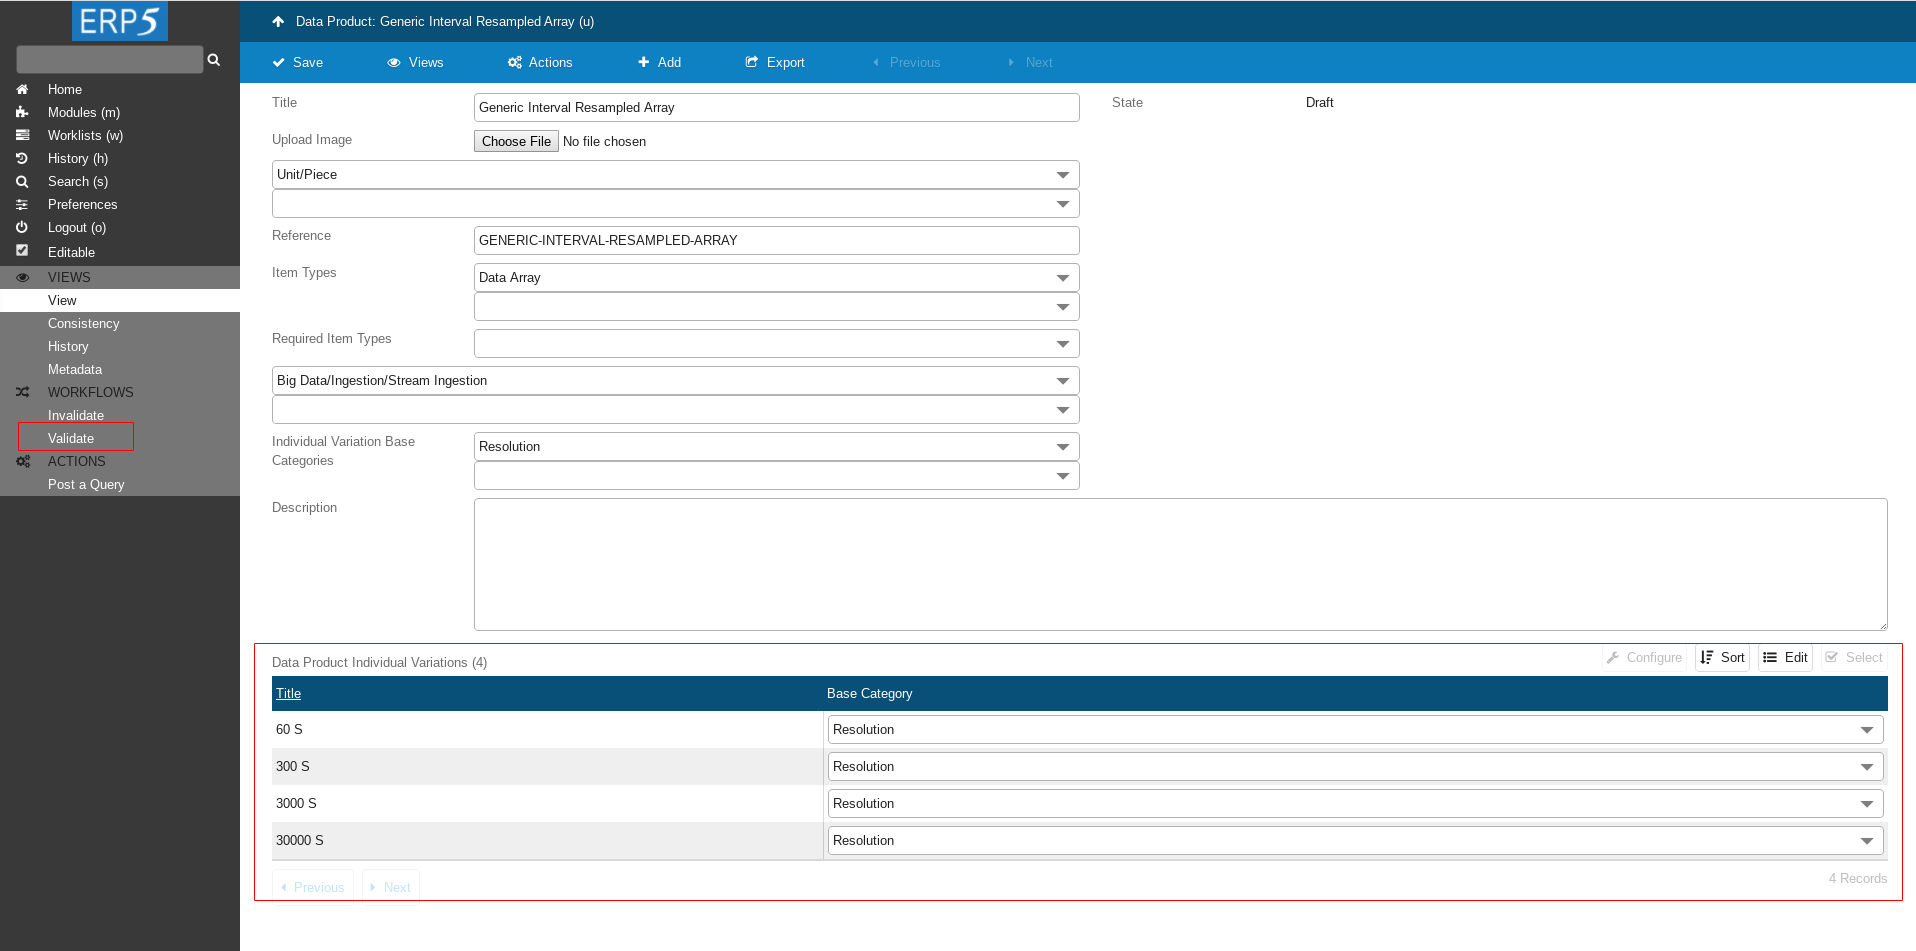
It is ready!
Don't forget to Validate the Data Product.
Portal Callables
After Data Product is created and validated, navigate to page called Portal Callables by clicking on Callables on the left side panel.
There we will create and store a python script that will resample data according to resolutions we defined.
Add Transformation Script
Click on Add button to add a new script.
Add Transformation Script Cont.
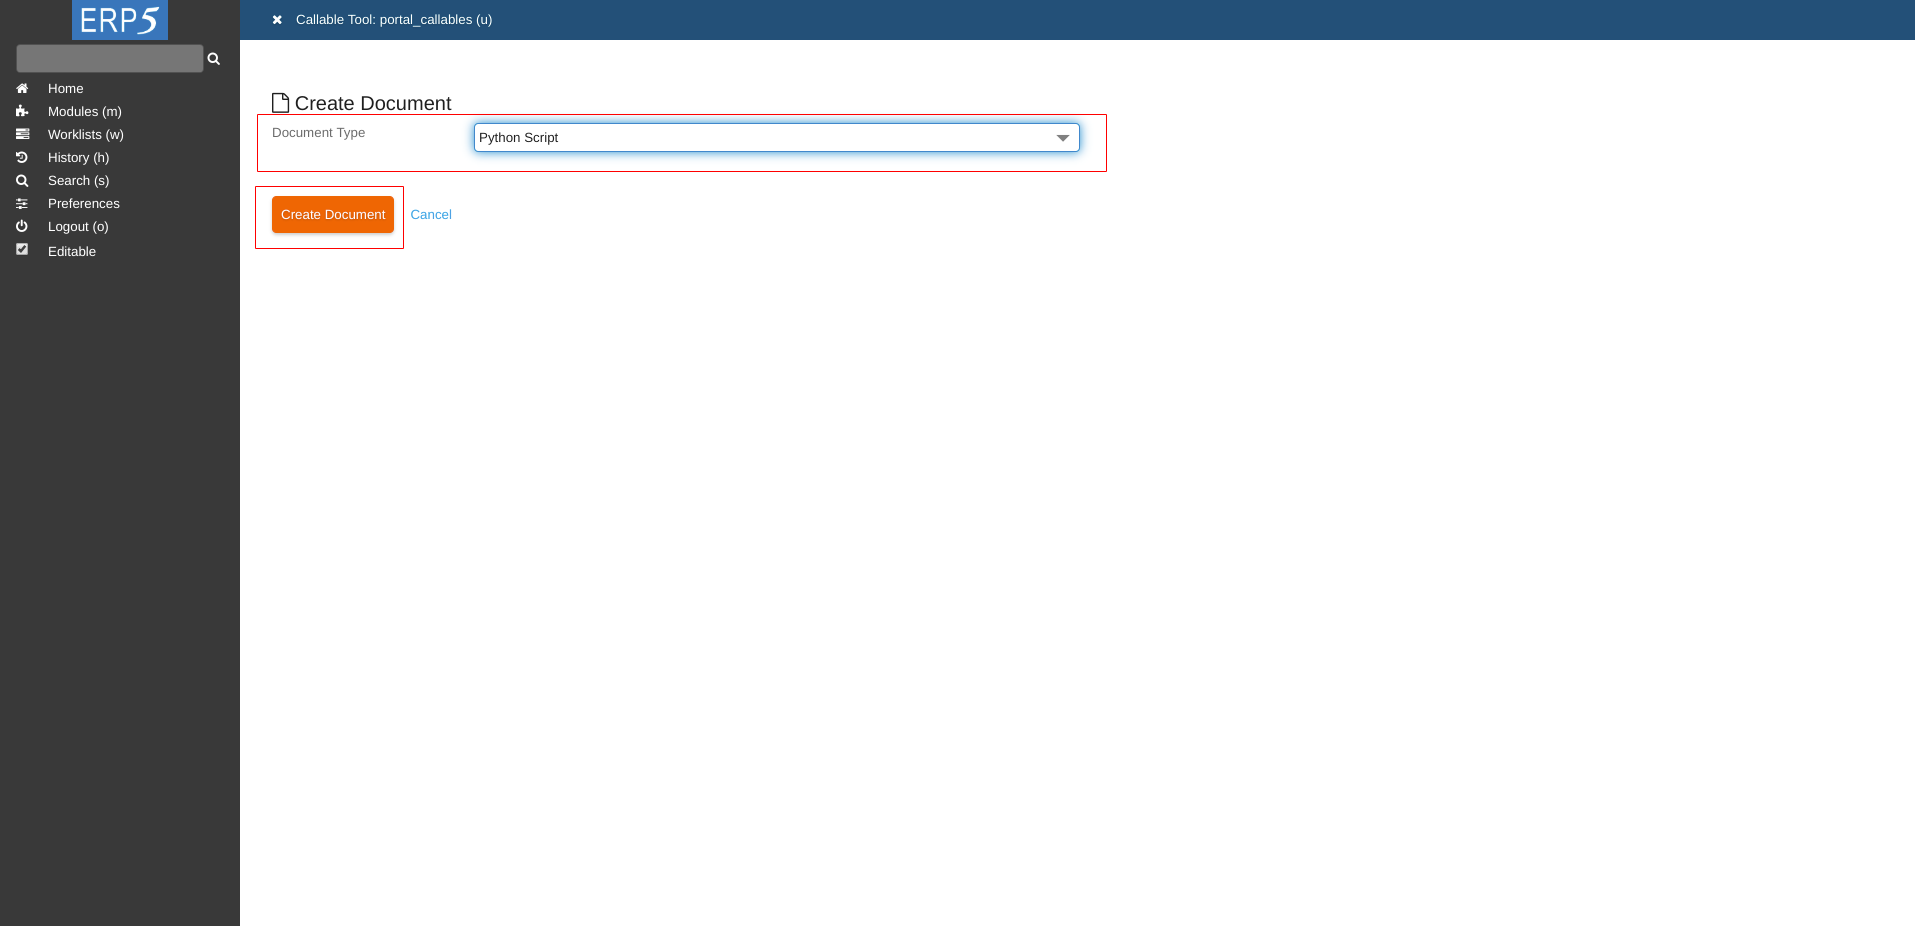
Choose Python Script as Document Type and click on Create Document to create an empty python script.
Fill The Form
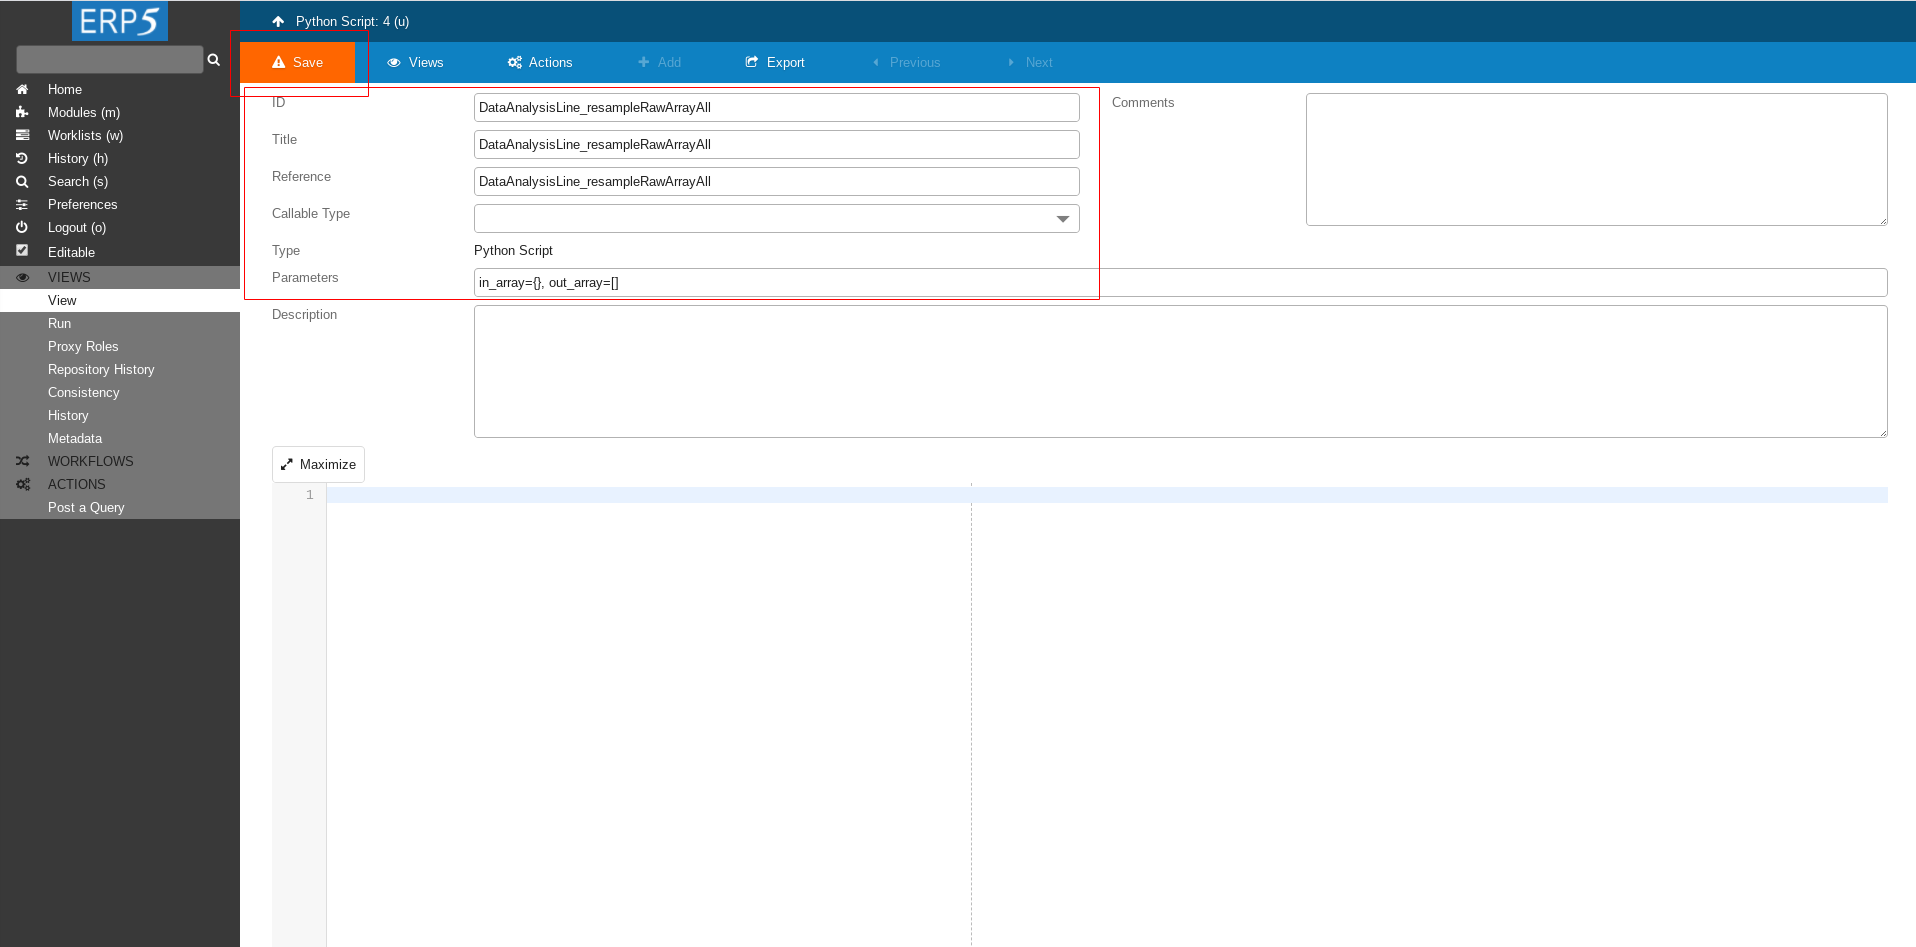
Define ID, Title and Reference of your script.
We name it DataAnalysisLine_resampleRawArrayAll as we did in Data Operation.
Next we define the parameters we will give to our script.
in_array = {} - the input dictionary that contains Data Array where raw data is stored after the previous transformation.
out_array = [] - the output list of Data Arrays where resampled data will be stored.
At the end click Save to save the changes.
Transformation Script
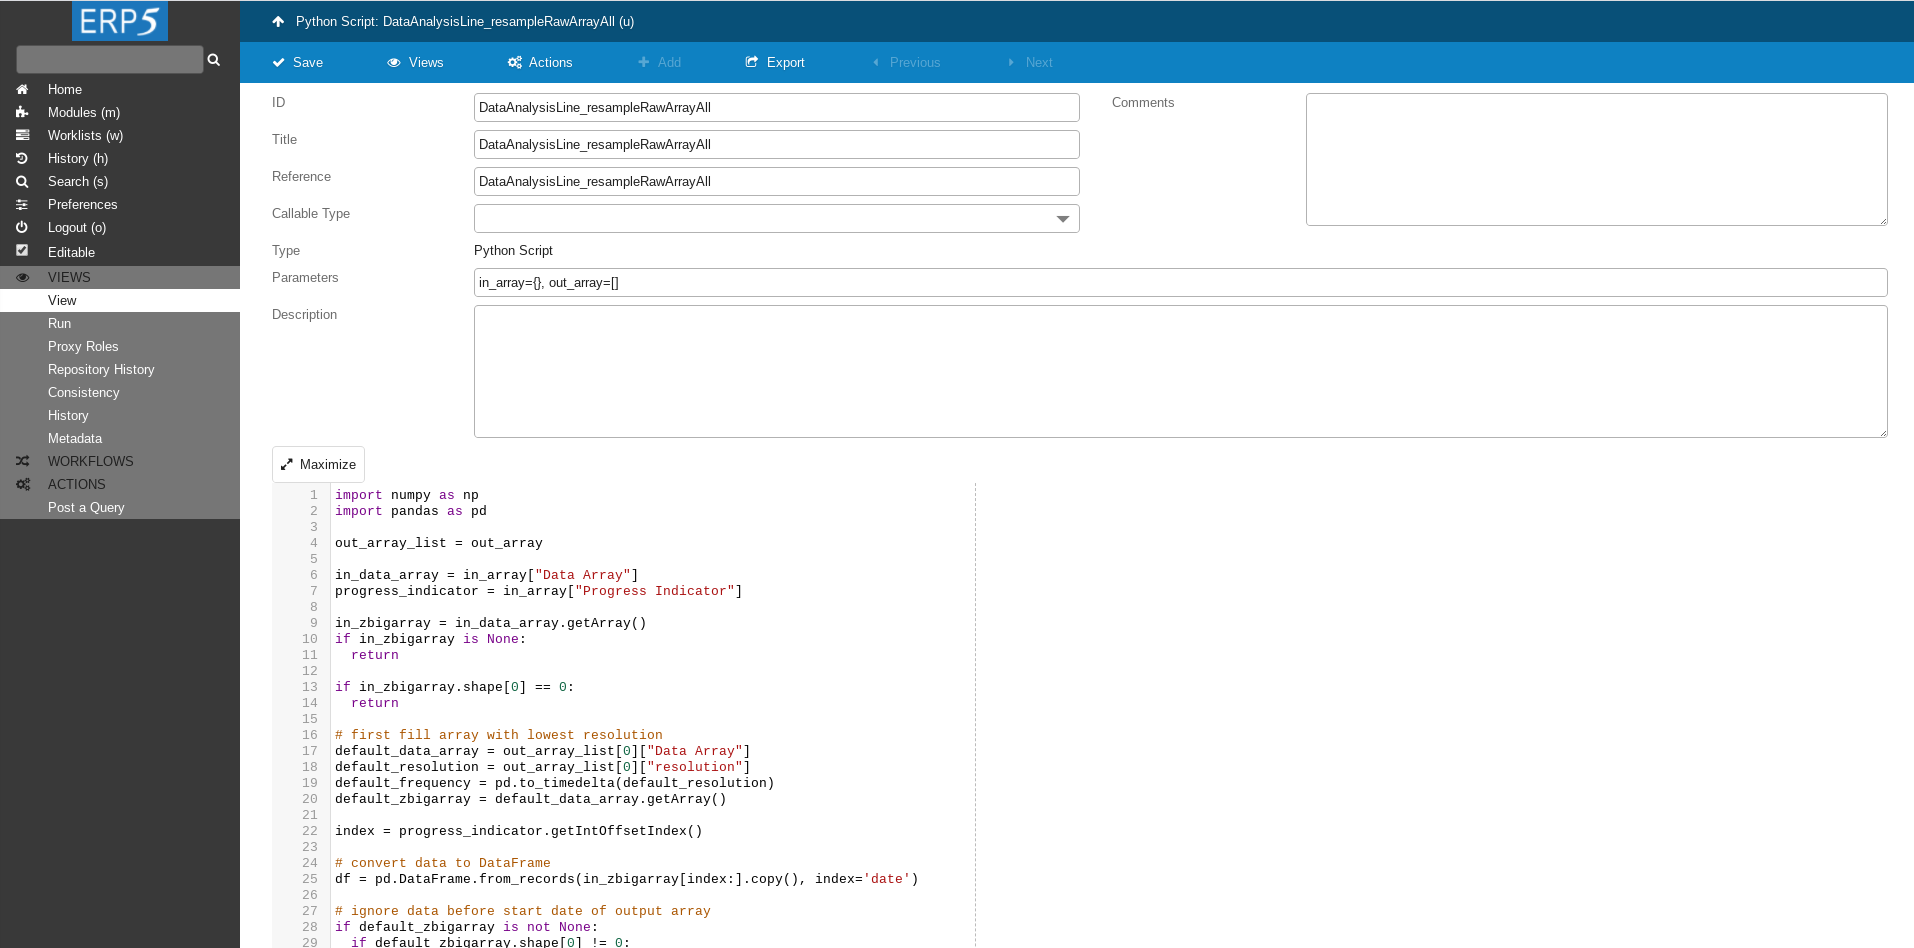
The script we write in the textbox area at the bottom of the page.
Transformation Script Cont.
import numpy as np
import pandas as pd

out_array_list = out_array

in_data_array = in_array["Data Array"]
progress_indicator = in_array["Progress Indicator"]

in_zbigarray = in_data_array.getArray()
if in_zbigarray is None:
  return

if in_zbigarray.shape[0] == 0:
  return

# first fill array with lowest resolution
default_data_array = out_array_list[0]["Data Array"]
default_resolution = out_array_list[0]["resolution"]
default_frequency = pd.to_timedelta(default_resolution)
default_zbigarray = default_data_array.getArray()

index = progress_indicator.getIntOffsetIndex()

# convert data to DataFrame
df = pd.DataFrame.from_records(in_zbigarray[index:].copy(), index='date')

# ignore data before start date of output array
if default_zbigarray is not None:
  if default_zbigarray.shape[0] != 0:
    df = df.loc[str(default_zbigarray[0]['date']):]

if len(df) == 0:
  return

# resample
df = df.resample(default_resolution).agg(['min','mean','max']).fillna(0)

# rename columns from tuples like ('x', 'min') to names like 'x_min'
df.columns = ['%s%s' % (a, '_%s' % b if b else '') for a, b in df.columns]

context.log("df.columns = ", df.columns)

# save date vector for later
date_vector = df.index.values.copy()

context.log("date_vector = ", date_vector)

# convert data back to ndarray
default_data = df.to_records(convert_datetime64=False)
# view as structured array

# set date to zero where all values are 0
mask_zero = (df==0).all(axis=1)
default_data['date'][mask_zero] = 0

if default_zbigarray is None:
  default_zbigarray = default_data_array.initArray(shape=(0,), dtype=default_data.dtype.fields)

if default_zbigarray.shape[0] == 0:
  default_zbigarray.append(default_data)

else:
  # calculate start and stop index of new data in output array
  default_start_index = int((date_vector[0] - default_zbigarray[0]['date']) / default_frequency)
  default_stop_index = int((date_vector[-1] - default_zbigarray[0]['date']) / default_frequency + 1)

  # make sure data fits in
  if default_stop_index > default_zbigarray.shape[0]:
    default_zbigarray.resize((default_stop_index,))

  # fill holes in new data with values from old data
  old_data = default_zbigarray[default_start_index:default_stop_index]
  default_data[mask_zero ] = old_data[mask_zero]

  # write new_data to zbigarray
  default_zbigarray[default_start_index:default_stop_index] = default_data


# now use data in first resolution array for all other arrays
for out_array in out_array_list[1:]:
  out_data_array = out_array["Data Array"]
  out_array_resolution = out_array["resolution"]
  out_zbigarray = out_data_array.getArray()
  if out_zbigarray is None:
    out_zbigarray = out_data_array.initArray(shape=(0,), dtype=default_data.dtype.fields)

  if out_zbigarray.shape[0] == 0:
    start_index = 0
  else:
    out_array_frequency = pd.to_timedelta(out_array_resolution)

    new_stop_date = default_zbigarray[0]['date'] + default_zbigarray.shape[0] * default_frequency
    old_stop_date = out_zbigarray[0]['date'] + out_zbigarray.shape[0] * out_array_frequency

    start_date = old_stop_date - out_array_frequency
    if old_stop_date >= new_stop_date:
      continue

    # find row index in in_array from where to start resampling
    start_index = int(max((start_date - default_zbigarray[0]['date']) / default_frequency, 0))
    # if we got data which has been already resampled, then we resample again and overwrite
    start_index = min(start_index, default_start_index)

  data = default_zbigarray[start_index:].copy()

  # convert data to DataFrame and resample
  df = pd.DataFrame.from_records(data, index='date')

  # set our own date range index so that we can resample and keep 0-dates
  resampling_start_date = default_zbigarray[0]['date'] + start_index * default_frequency
  df.index = pd.date_range(start=resampling_start_date,
                           periods=data.shape[0],
                           freq=default_frequency)
  df.index.name = 'date'

  # resample each column with appropriate aggregation method
  aggregation_dict = {c: c.split('_')[-1] for c in df.columns}
  df = df.resample(out_array_resolution).agg(aggregation_dict).fillna(0)

  # save date vector for later
  date_vector = df.index.values.copy()

  # convert data back to ndarray
  new_data = df.to_records(convert_datetime64=False)

  # set date to zero where all values are 0
  new_data['date'][(df==0).all(axis=1)] = 0

  if out_zbigarray.shape[0] == 0:
    out_zbigarray.append(new_data)
  else:
    # calculate start and stop index of new data in output array
    start_index = int((date_vector[0] - out_zbigarray[0]['date']) / out_array_frequency)
    stop_index = int((date_vector[-1] - out_zbigarray[0]['date']) / out_array_frequency + 1)

    # make sure data fits in
    if stop_index > out_zbigarray.shape[0]:
      out_zbigarray.resize((stop_index,))

    # write new_data to zbigarray
    out_zbigarray[start_index:stop_index] = new_data

progress_indicator.setIntOffsetIndex(in_zbigarray.shape[0])
This script takes as an input data from Data Array and resamples it by given rules and writes it to new Data Arrays.
Don't forget to save the changes after editing the script.
Data Transformations
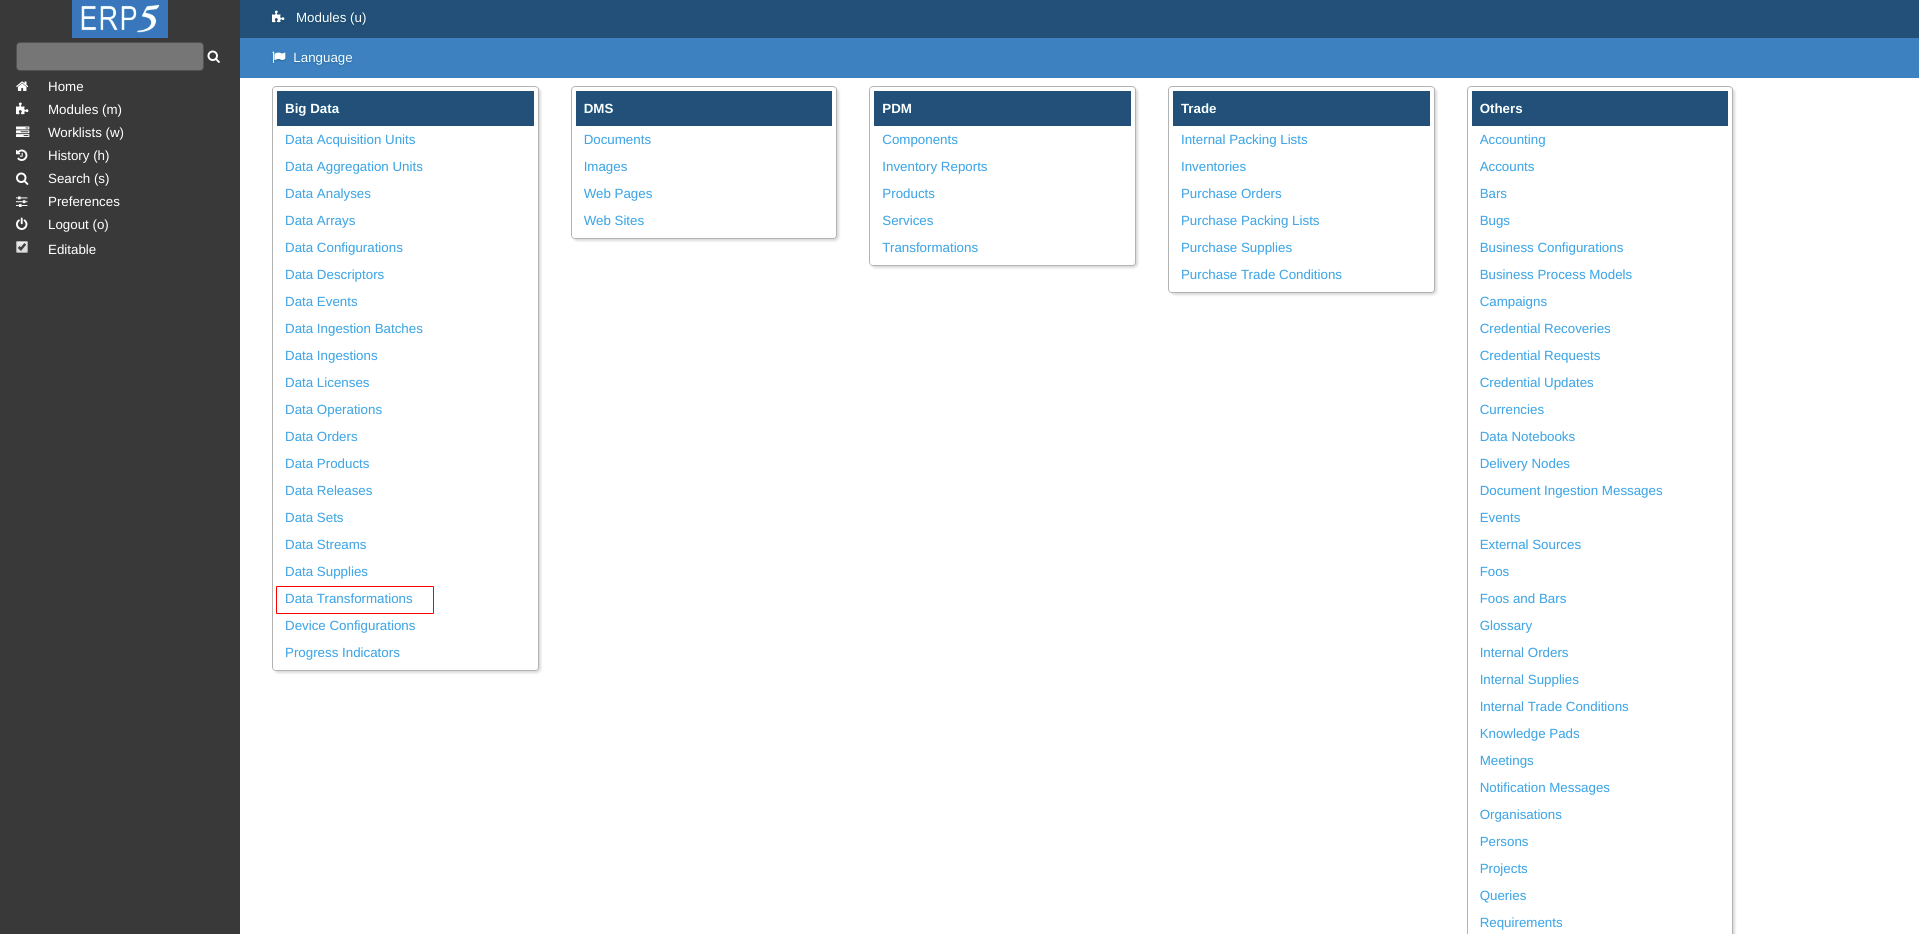
After your transformation script is ready, it's time to create Data Transformation.
On Modules page click on Data Transformations.
Add Data Transformation
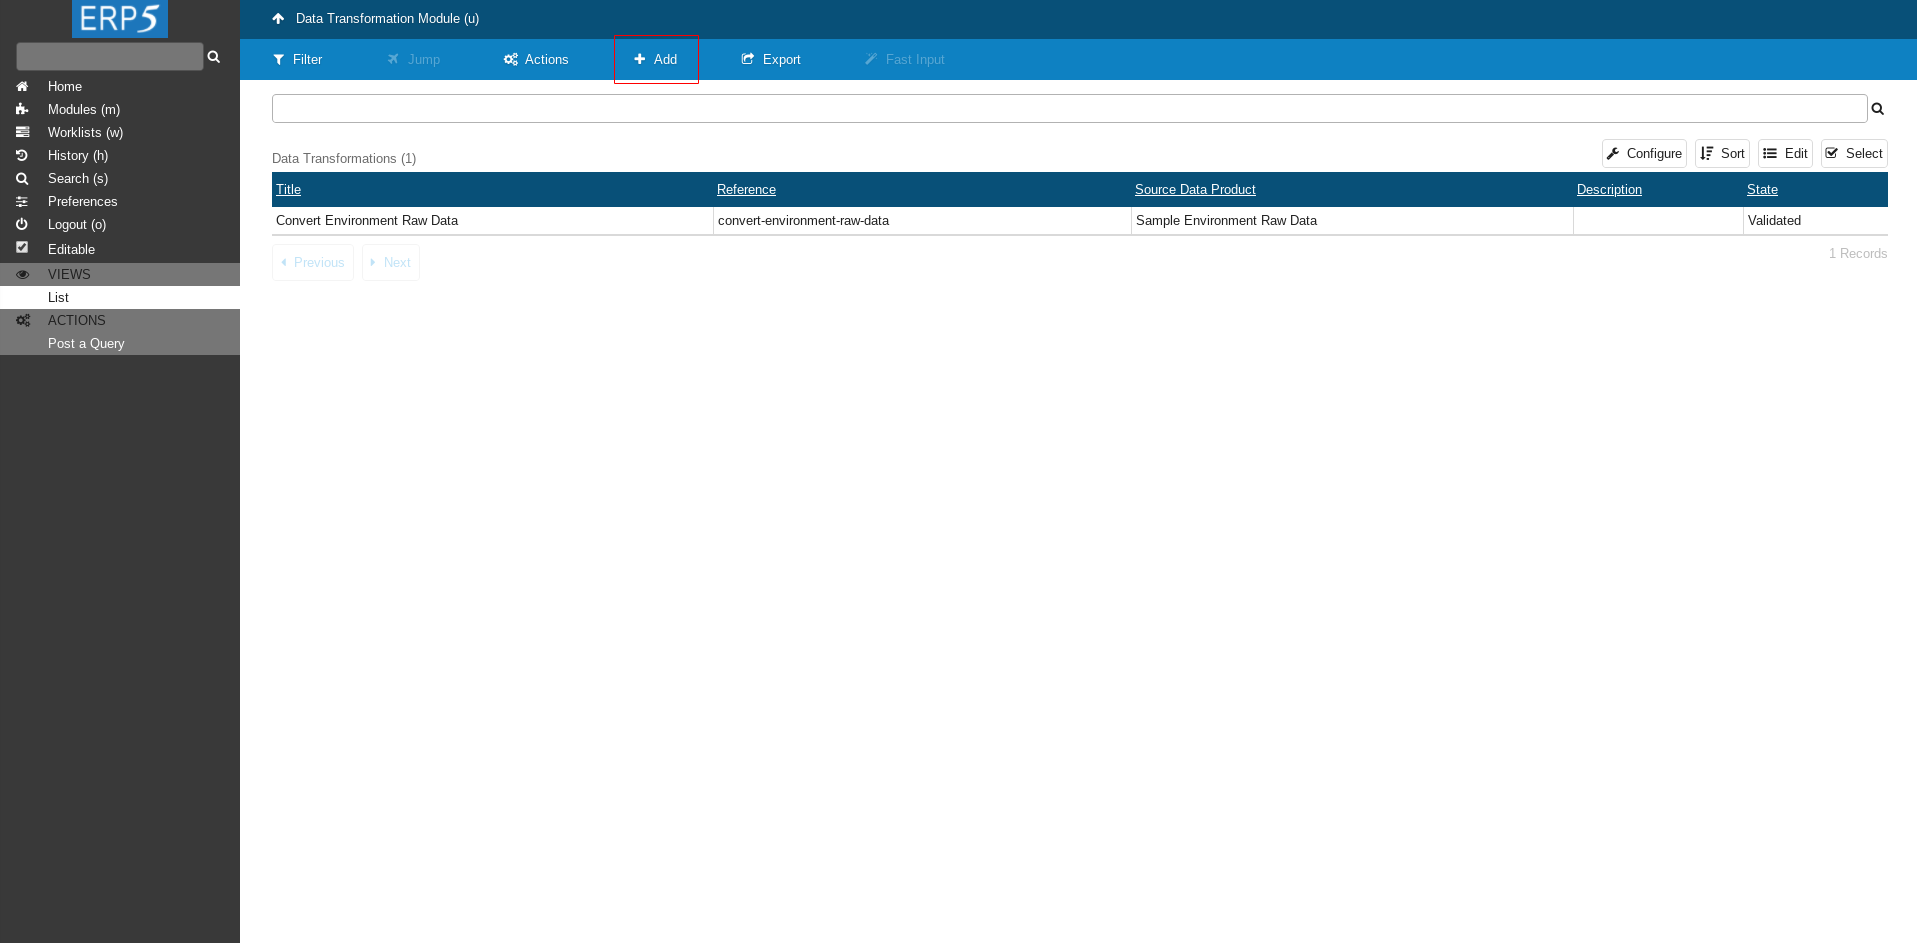
Click on Add to add a new Data Transformation.
Create Data Transformation
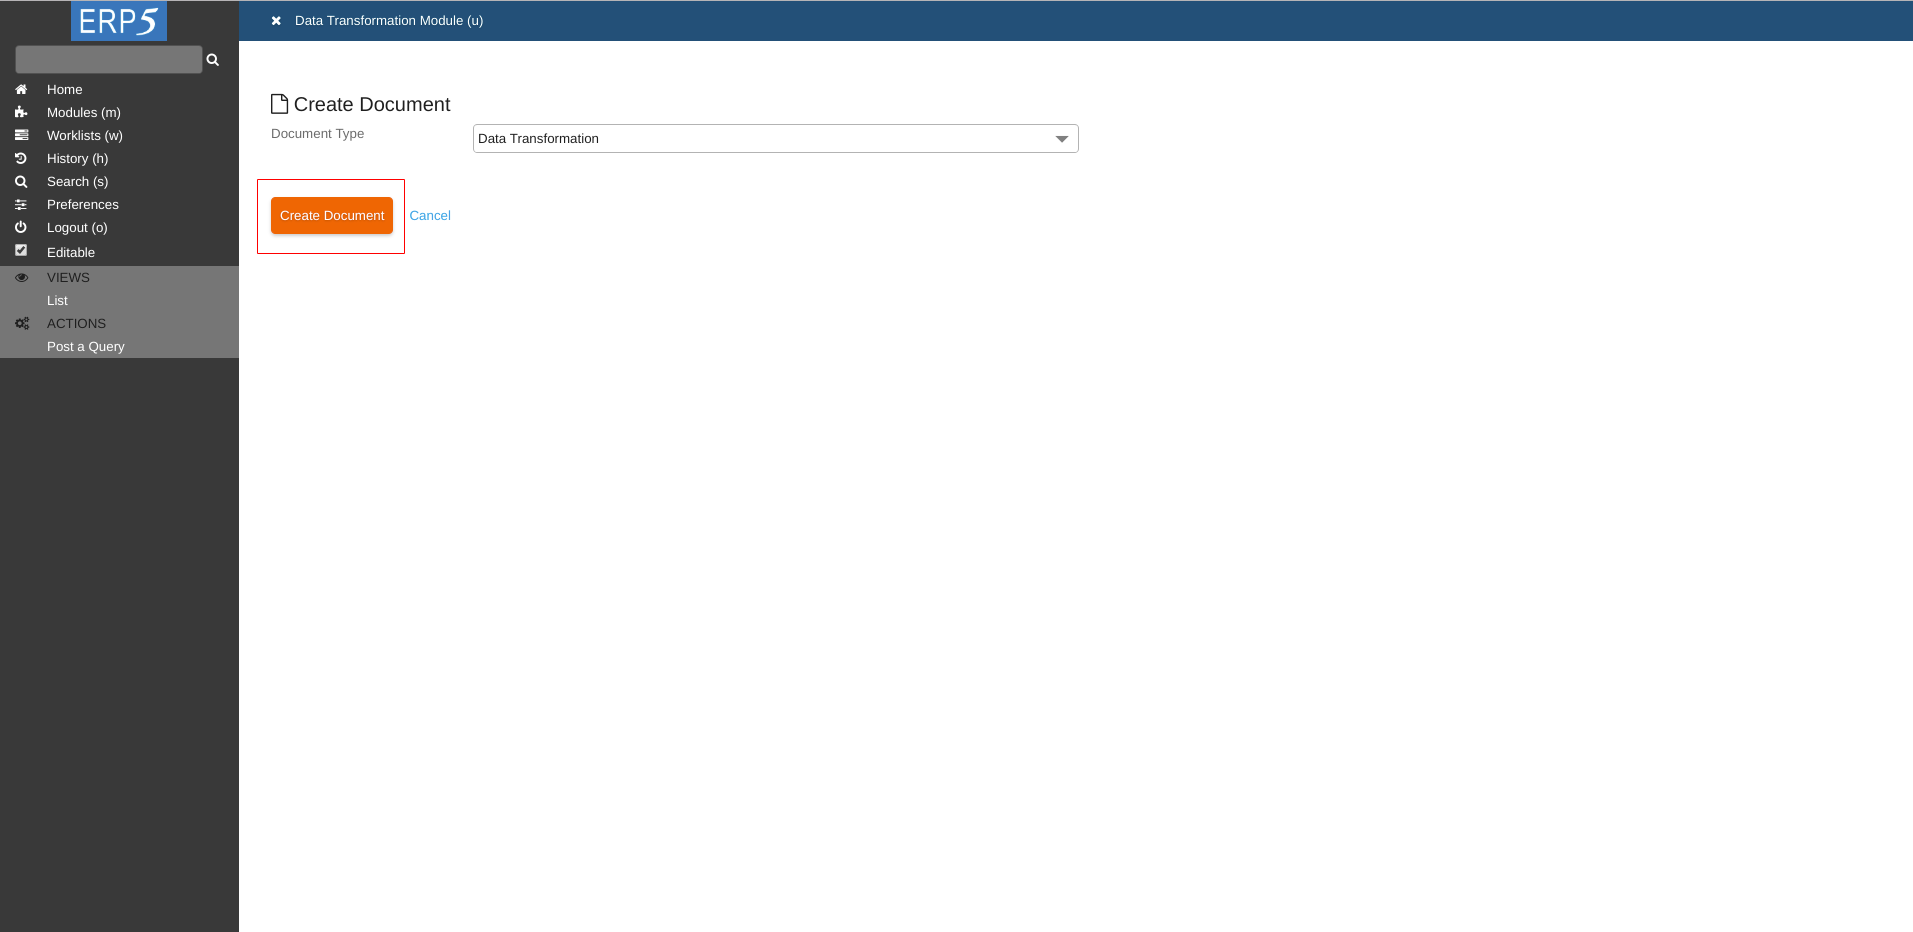
Click on Create Document to continue.
Fill The Form
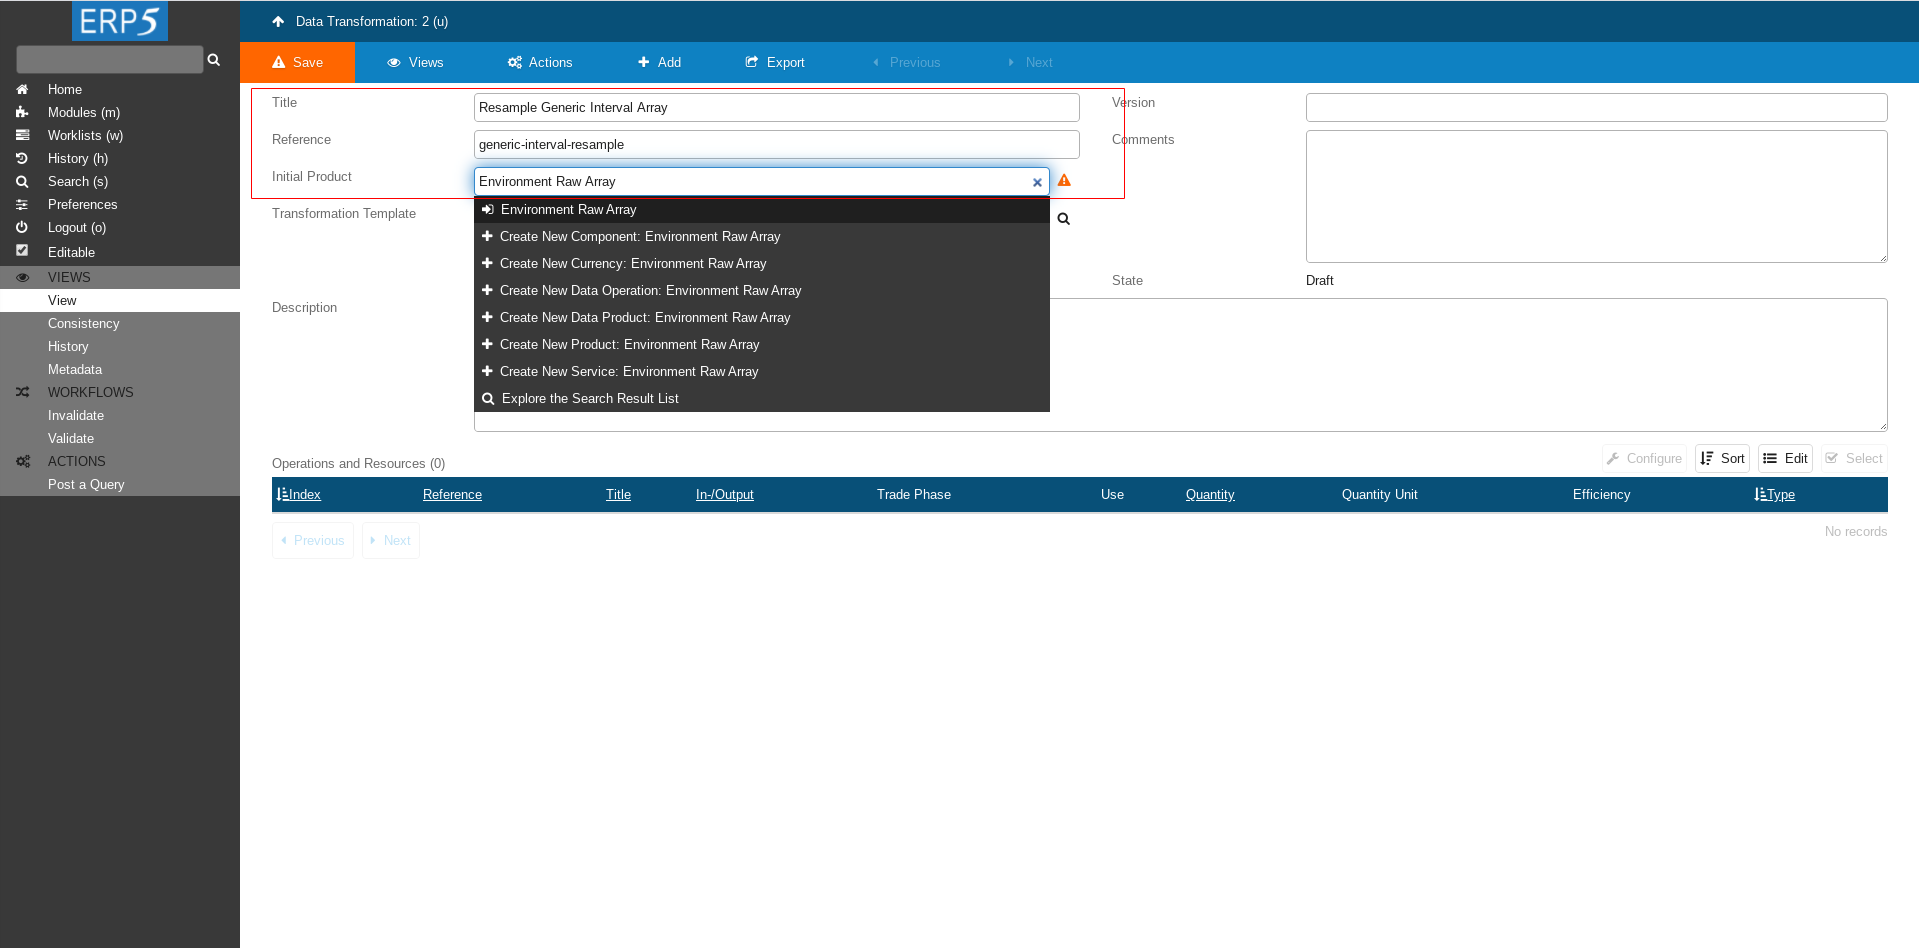
Chose descriptive title and reference. For example
Title : Resample Generic Interval Array
Reference : generic-interval-resample
For Initial Product we choose the Data Product we created in HowTo Transform Data tutorial.
At the end click Save to save the changes
Data Transformation Lines
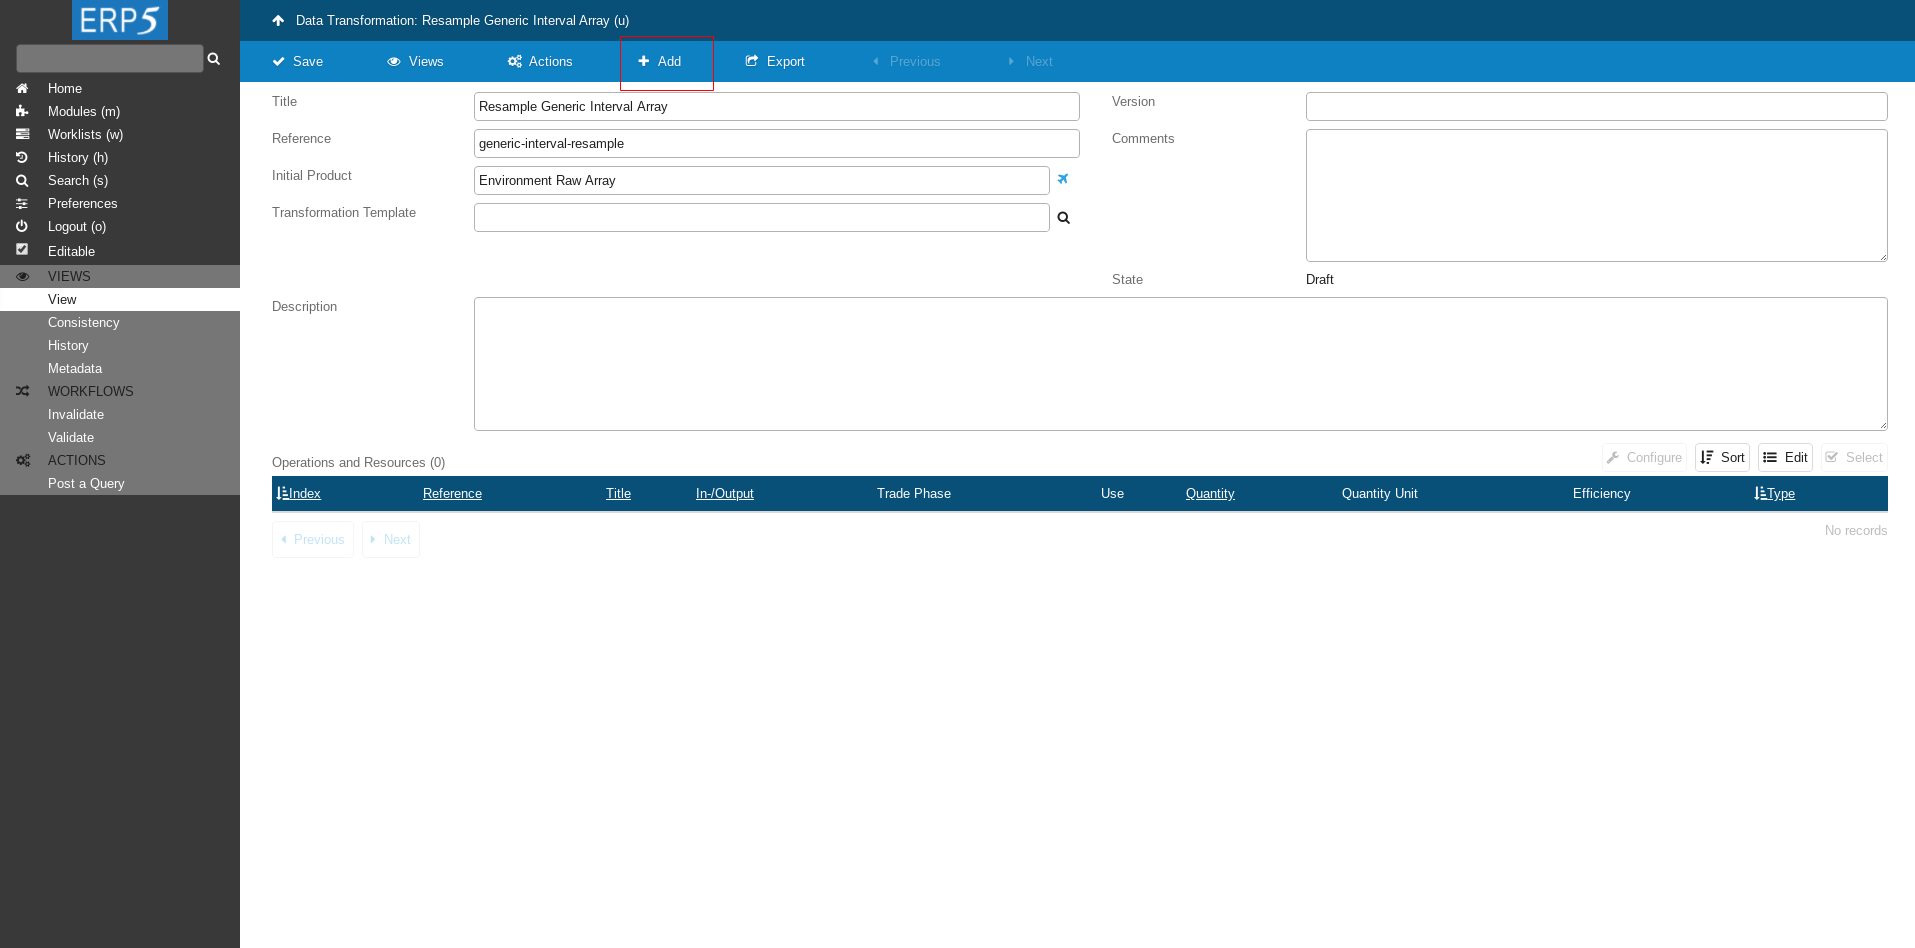
Click on add button to add a Data Transformation Line.
Create Operation Line
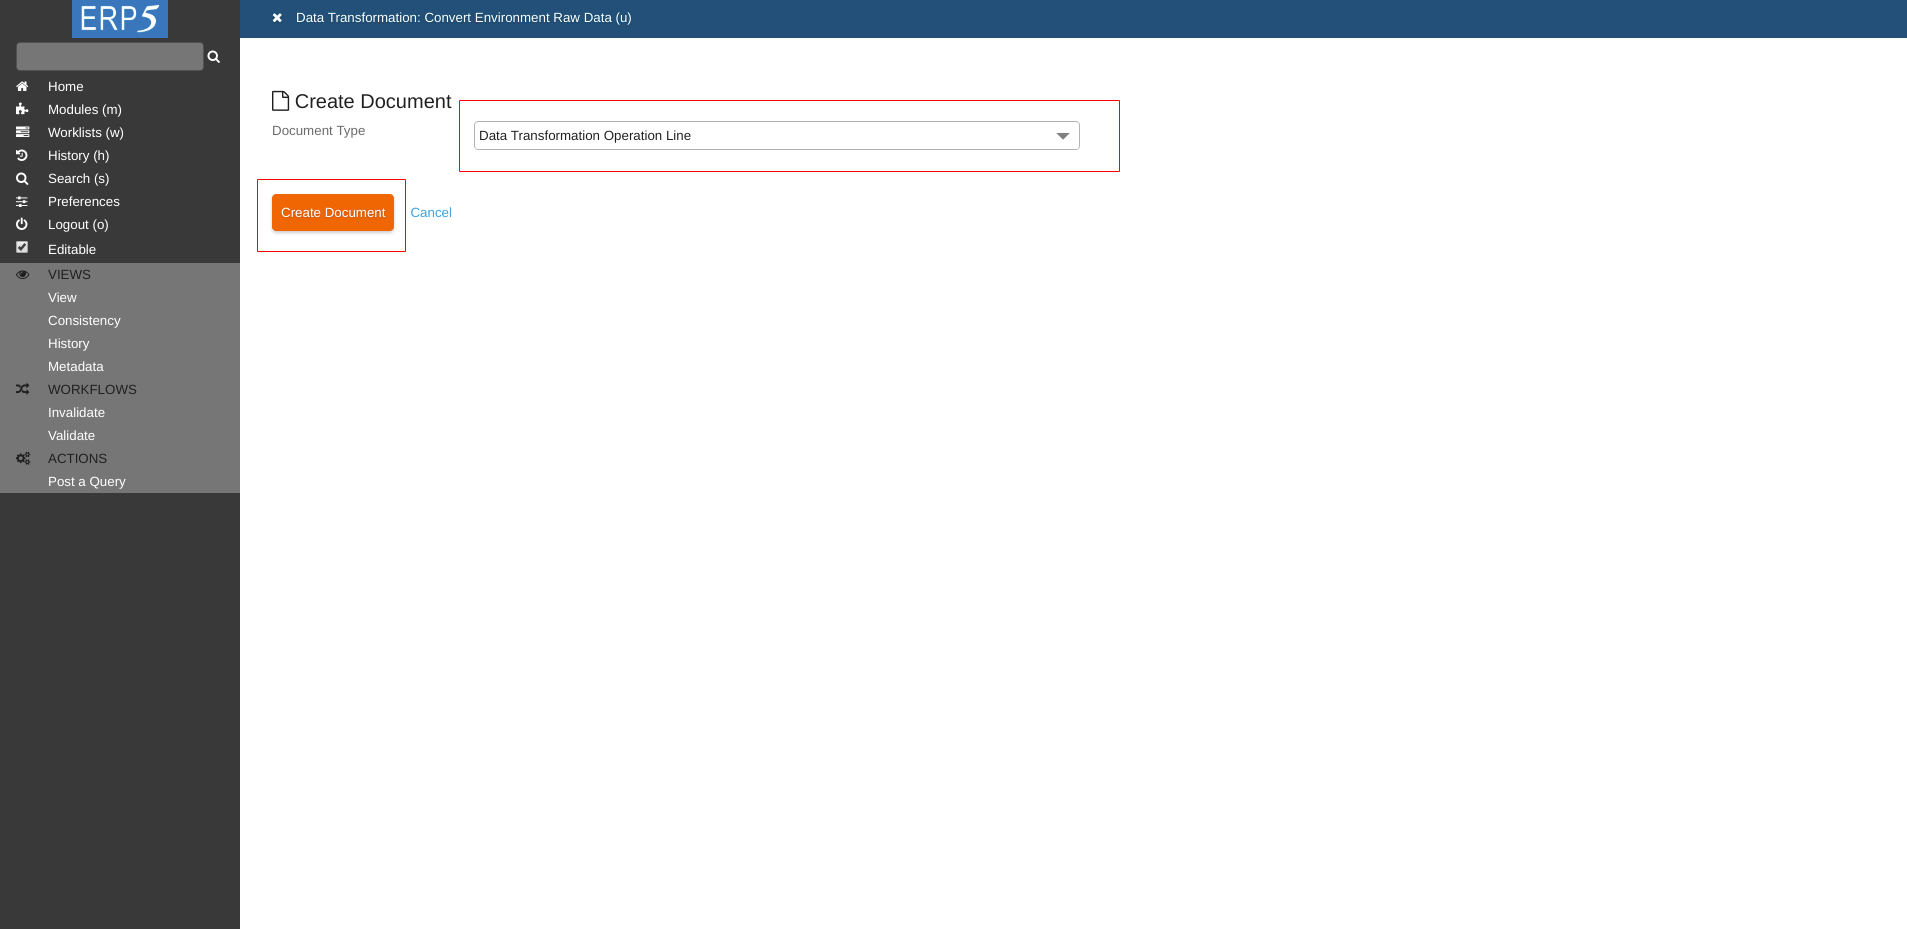
Choose Data Transformation Operation Line for Document Type and click on Create Document.
Fill The Form
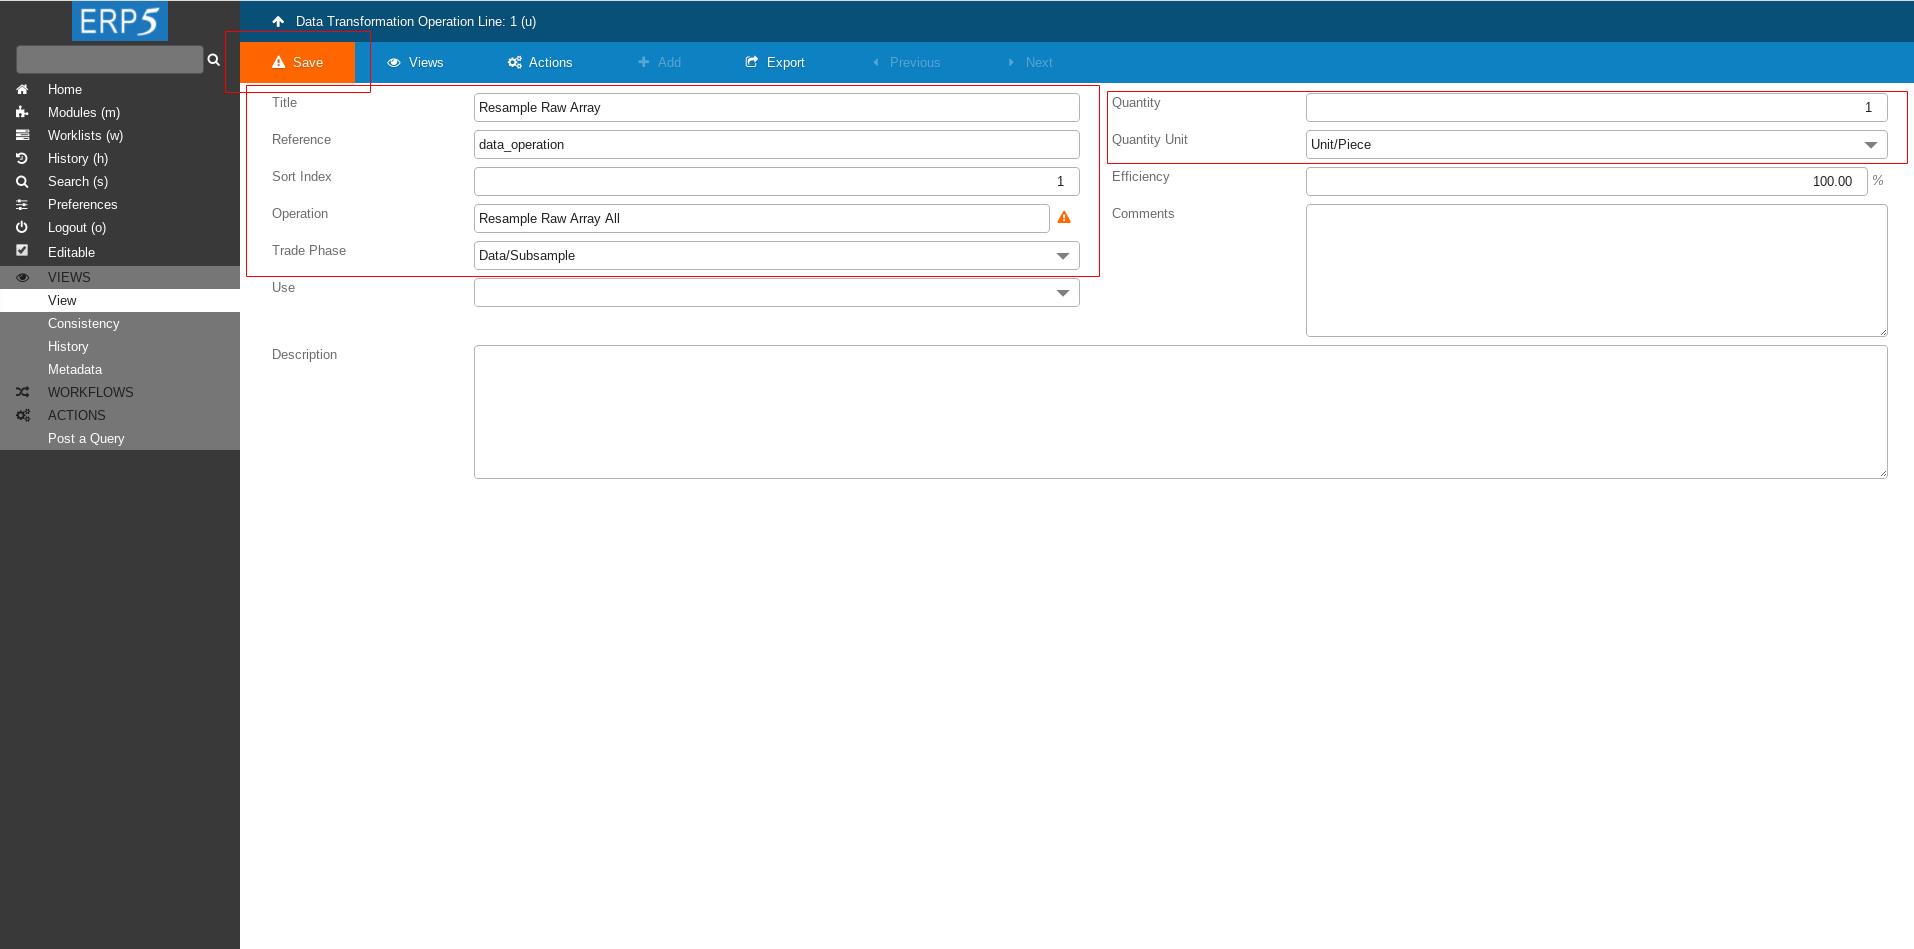
Fill the form with followig values
Title: Resample Raw Array
reference: data_operation
Data Operation: put the name of the Data operation that we created at the beginning of this tutorial - Resample Raw Array All.
Trade Phase: Data/Subsample.
Quantity: 1
Quantity Unit: Unit/Piece
At the end click on Save to save the changes.
Back To Data Transformation
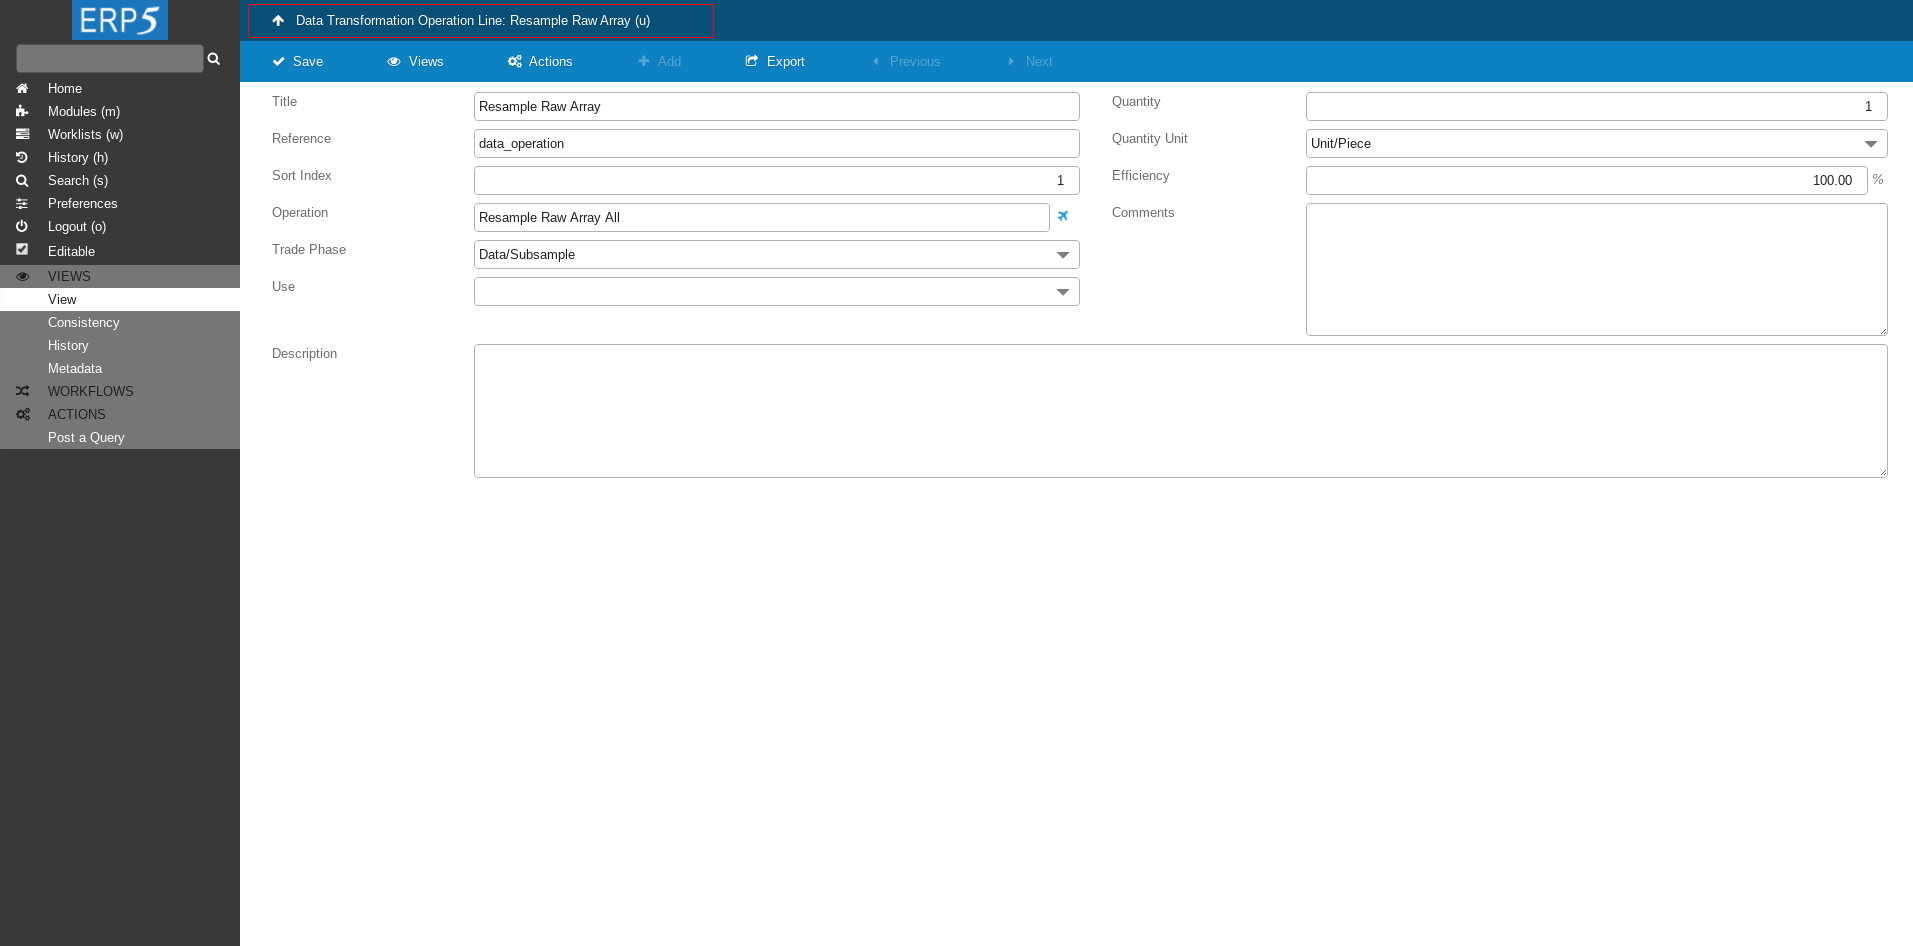
Once needed fields are filled and saved go back to Data Transformations view by clicking on the upper panel.
Data Transformation Lines
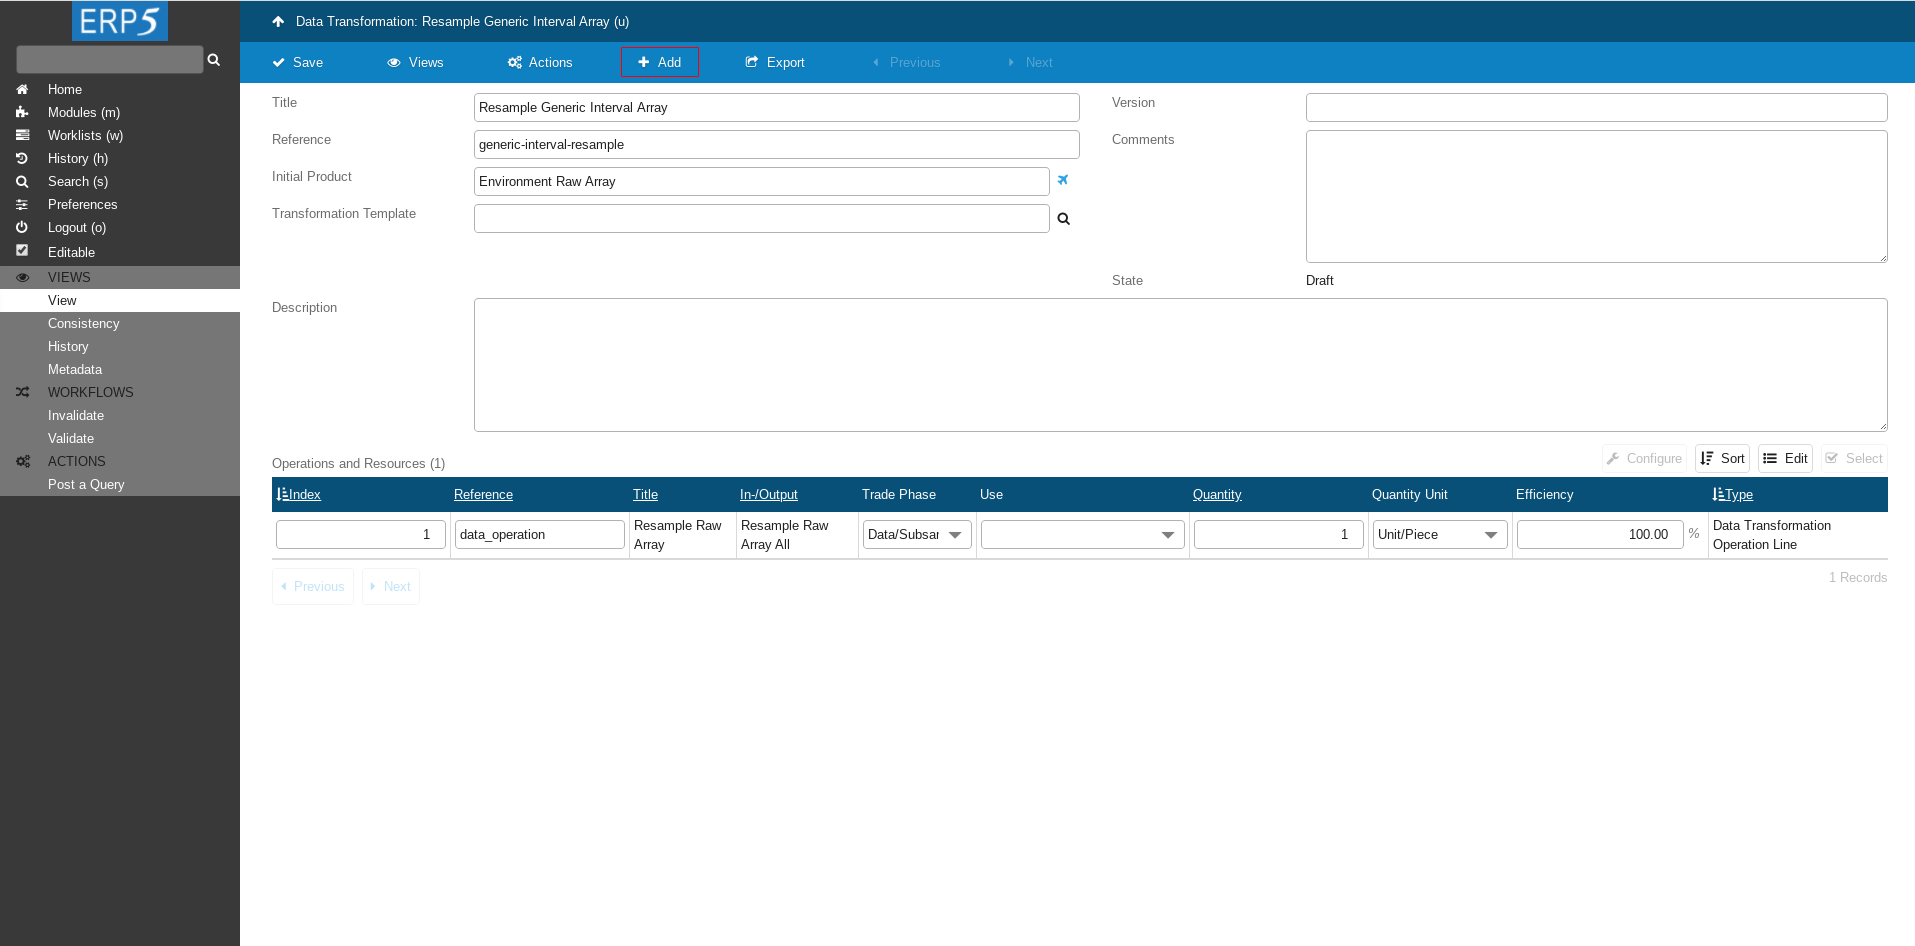
Add another Data Transformation Line.
Create Transformation Line
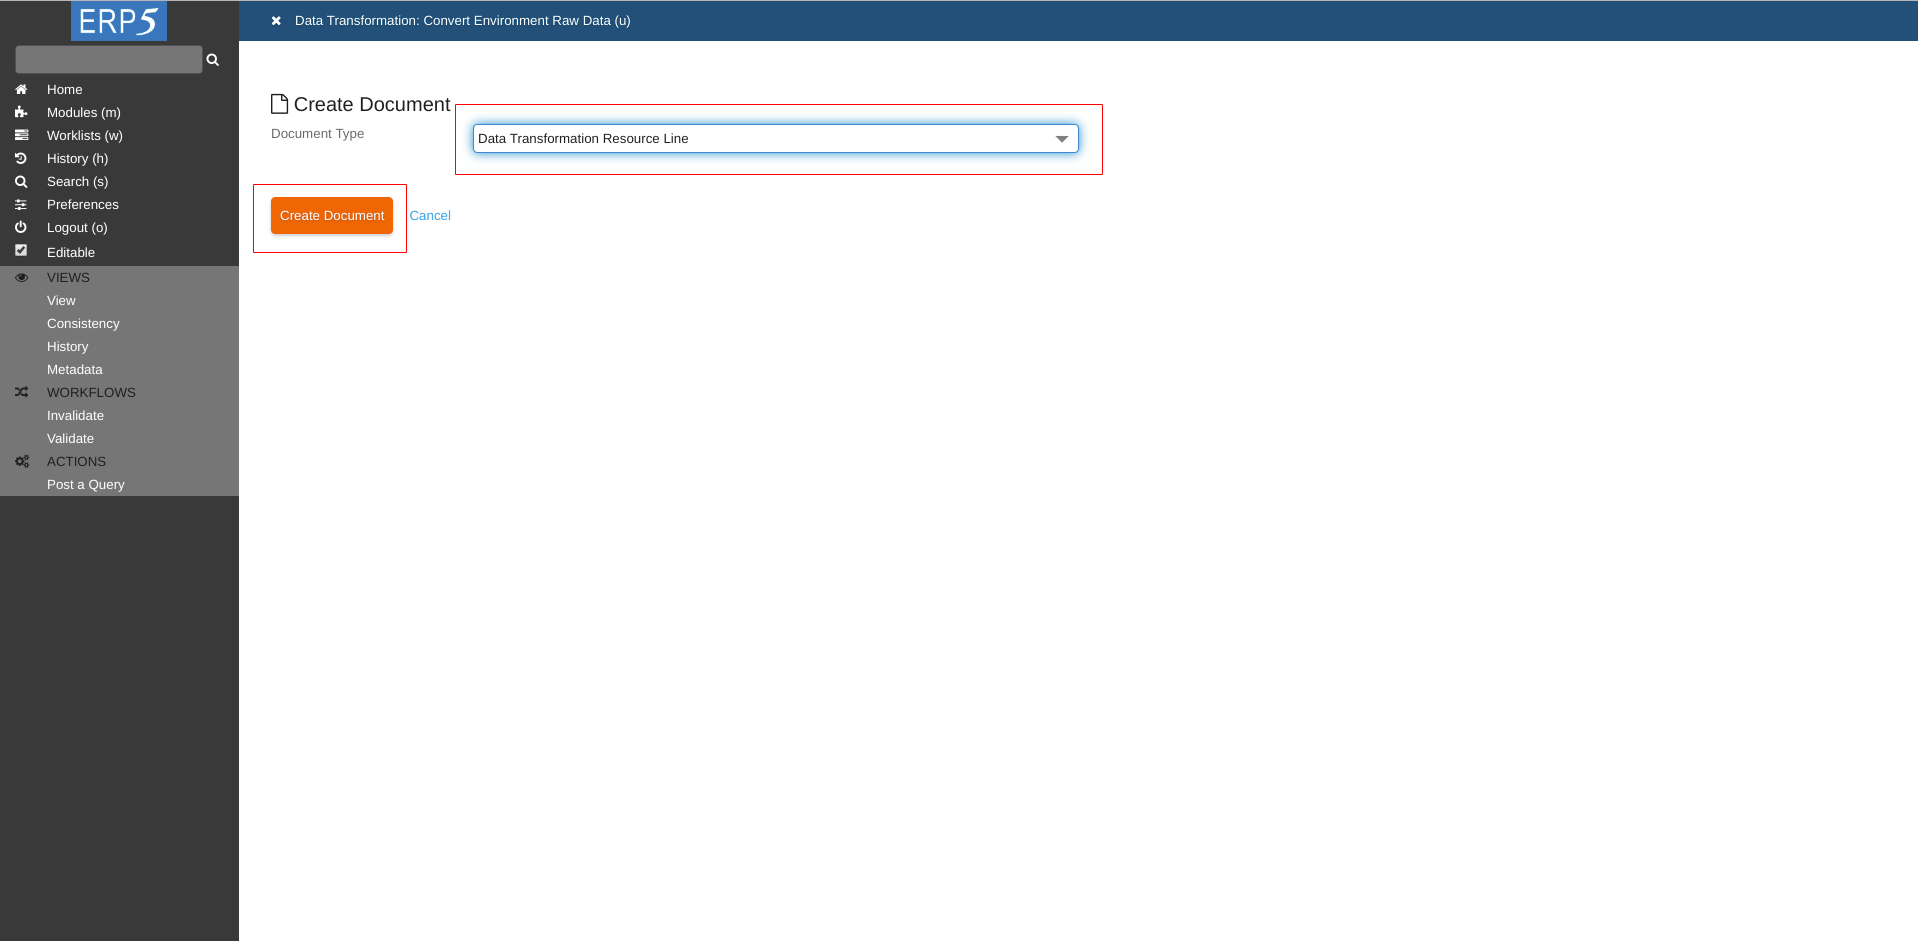
Now for Document Type choose Data Transformation Resource Line and click on Create Document.
Fill The Form
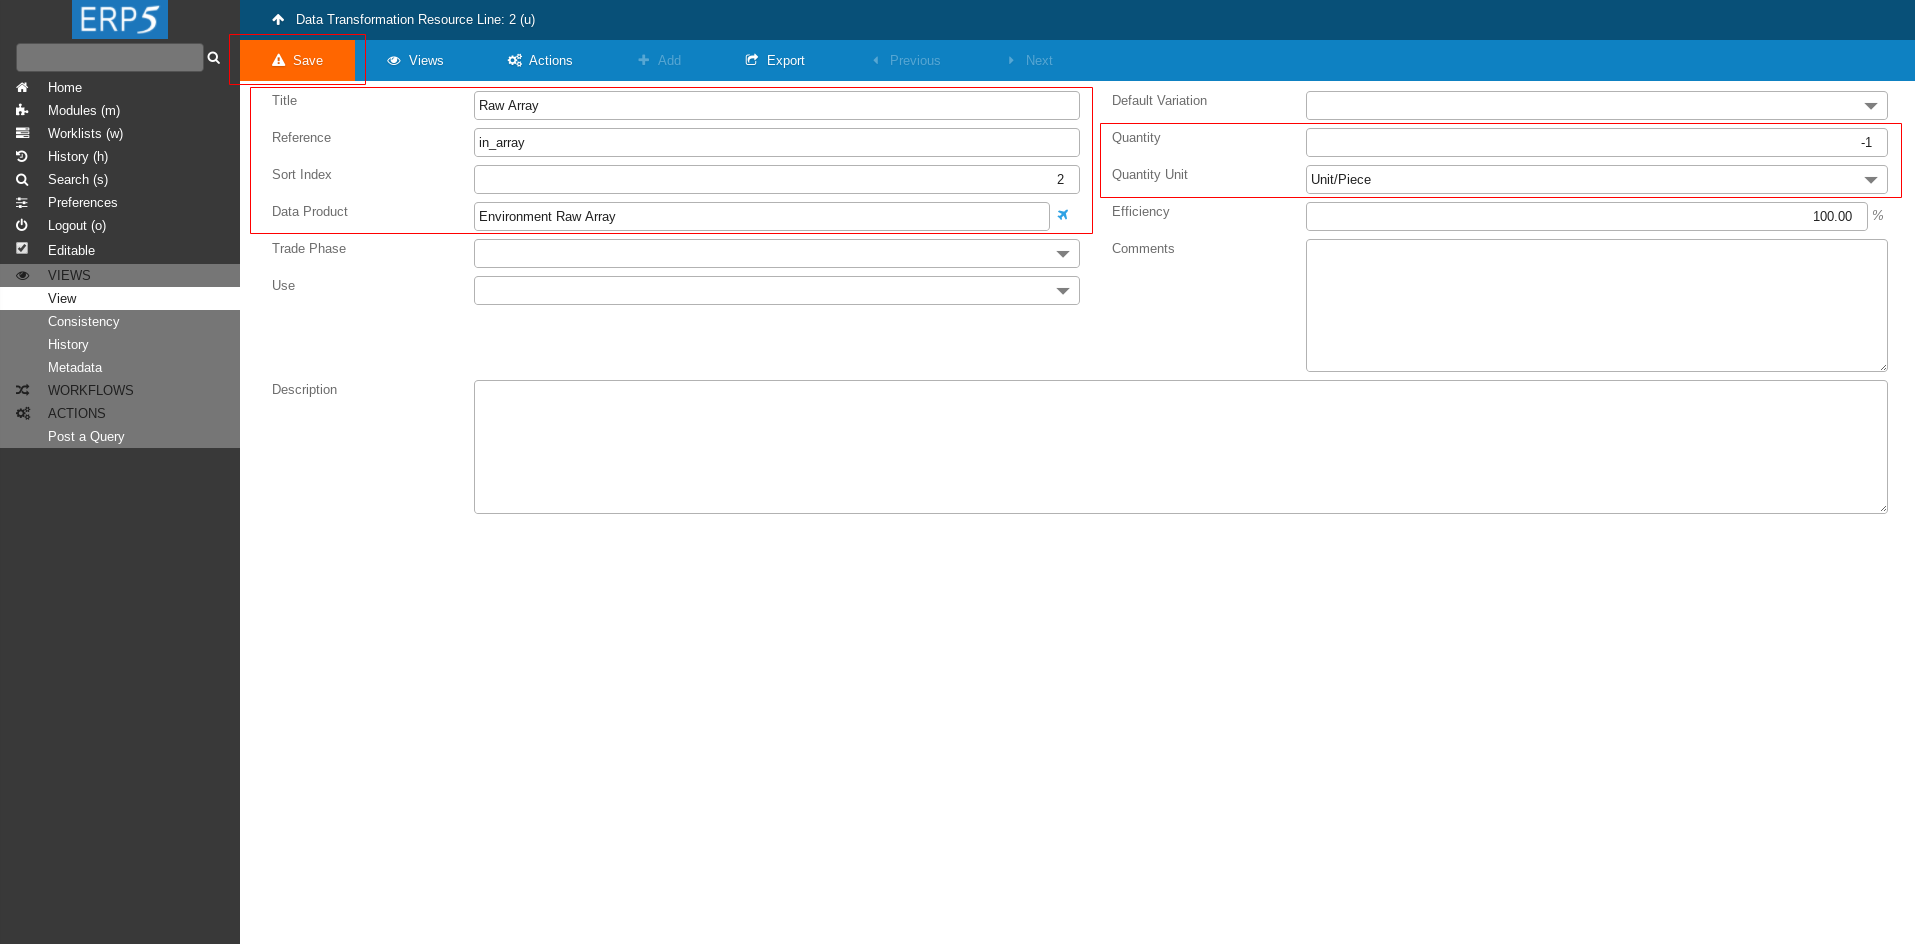
Fill the form with following values
Title: Raw Array
Reference: in_array
Quantity: -1
Quantity Unit: Unit/Piece
Data Product: put the name of the Data Product that we created in HowTo Transform Data tutorial - Environment Raw Array
After filling in the Data Product name click Save to save the intermediate changes.
After saving a new field Item Types will appear.
Fill The Form Cont.
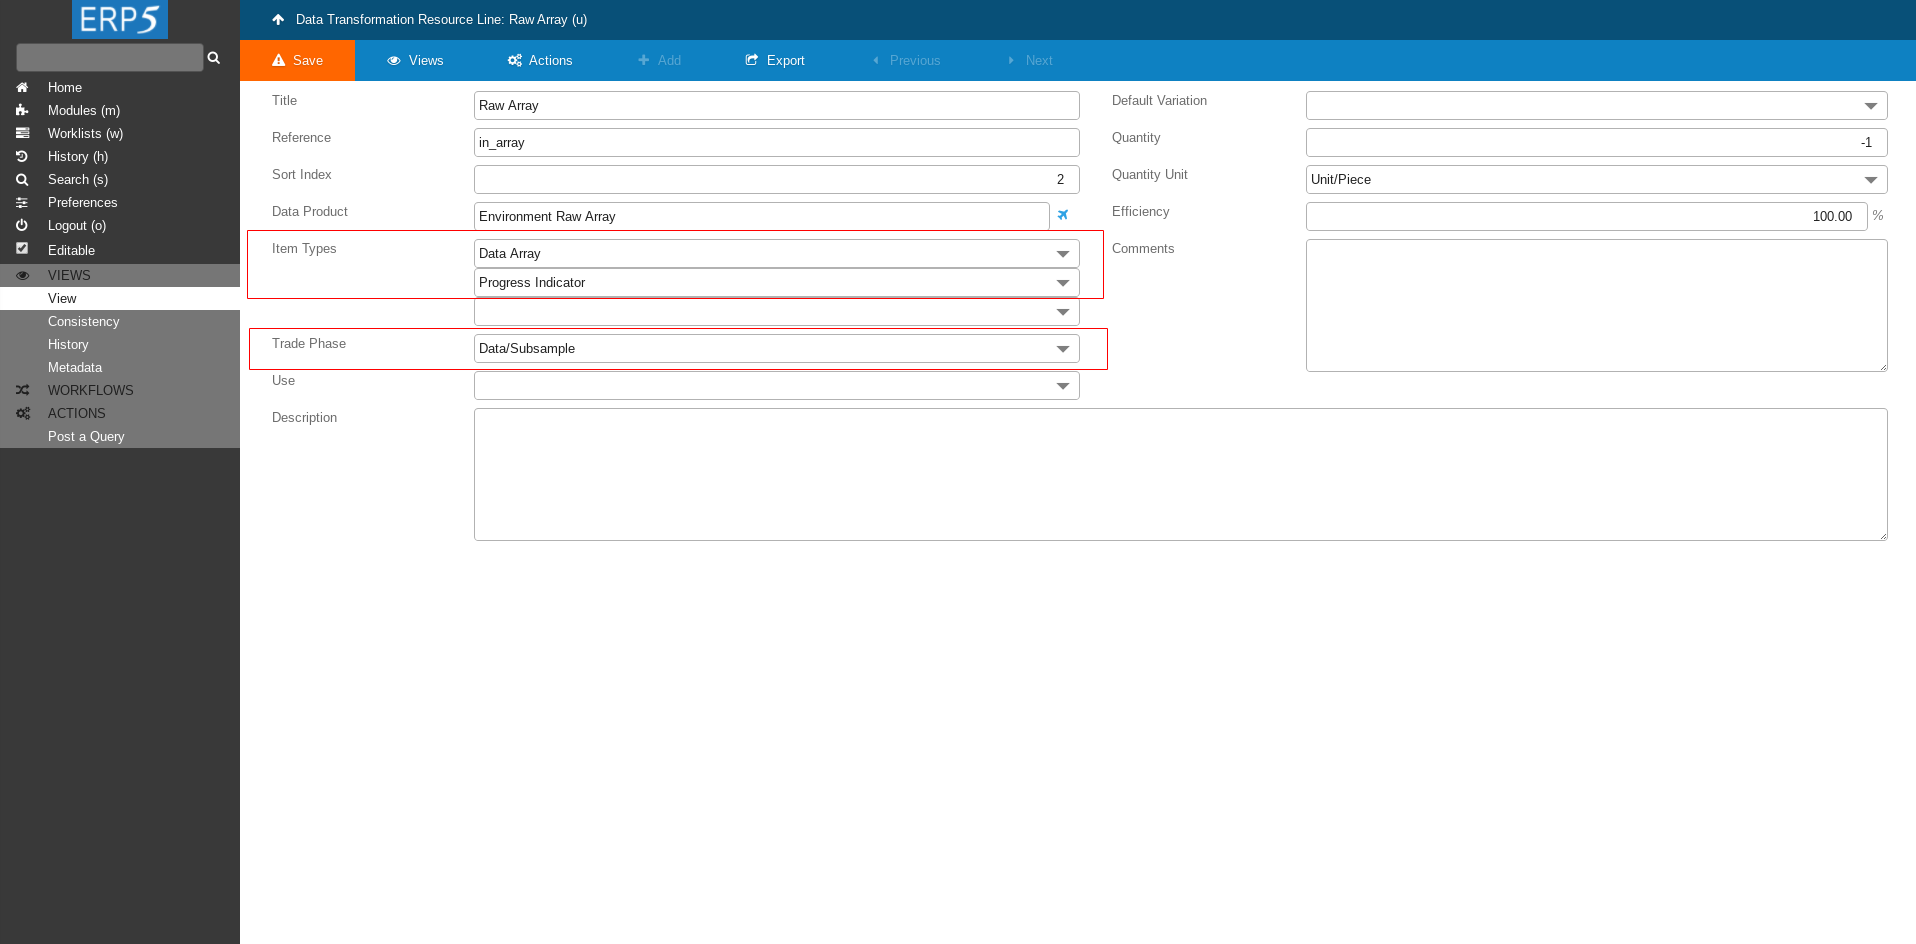
Continue filling the form as shown on the screenshot
At the end don't forget to save the changes.
Add Output Line
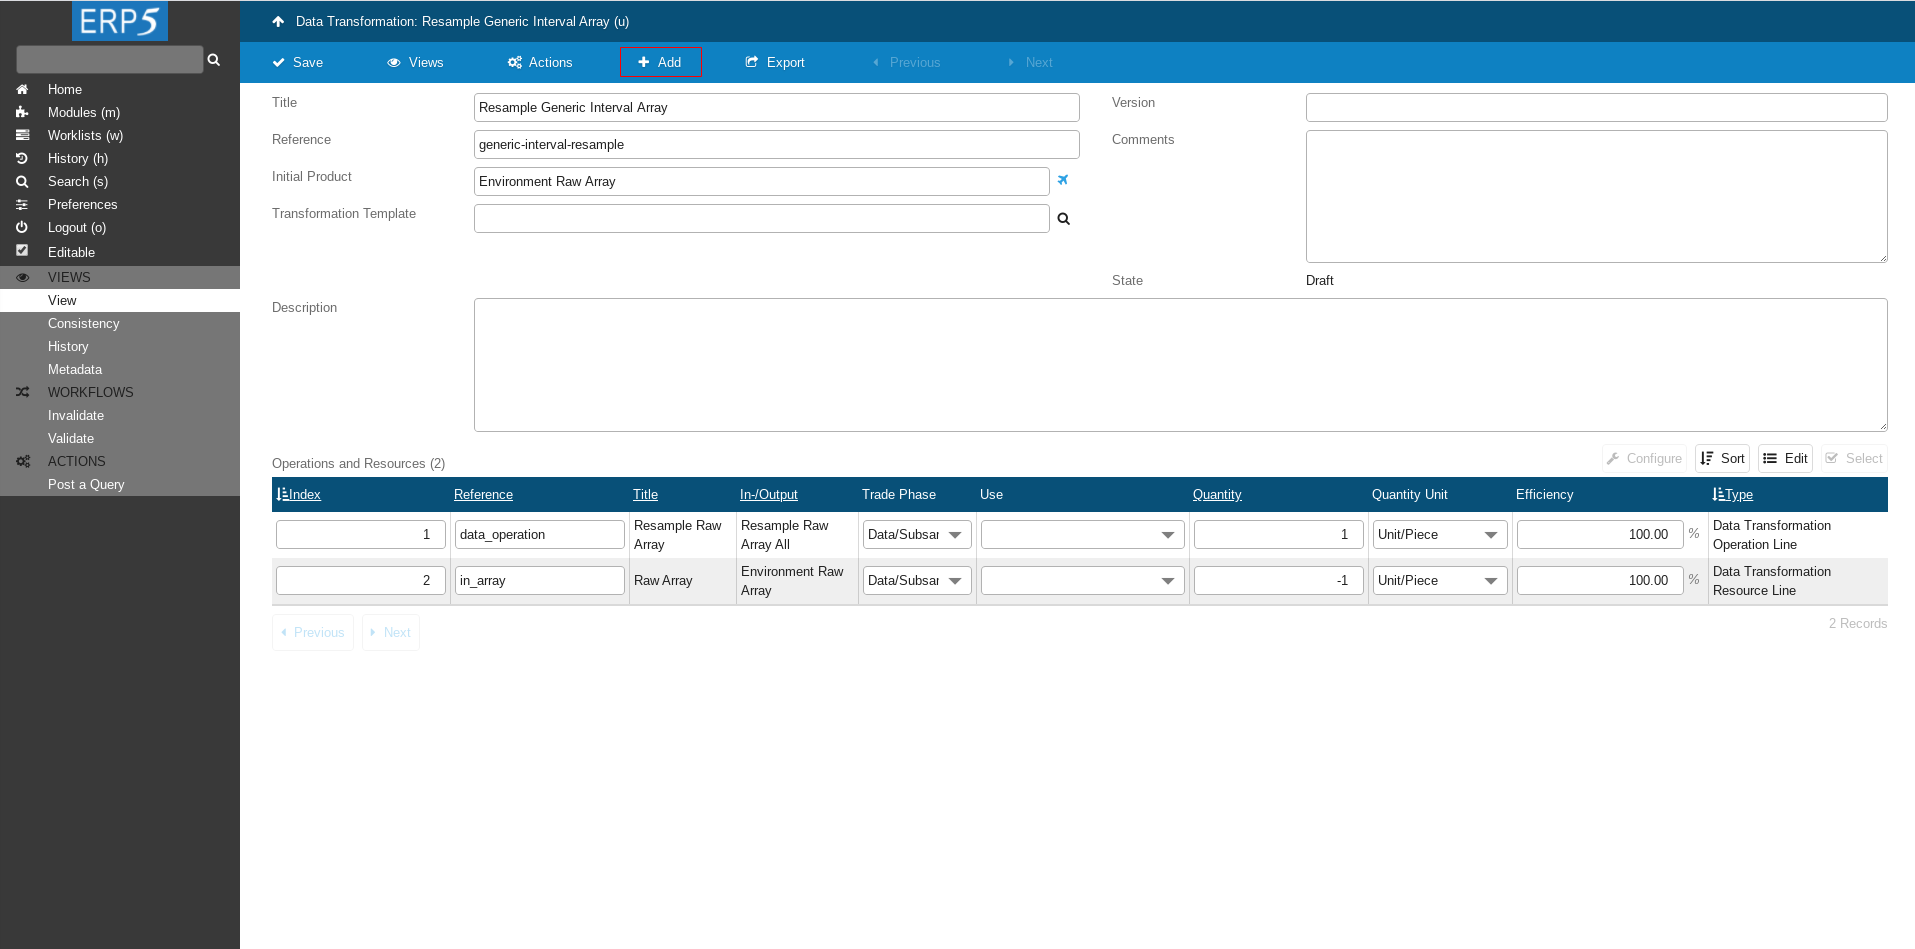
Head back to Data Transformation and add one more Transformation line.
Create Transformation Line

Once again for Document Type choose Data Transformation Resource Line and click on Create Document.
Fill The Form
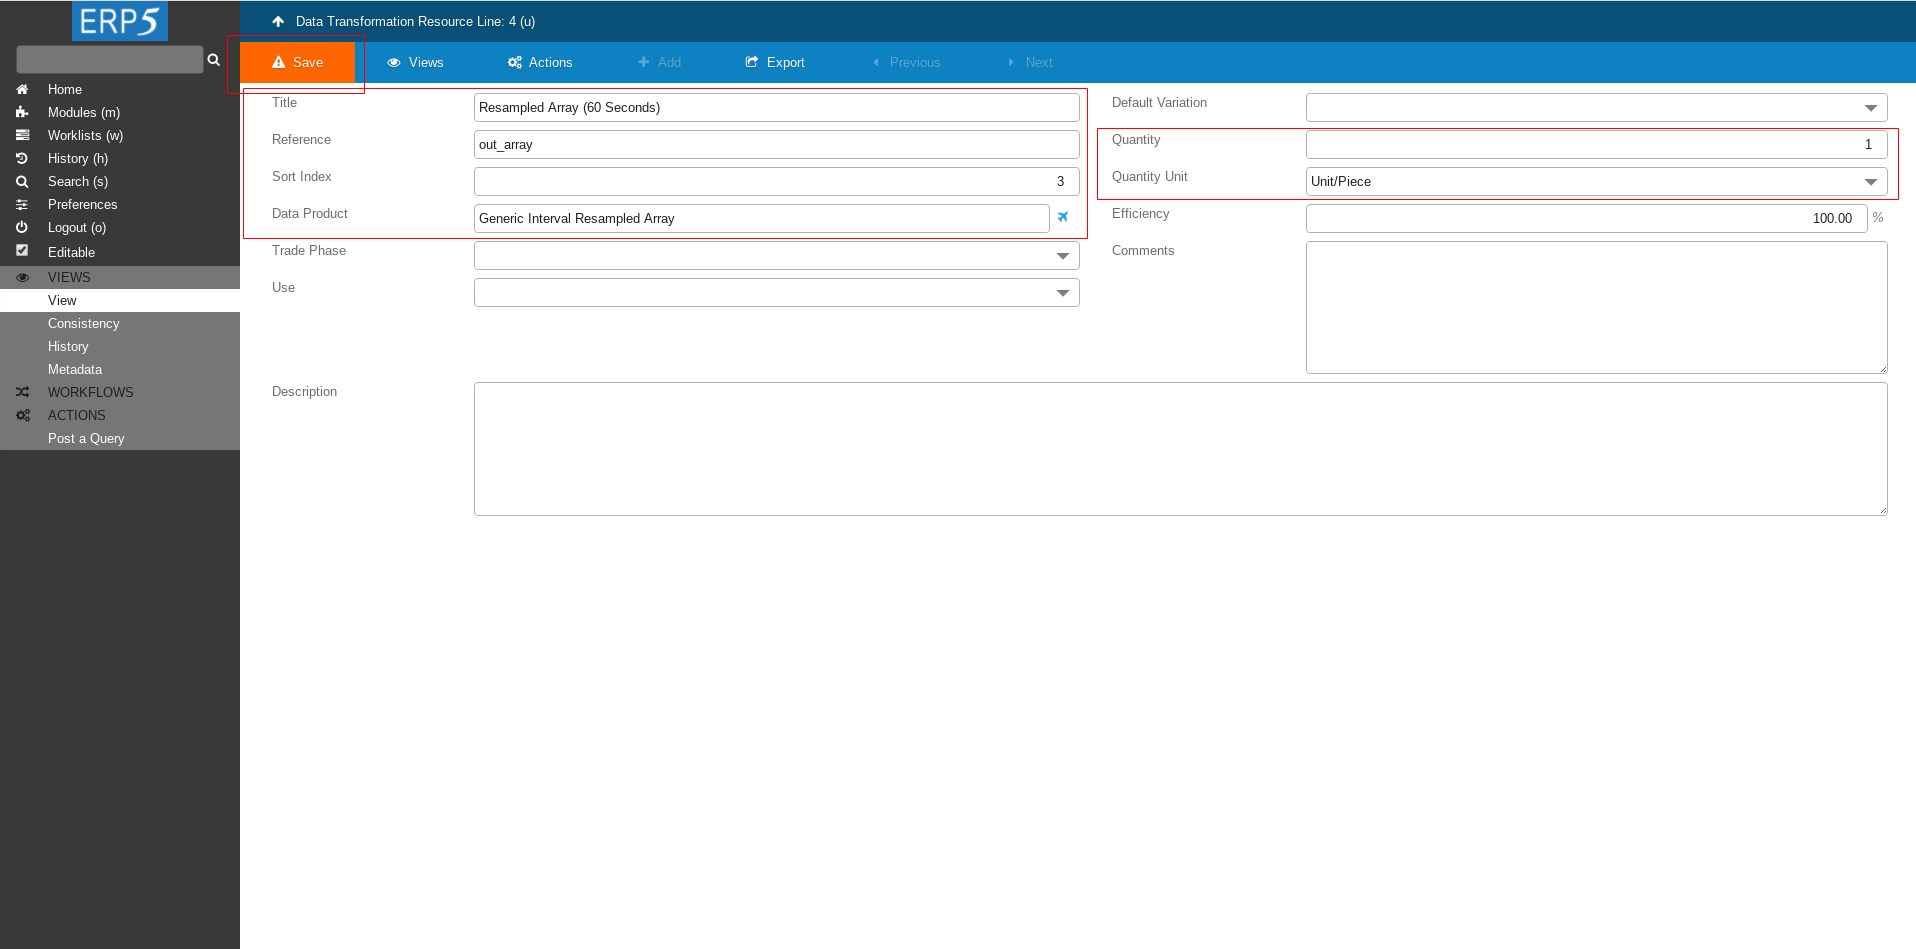
Fill the form with following values
Title: Resampled Array (60 Seconds)
Reference: out_array
Data Product: put the name of the Data Product that we created earlier in this tutorial - Generic Interval Resampled Array.
Quantity: 1
Quantity Unit: Unit/Piece
Then click Save to save the intermediate changes.
After saving a new field Item Types will appear.
Fill The Form Cont.
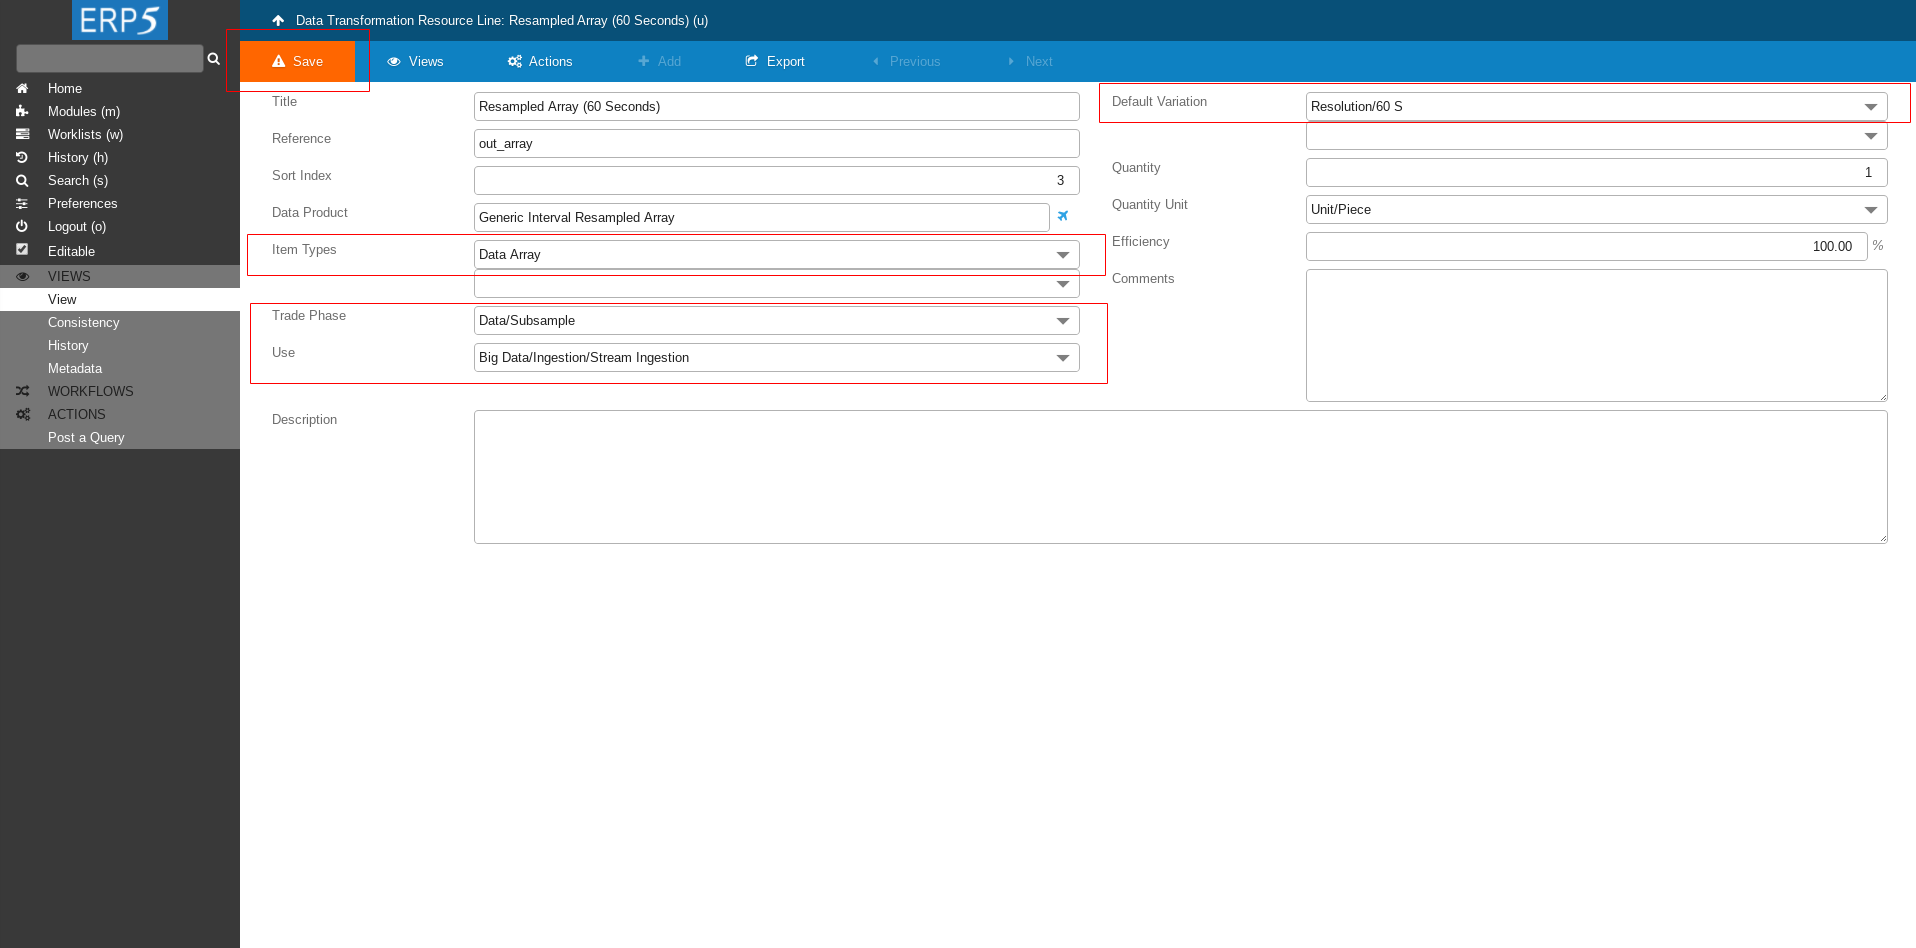
Continue filling the form as shown on the screenshot
Item Types: Data Array
Trade Phase: Data/Subsample
Use: Big Data/Ingestion/Stream Ingestion
Default Variation: Resolution/60 S
At the end don't forget to save the changes.
Important: Create 3 more Data Transformation resource lines with 300S, 3000S and 30000S resolutions.
Data Transformation
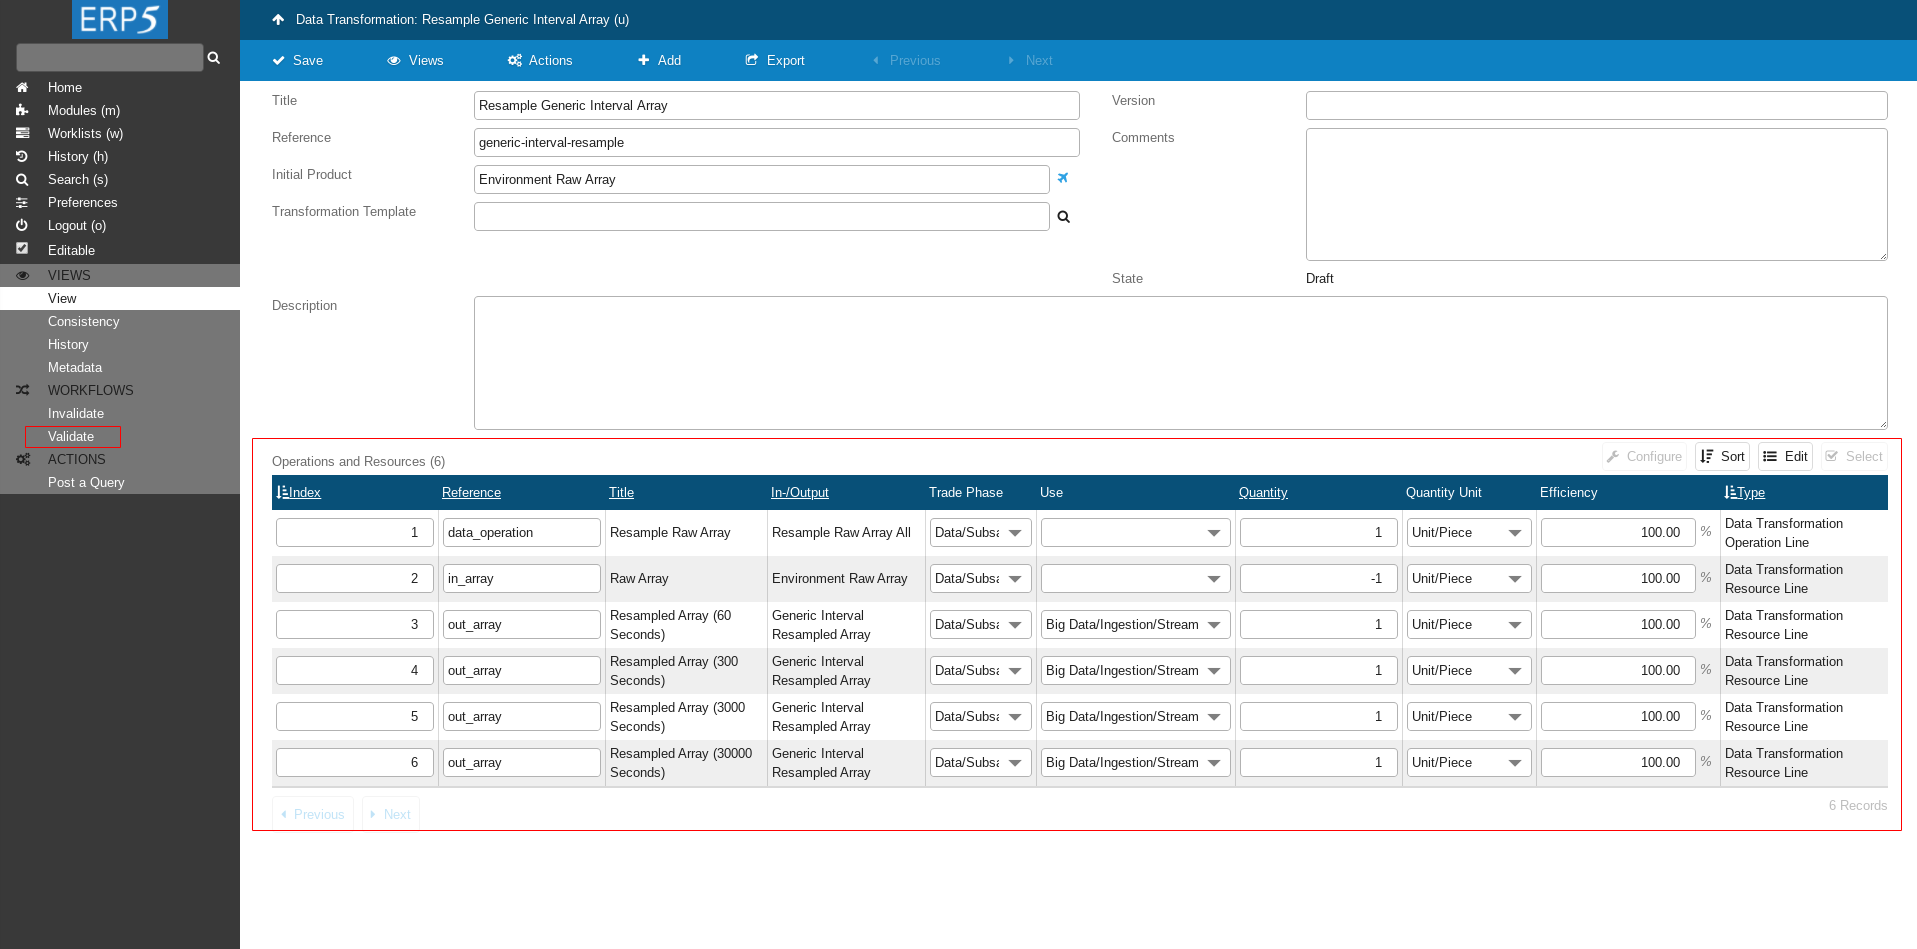
Head back to Data Transformation.
Now you can see that we have 6 Data Transformation Lines.
The first line defines what operation will be done.
The second line defines on what the operation will be done - the input.
Lines 3 to 6 define the output with different resolutions.
The very last step is to validate the Data Transformation.
Click on Validate on the left side panel to validate the Data Transformation.
Confirm Validation
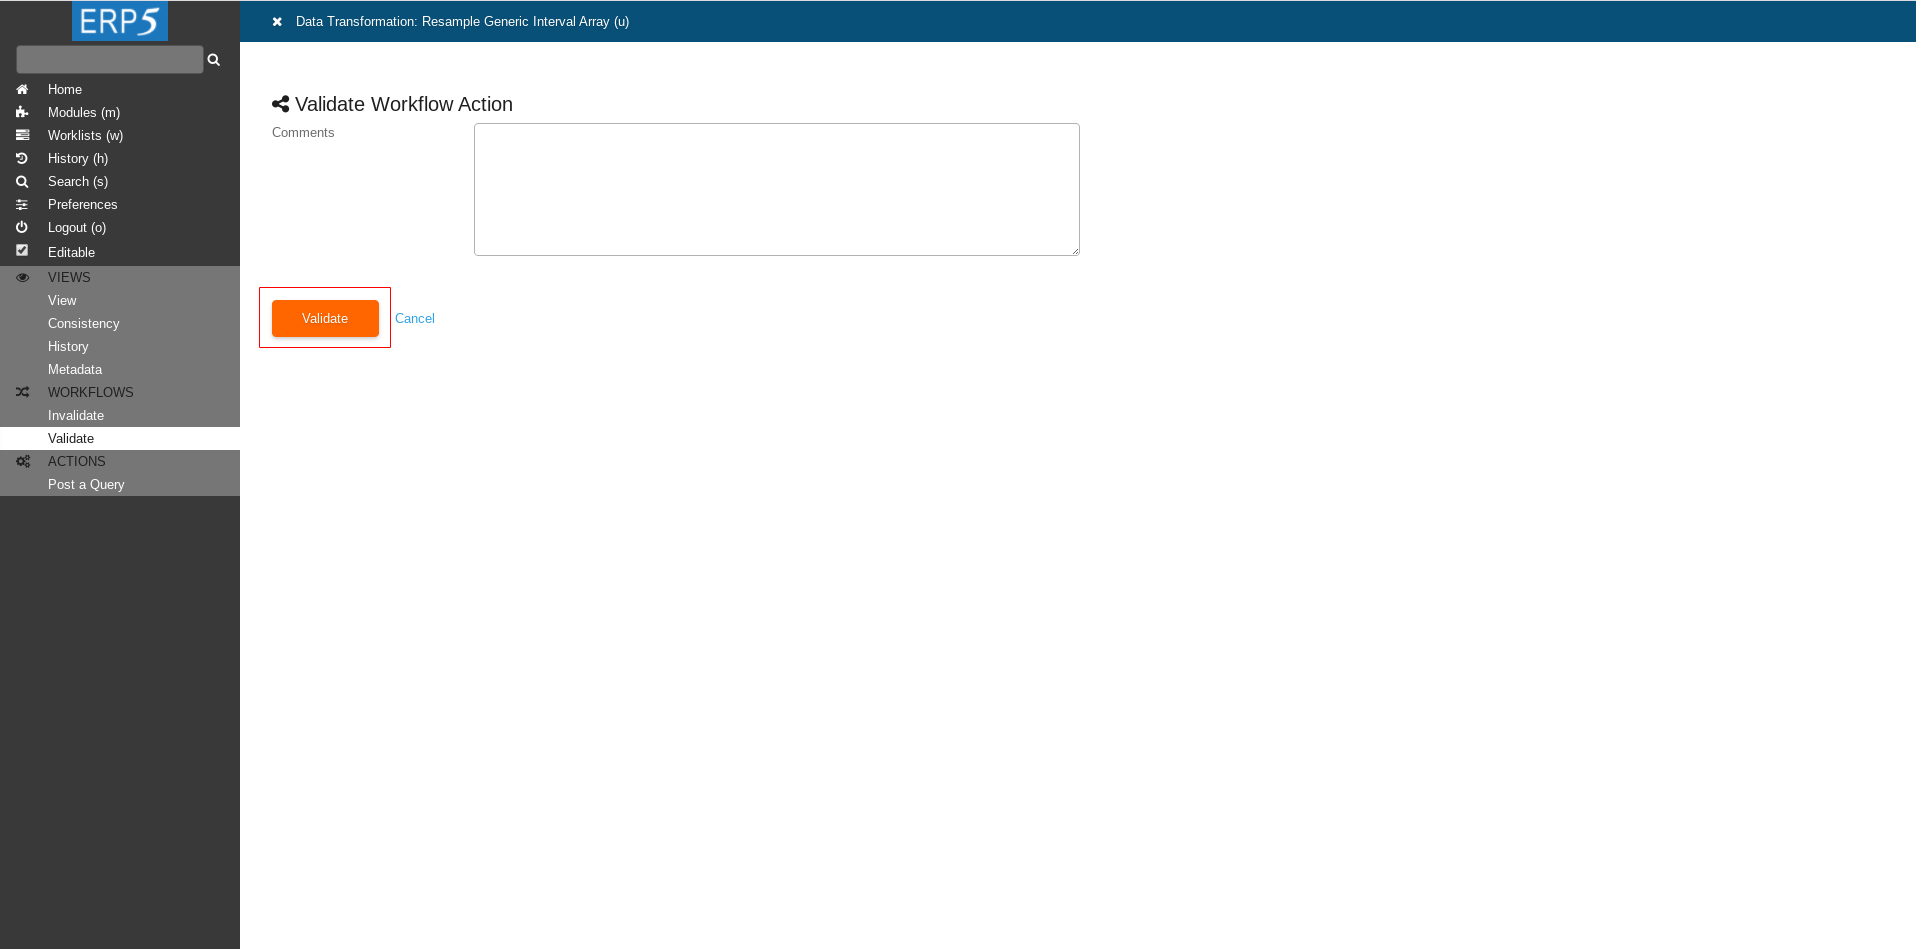
Click on Validate to confirm the Validation.
Data Analysis
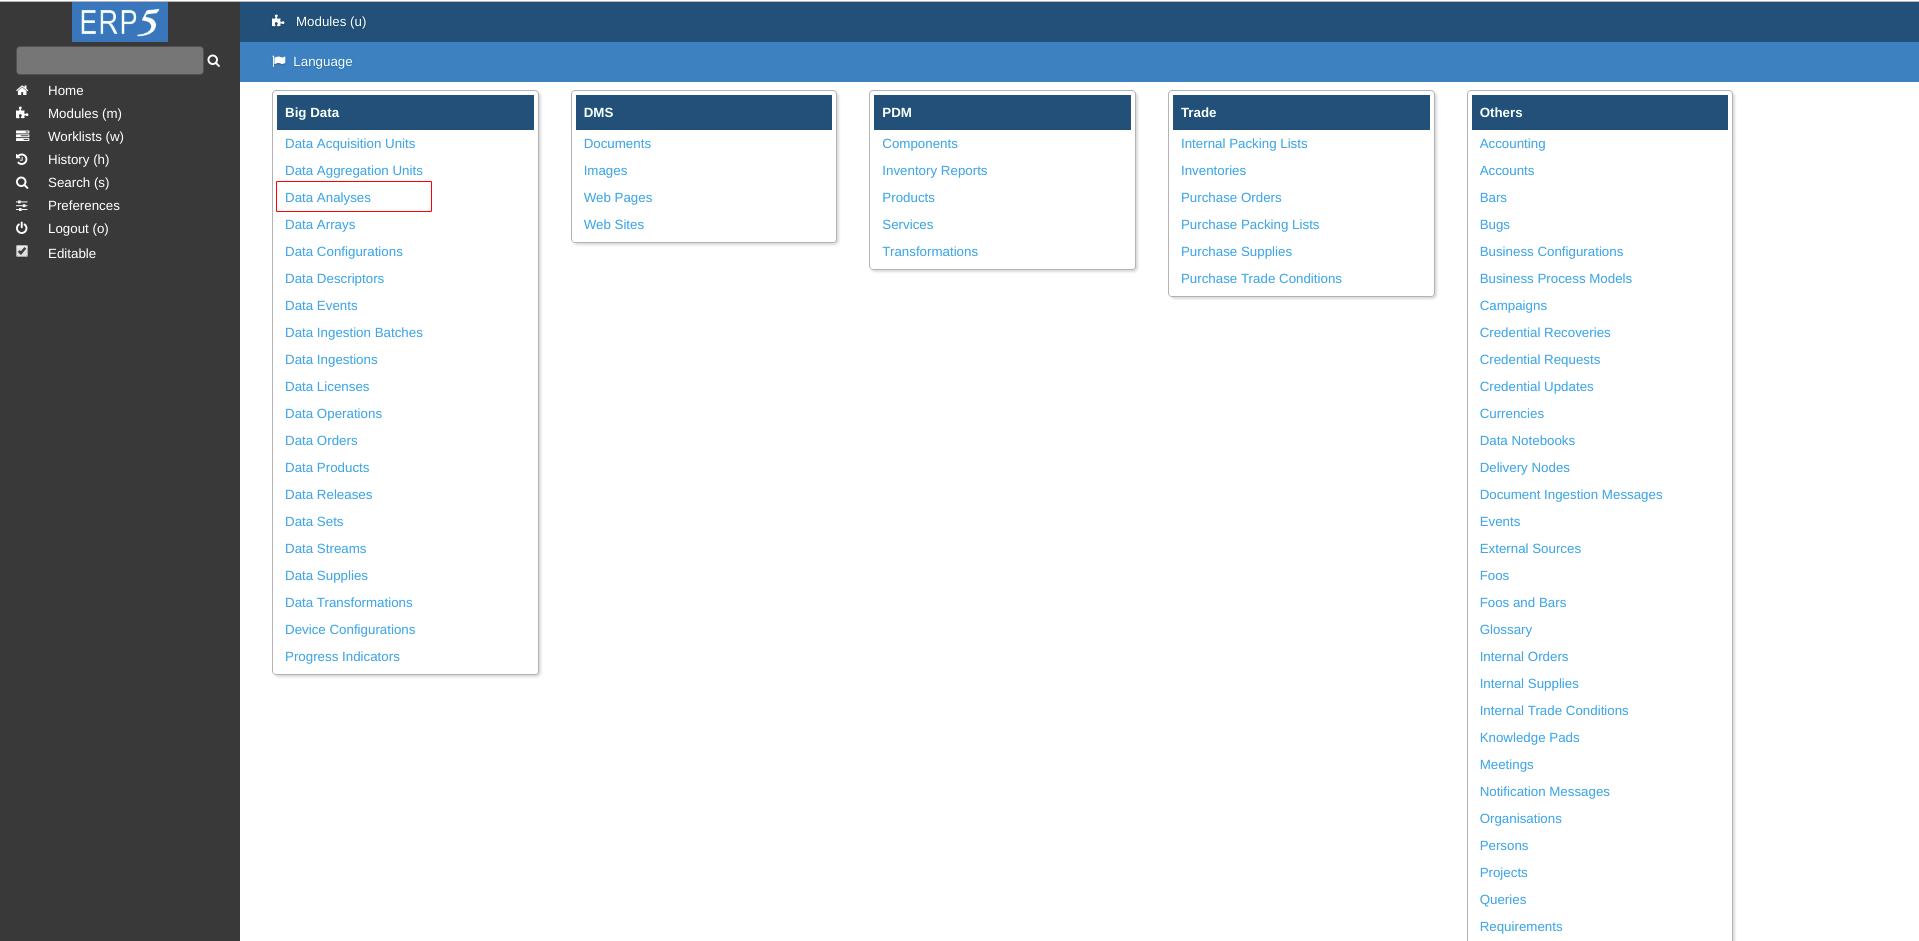
Go to Data Analyses module.
Data Analysis
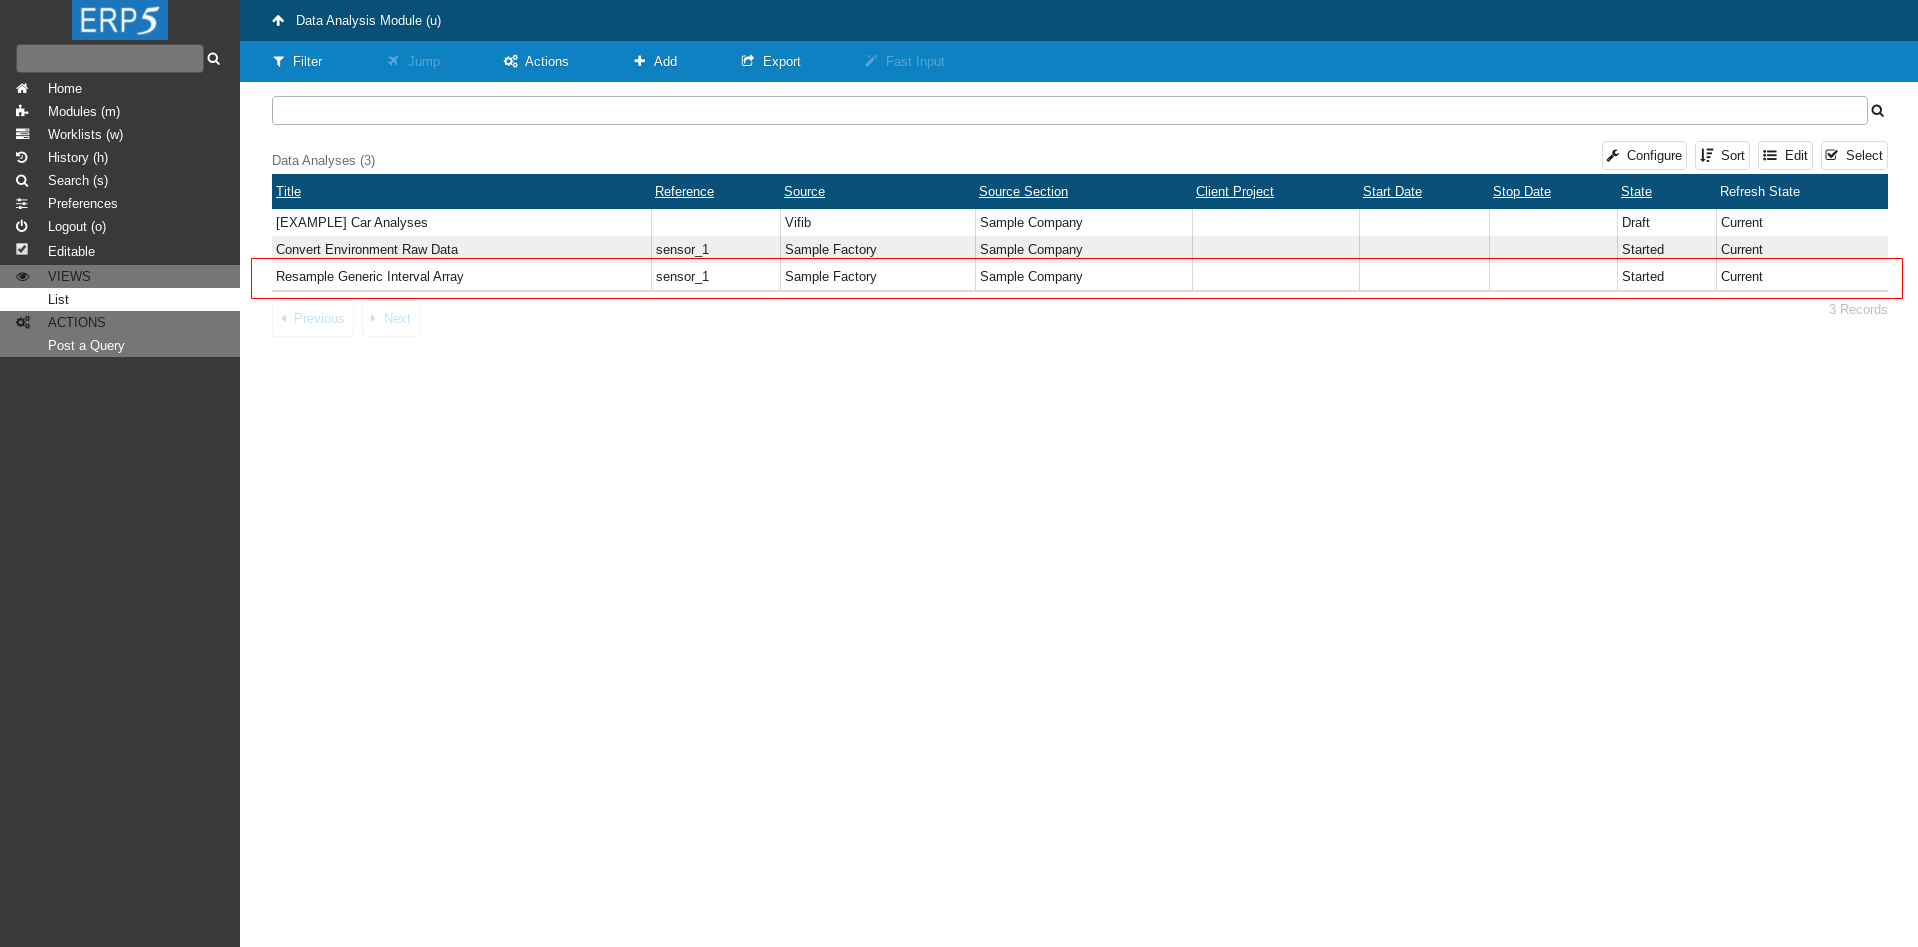
After few minutes in Data Analysis Module a new Data Analysis called Resample Generic Interval Array will appear.
Data Array Module
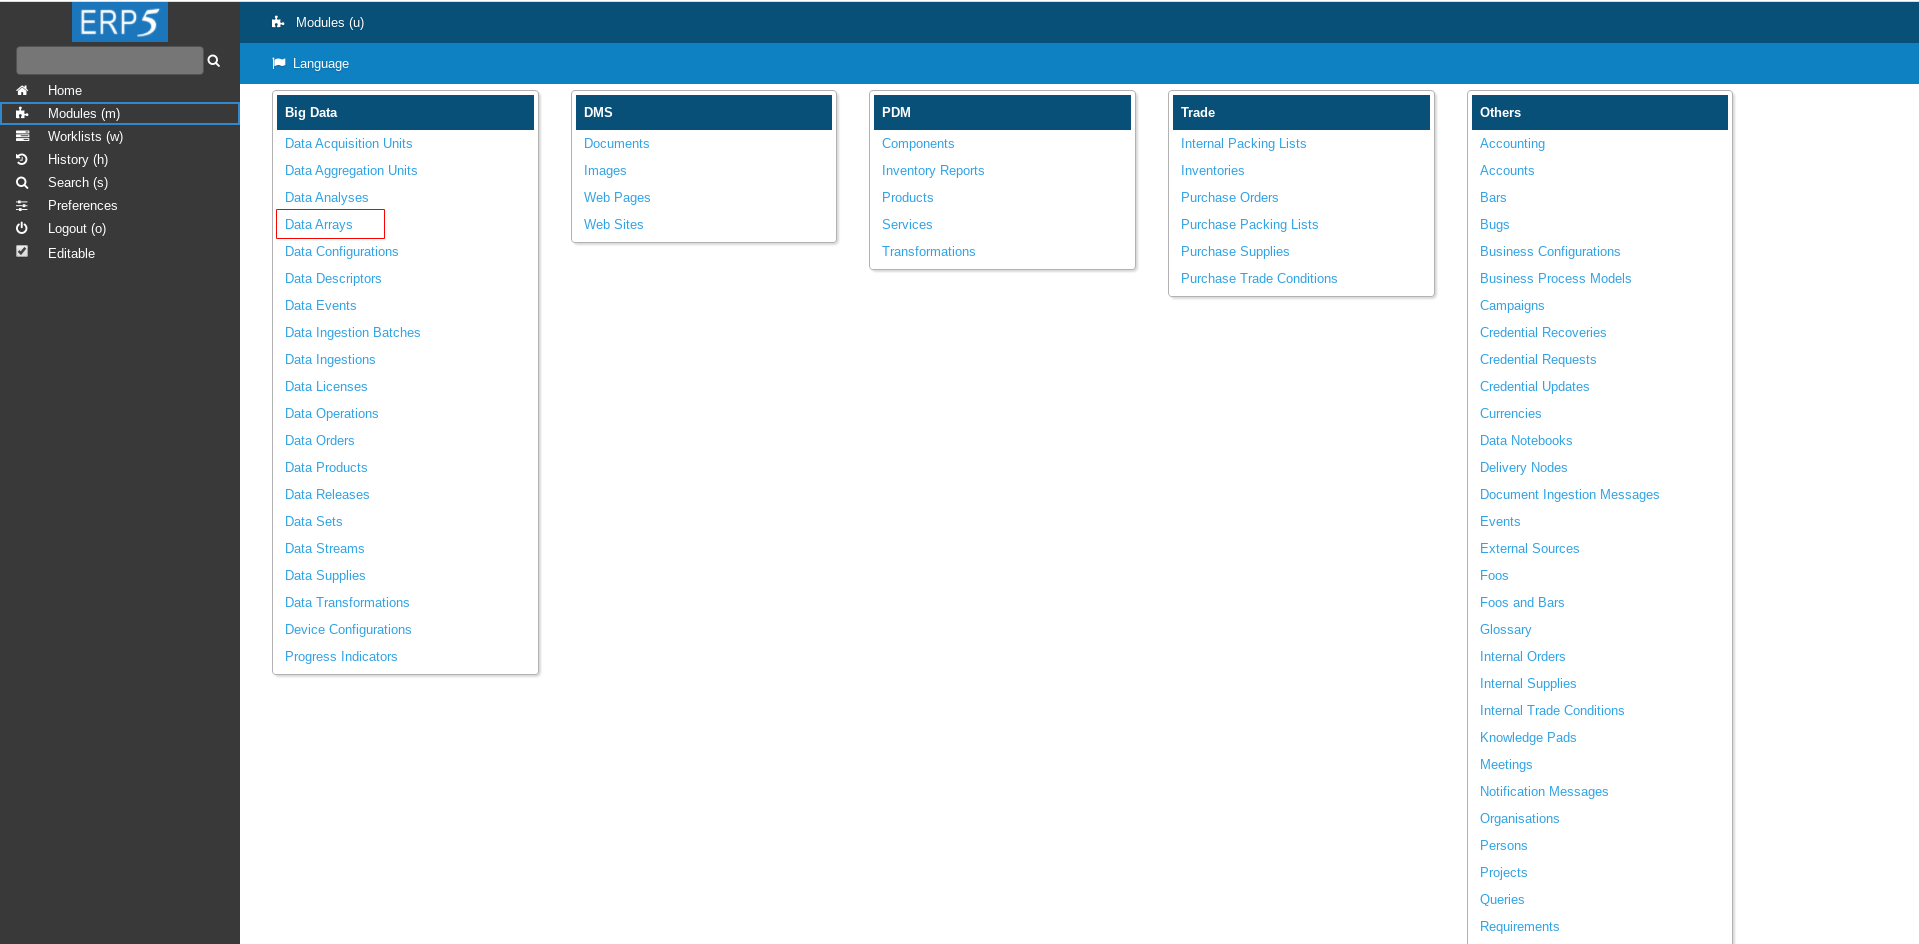
Go to Data Array Module to see the data.
Data Array
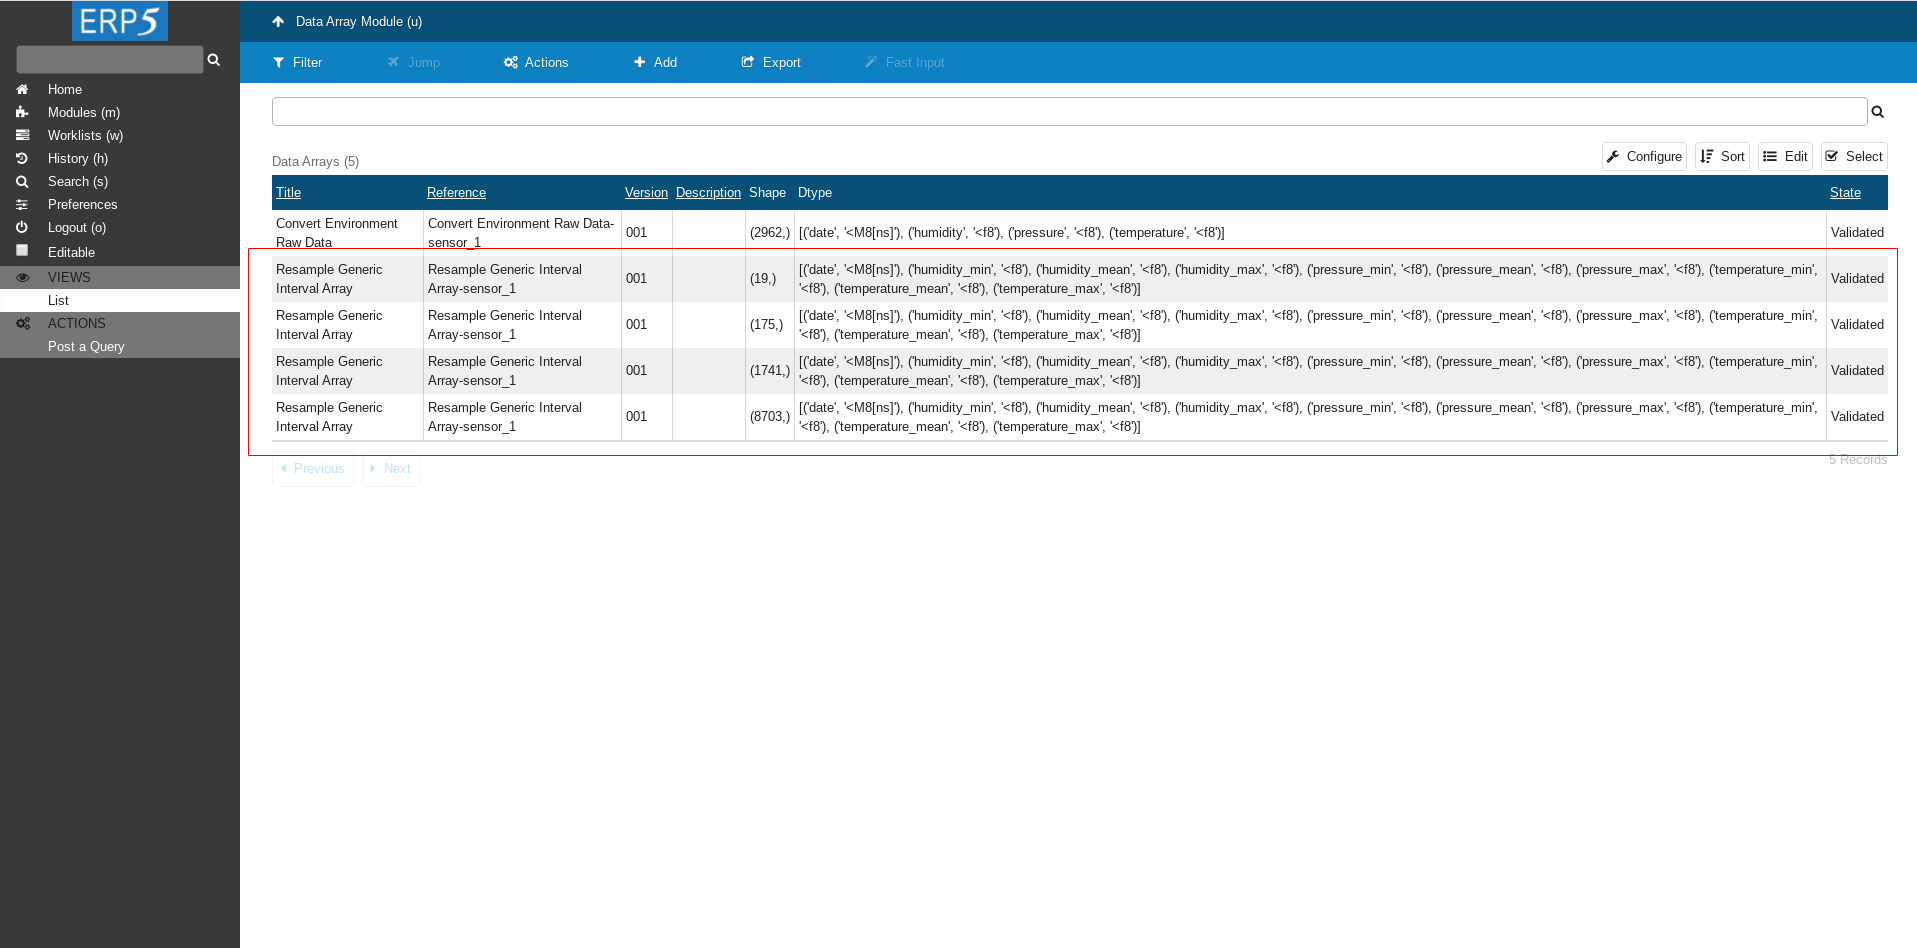
Here we can see 4 newly created Data Arrays with four different resolutions.
Click on one of them to navigate to the array.
Data Array
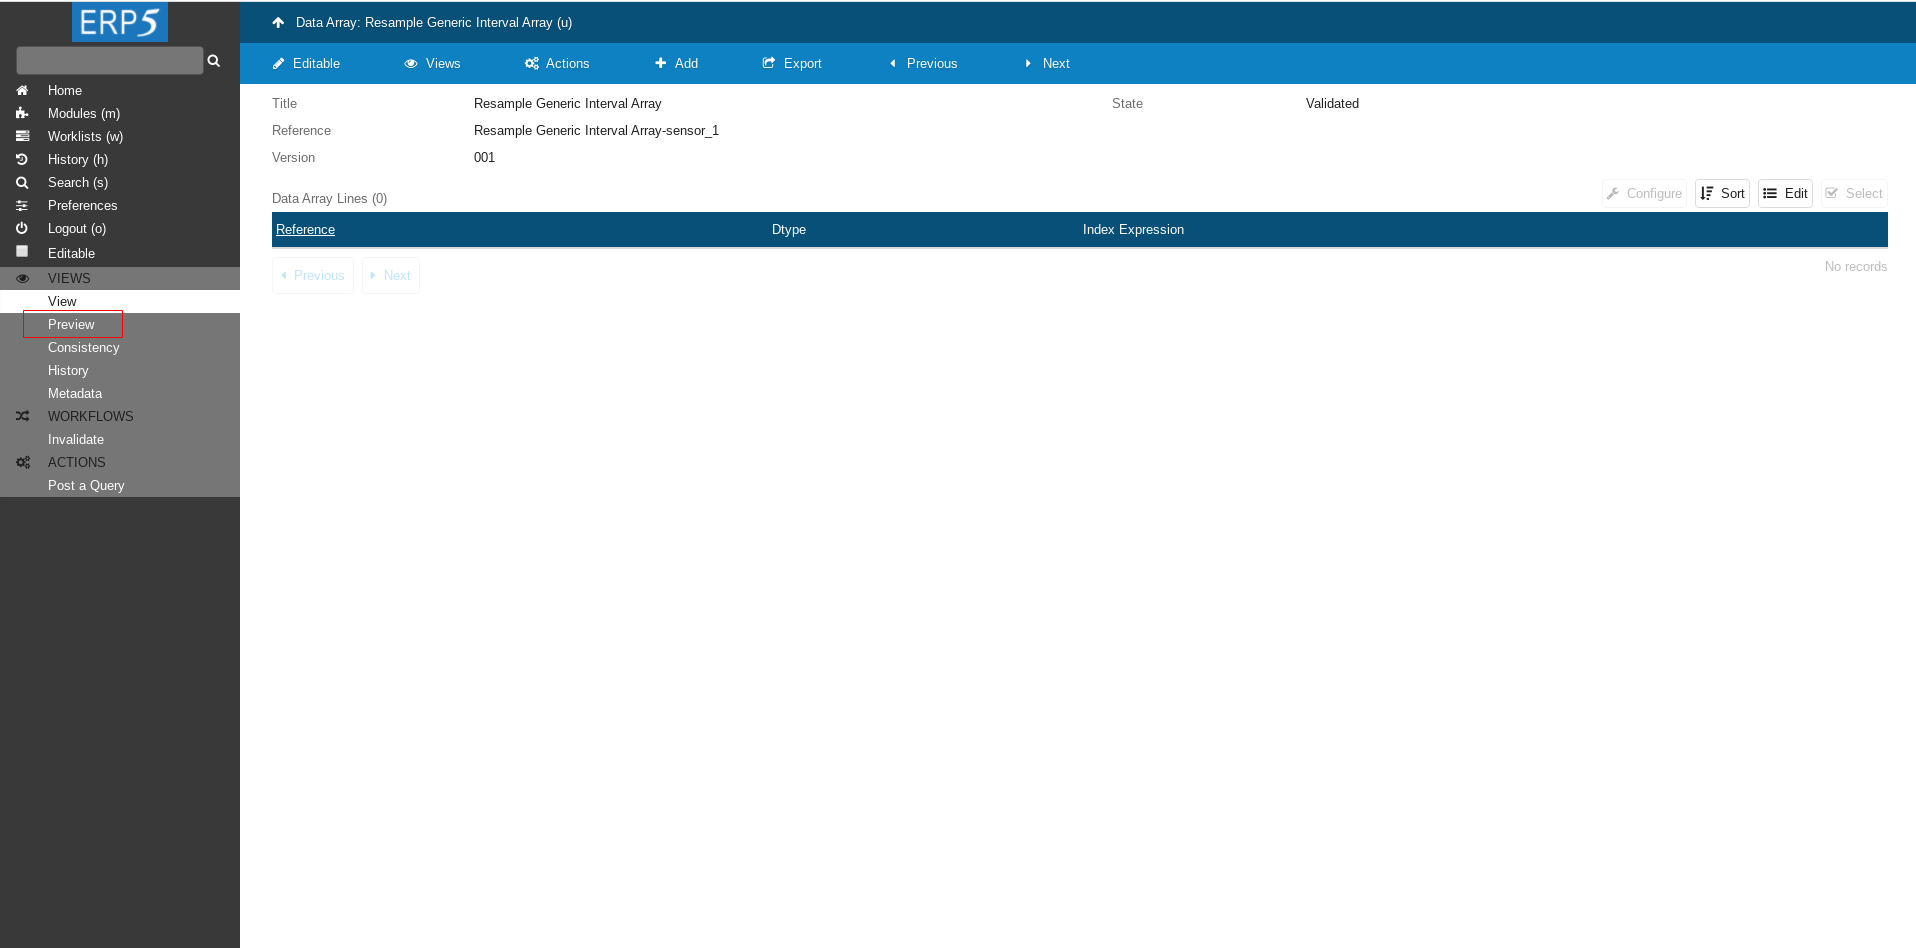
Click on Preview to see the data.
Note it might take few minutes (<10) until data appears.
Data Array
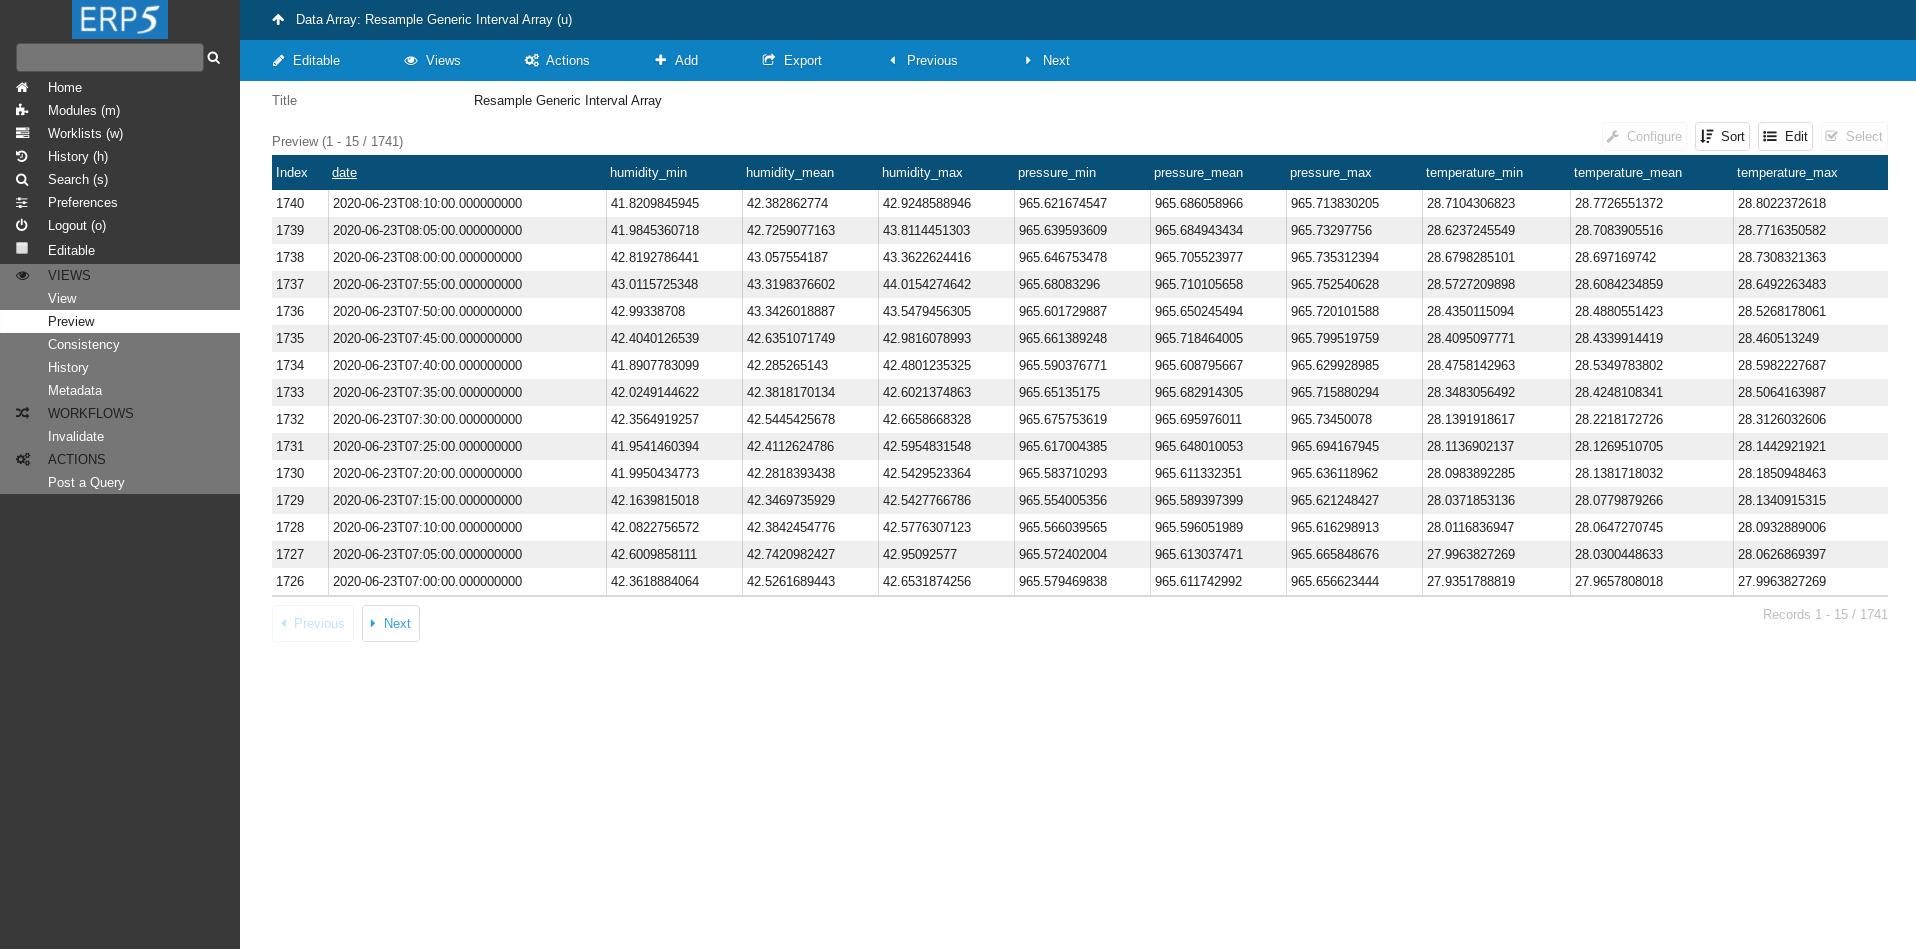
Data is here!